
In this blog, we will showcase how to setup Azure Logic App and how to integrate it with PowerApps using Power Automate HTTP Post Request.
Scenario
We have an Excel file that contains students’ data. This Excel file is located on a SharePoint site. We want to enable the user to search for the student id in PowerApps and get the details of the student.
1. Setting up Azure Logic App
Create an Azure account if you don’t have one already.
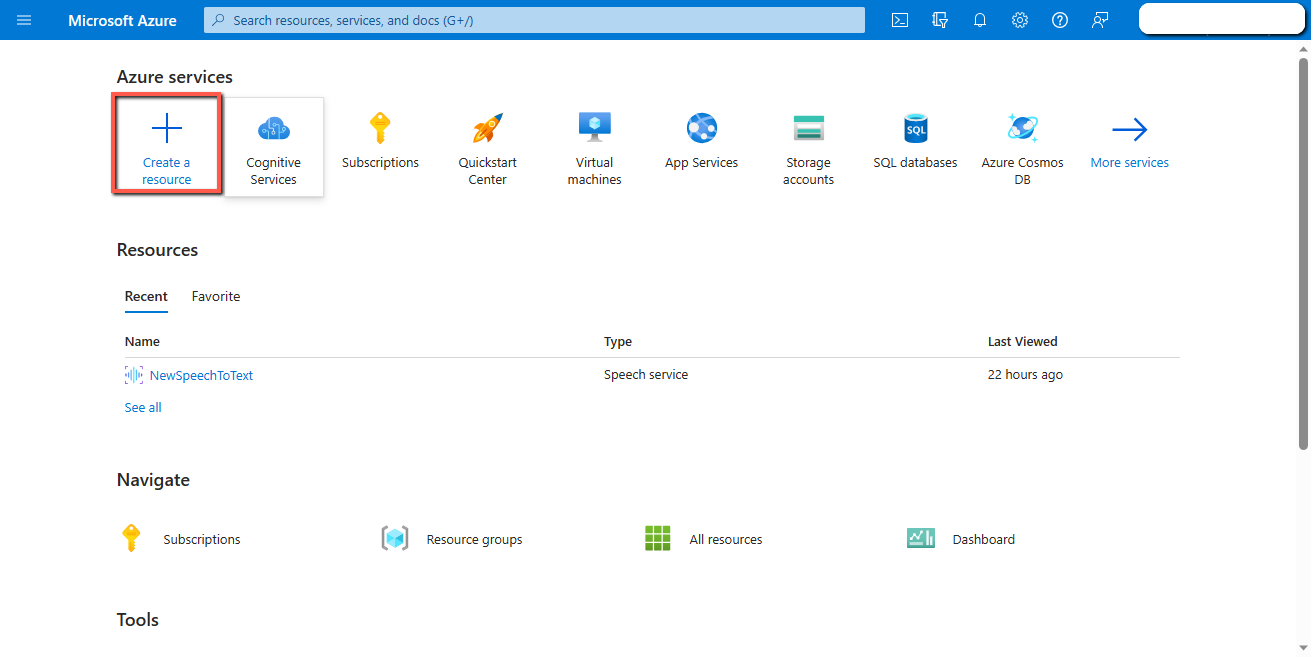
Go to the Azure portal.
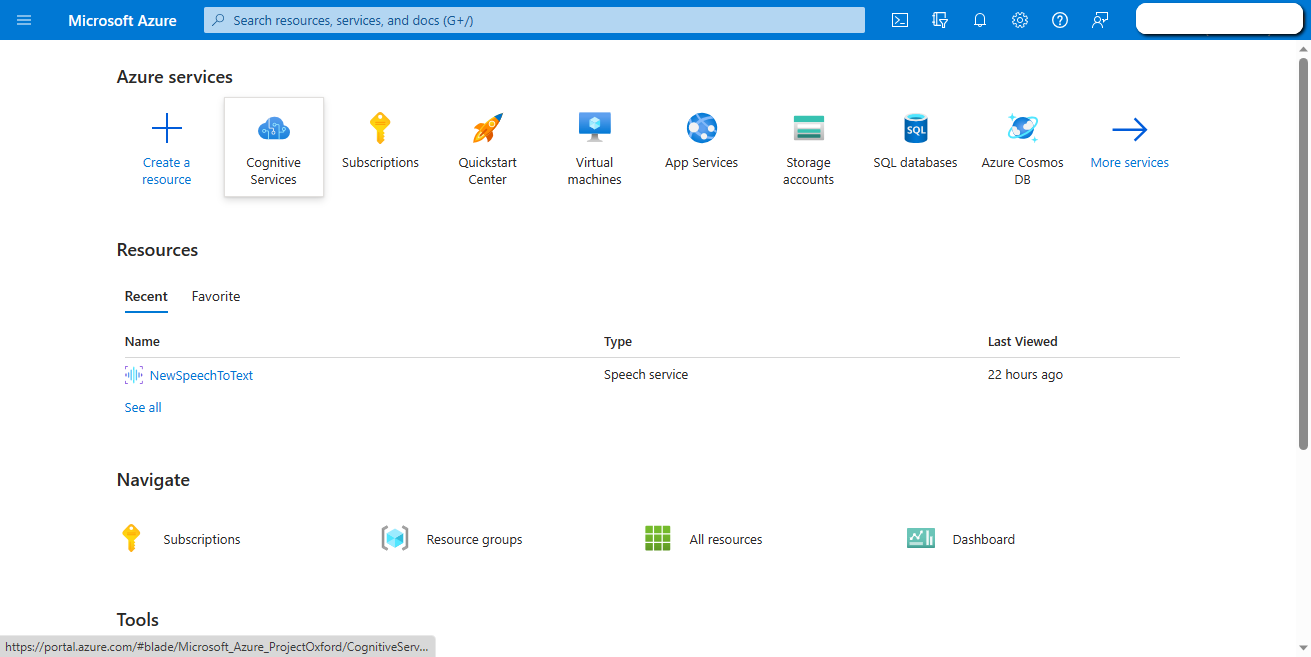
Click on the “Create a resource” button.
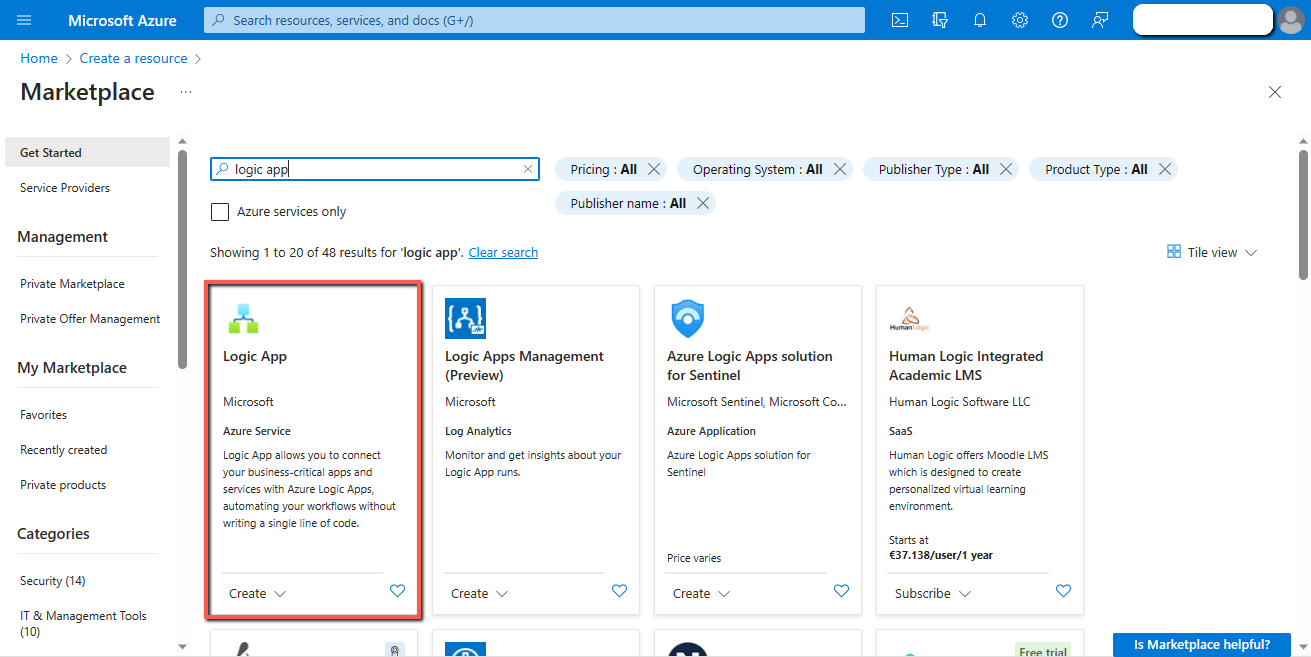
Search and select “Logic Apps” by Microsoft.
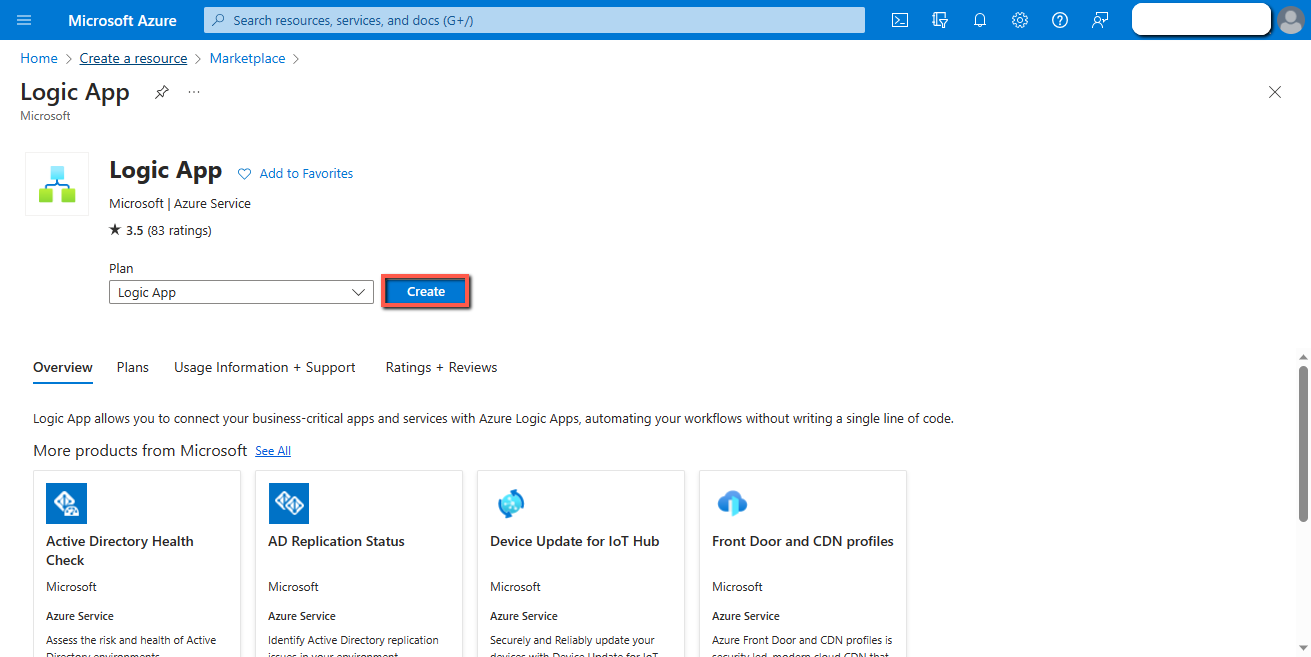
Click on the “Create” button.
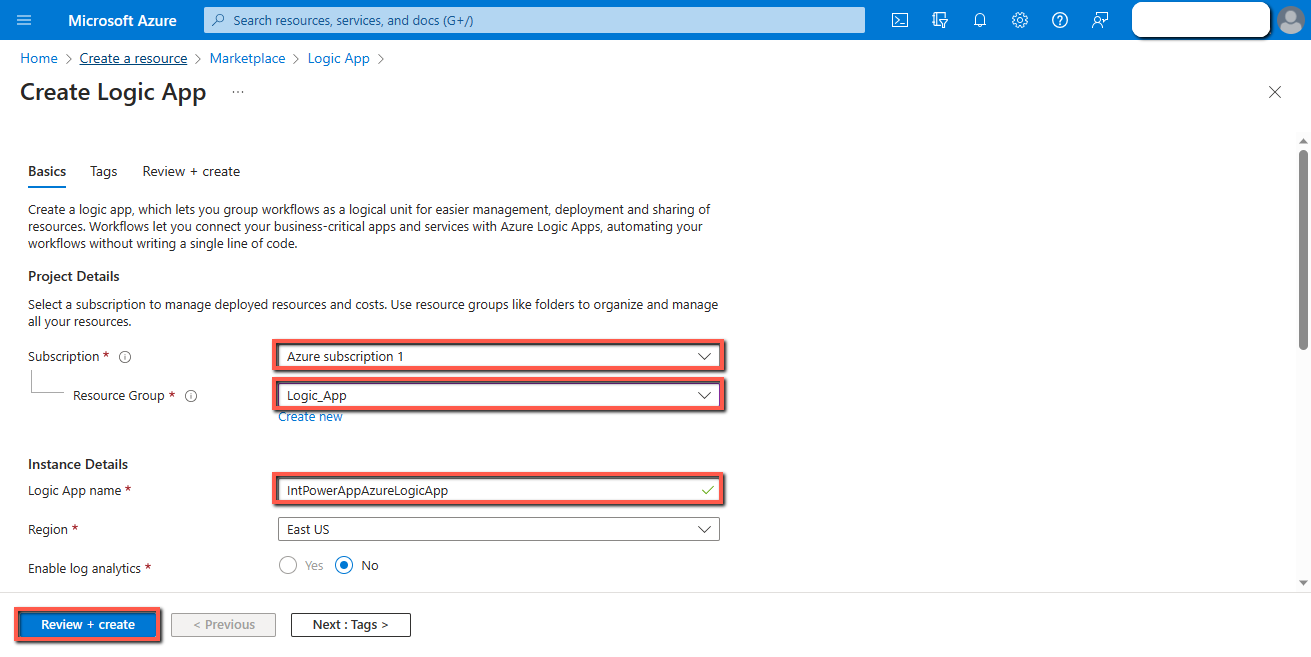
Select the “Subscription”, and “Resource group”, write the “Name”, and click on the “Review + Create” button.
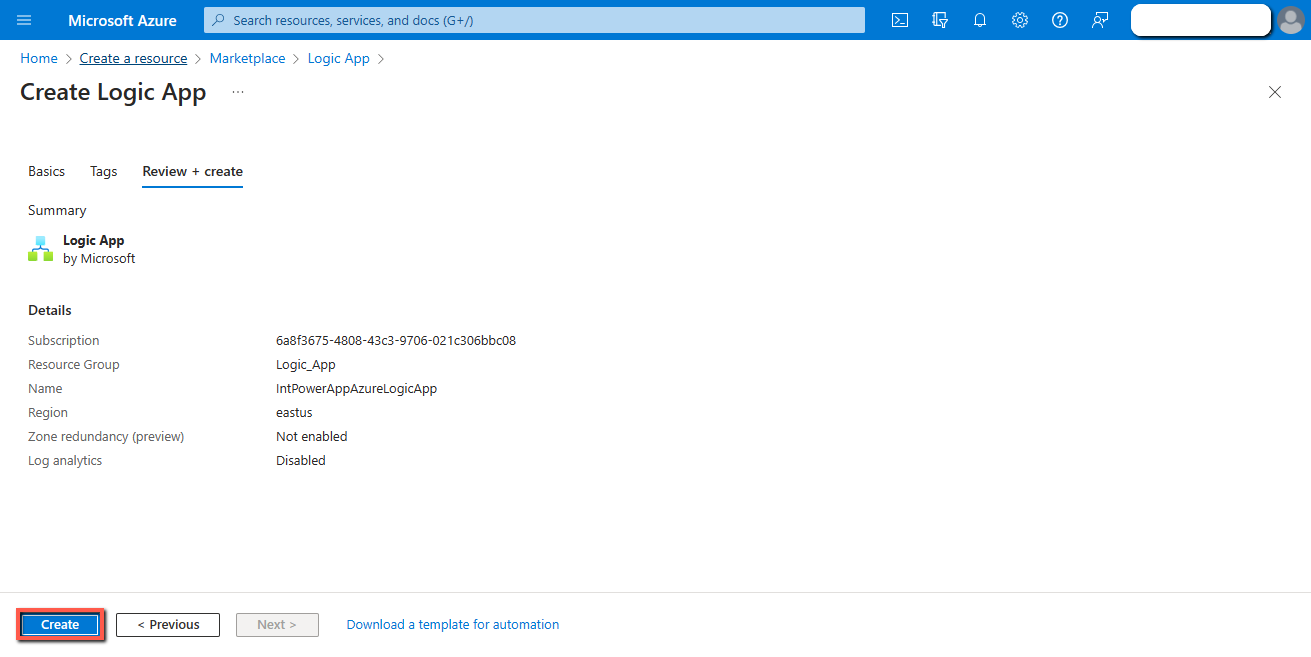
Click on the “Create” button.
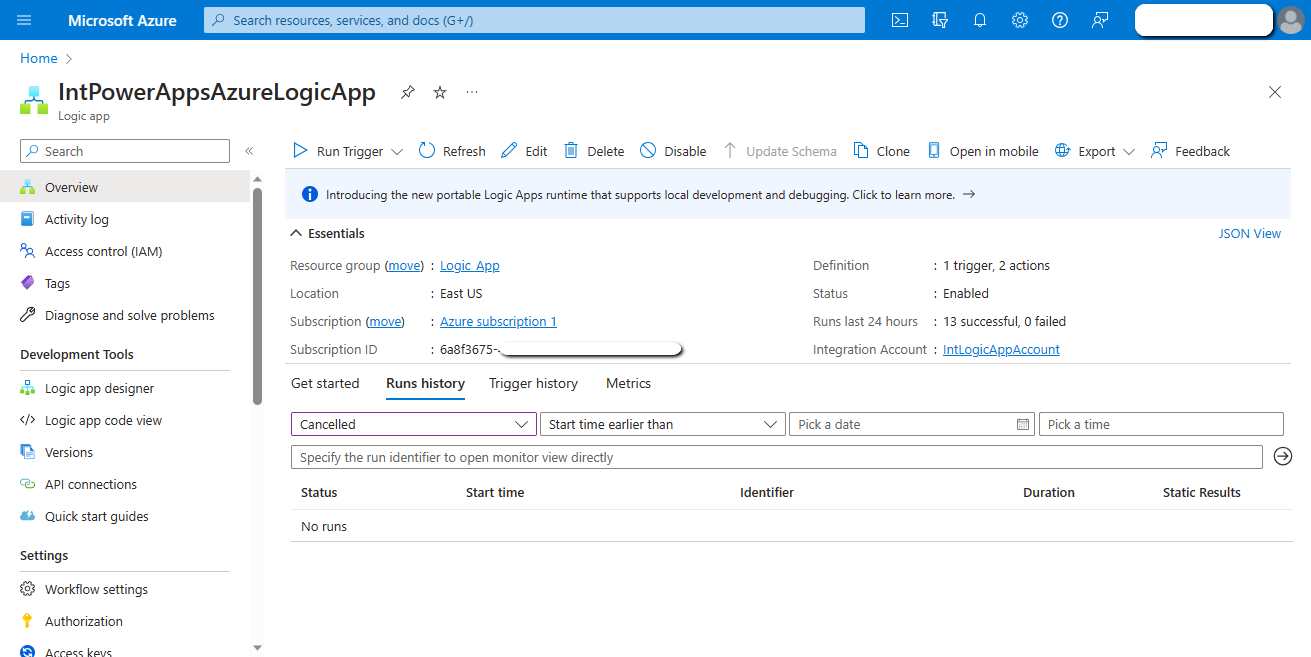
The Logic App resource is successfully created.
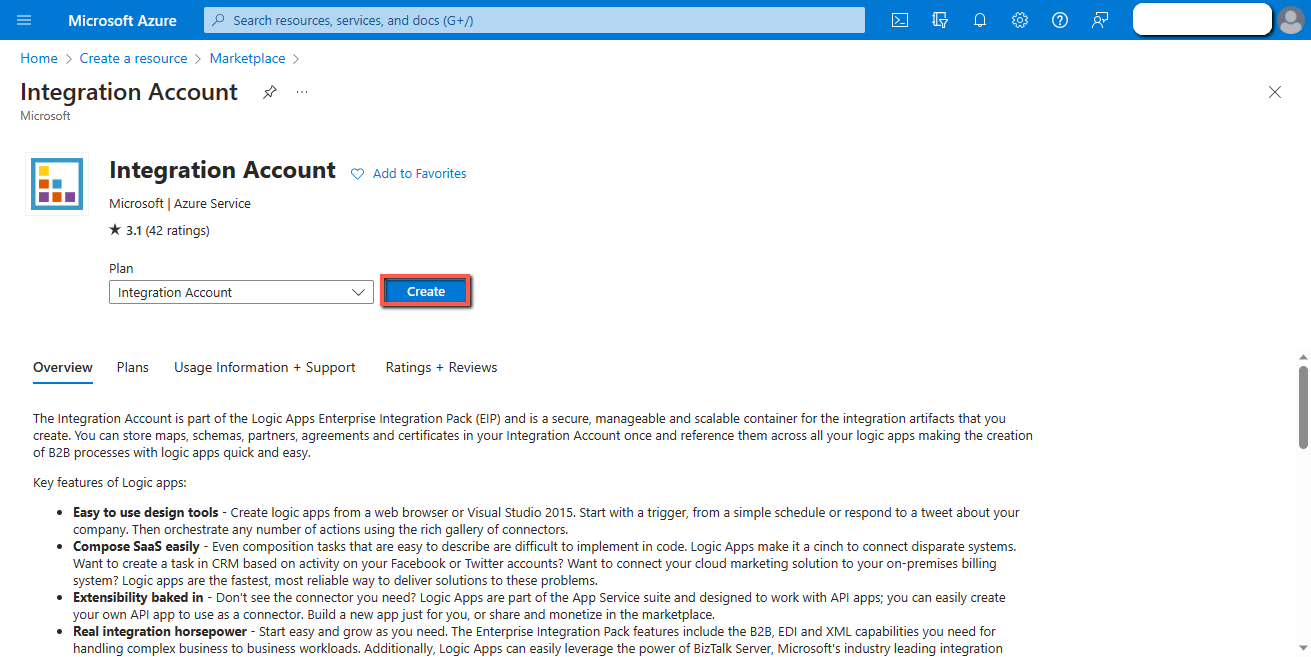
2. Creating an Integration Account
Go to the Azure portal and click on the “Create resource” button.

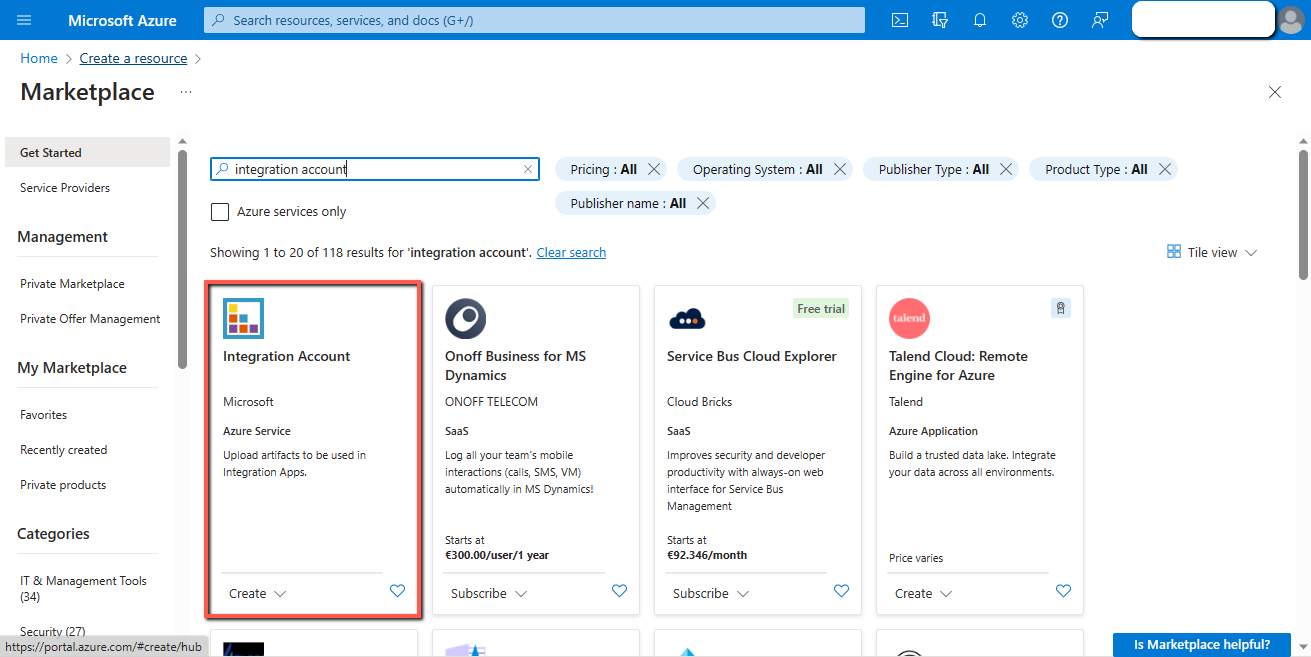
Search and select “Integration Account” by Microsoft.
Click on the “Create” button.
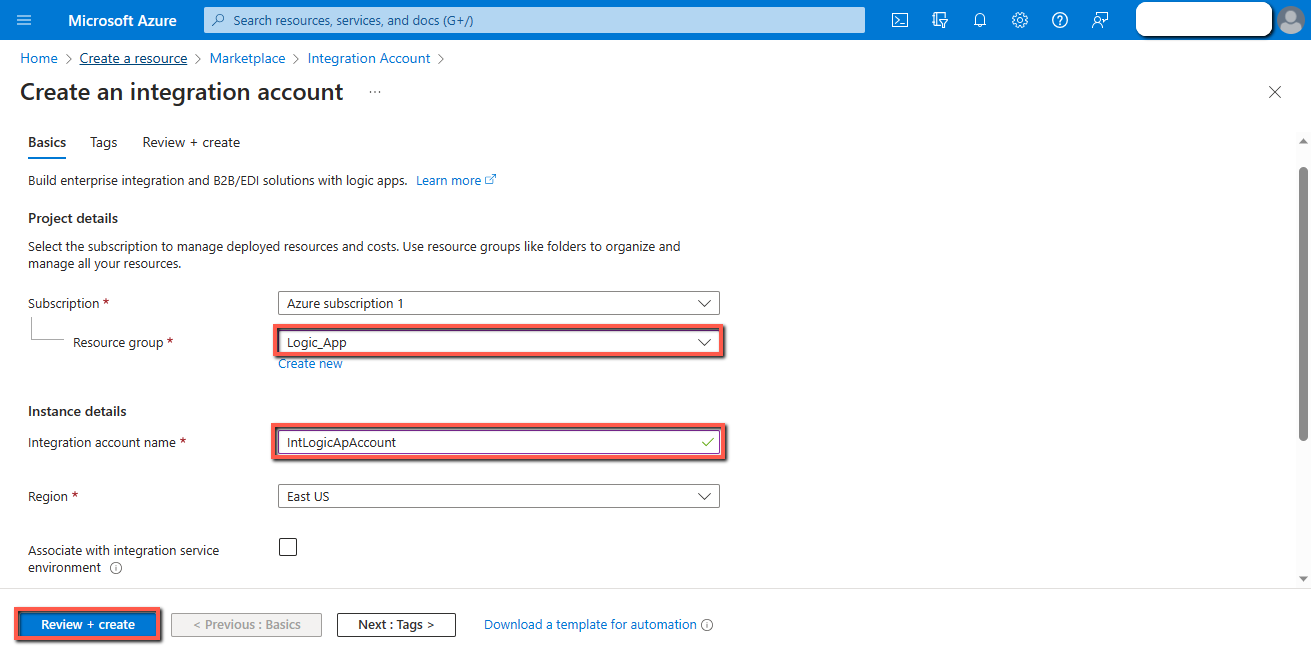
Select the “Resource group”, write the “Name”, and click on the “Review + Create” button.
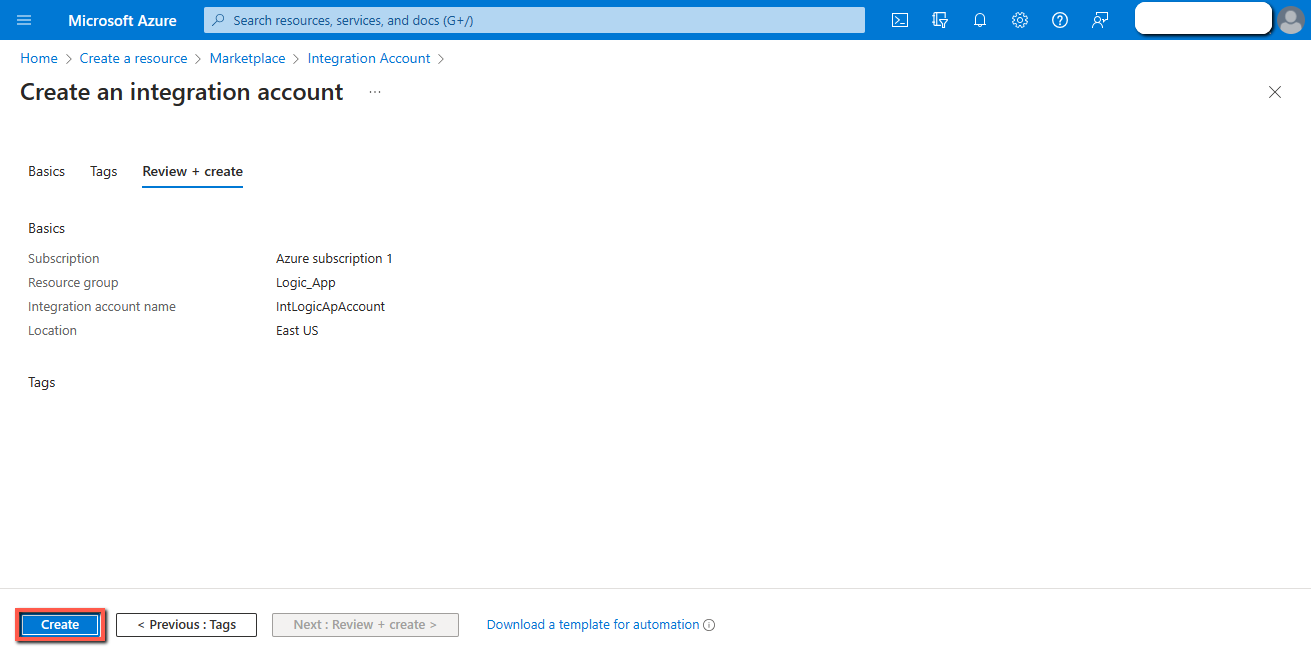
Click on the “Create” button.
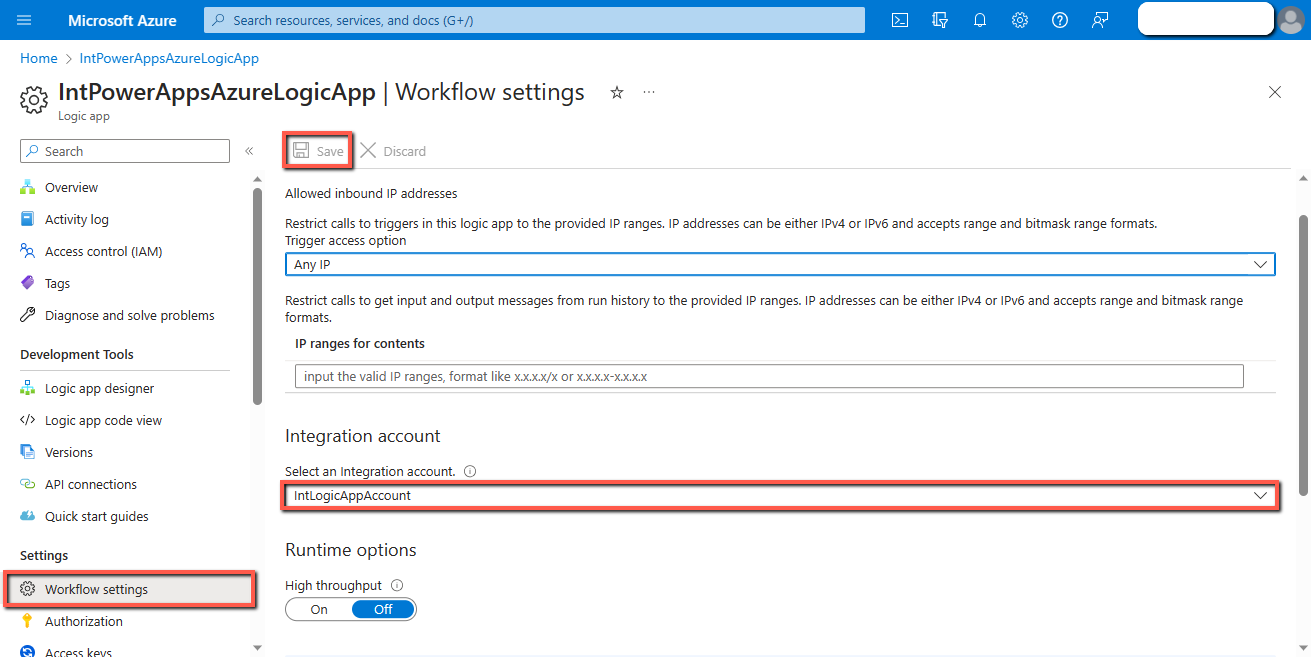
Open the “Logic App” resource that you have created in the first step.
Open the “Workflow Settings”, select “Integration Account”, and click on the “Save” button.
3. Design the Logic App
Open the “Logic App” resource.
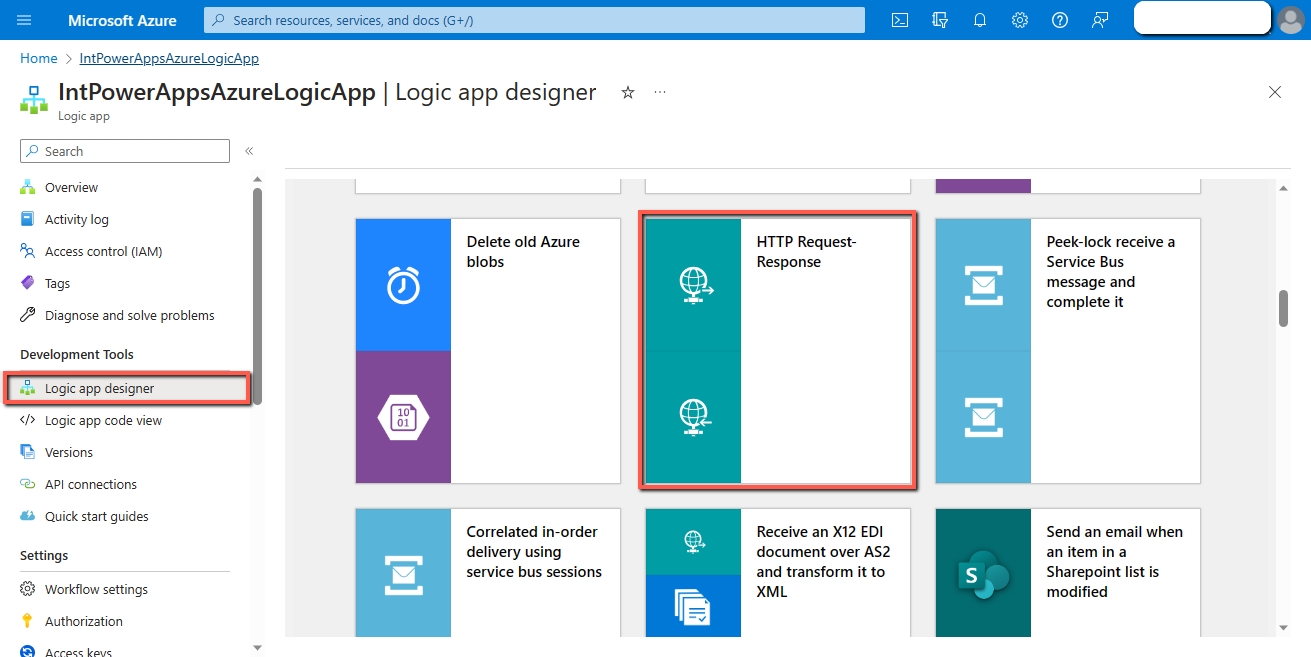
Open the “Logic app designer” and select the “HTTP Request-Response” template.
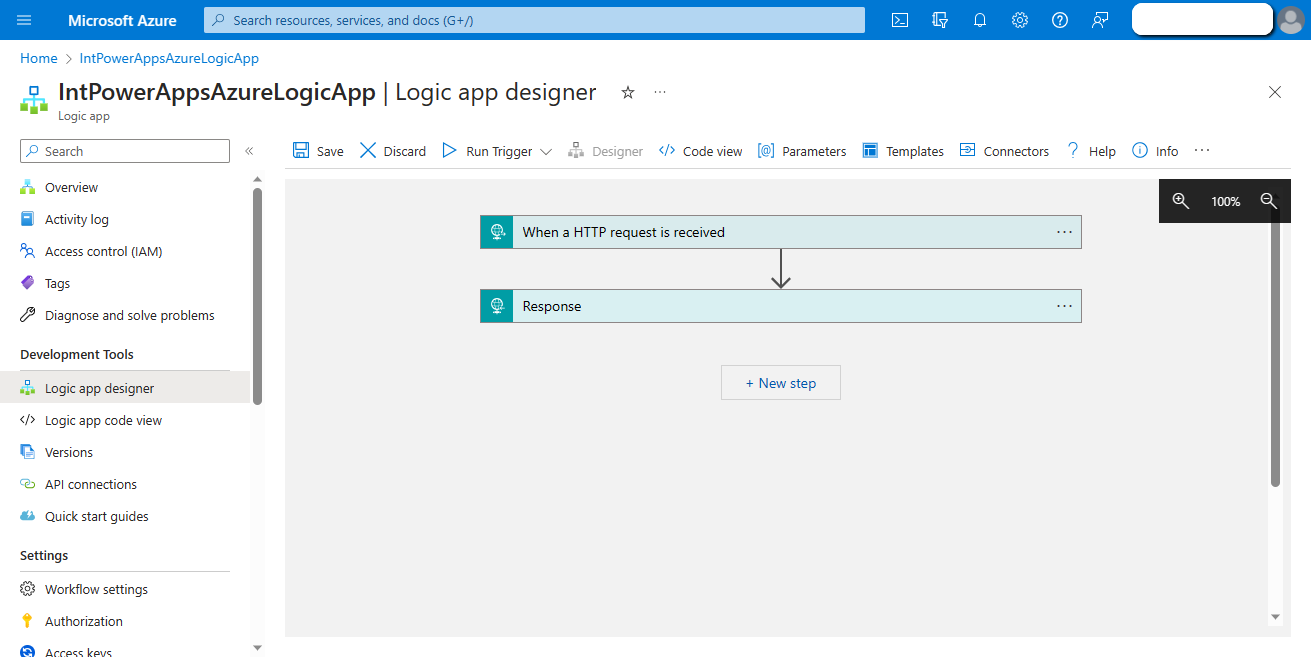
You will see the following screen.
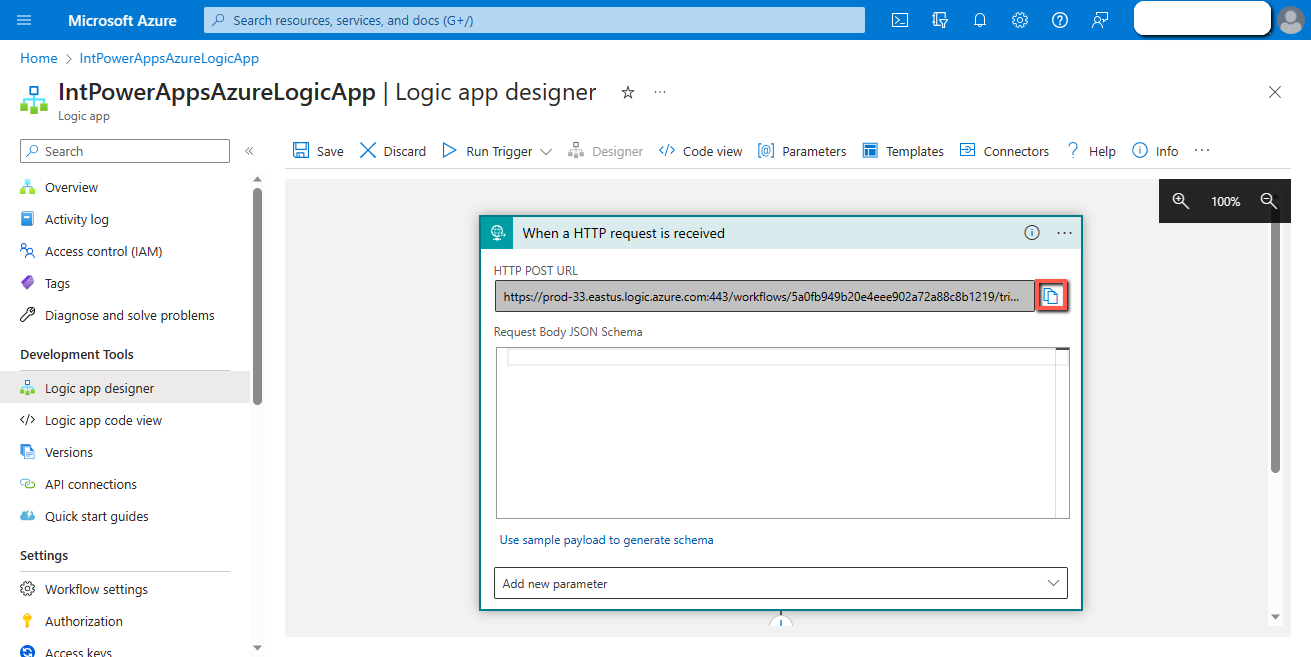
Copy the “URL” of the trigger action to use in the next steps.
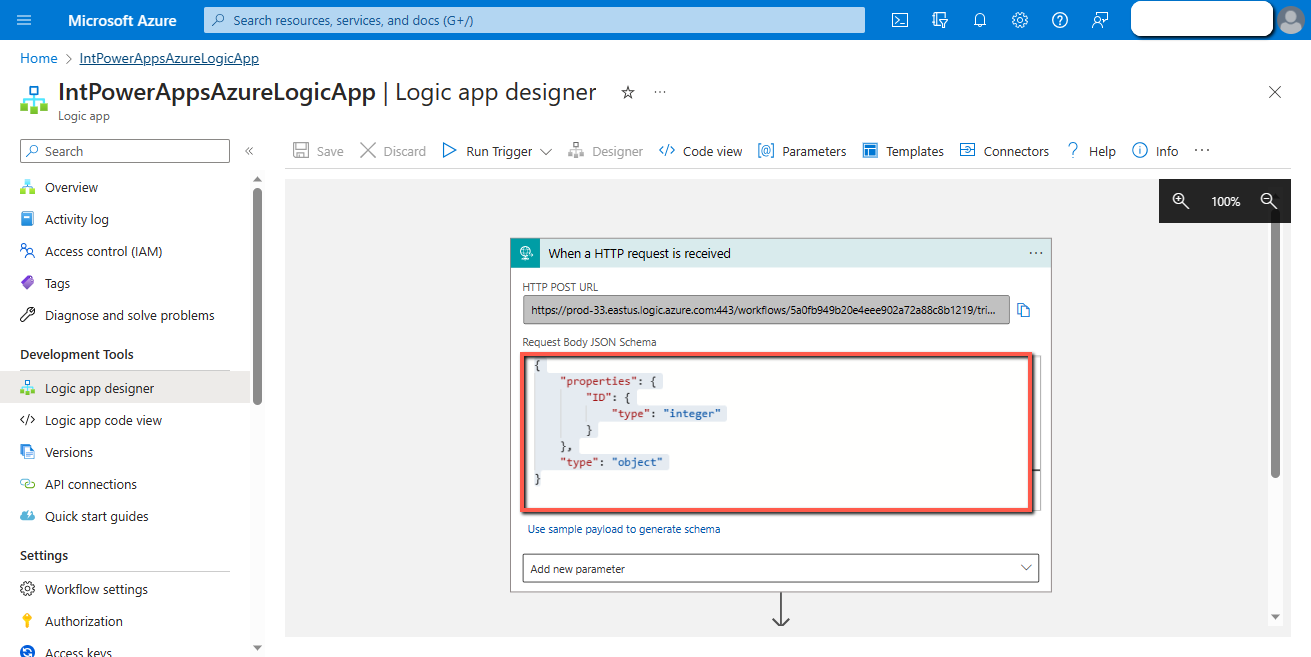
Copy and paste the following schema in the trigger action.
Schema
{
“properties”: {
“ID”: {
“type”: “integer”
}
},
“type”: “object”
}
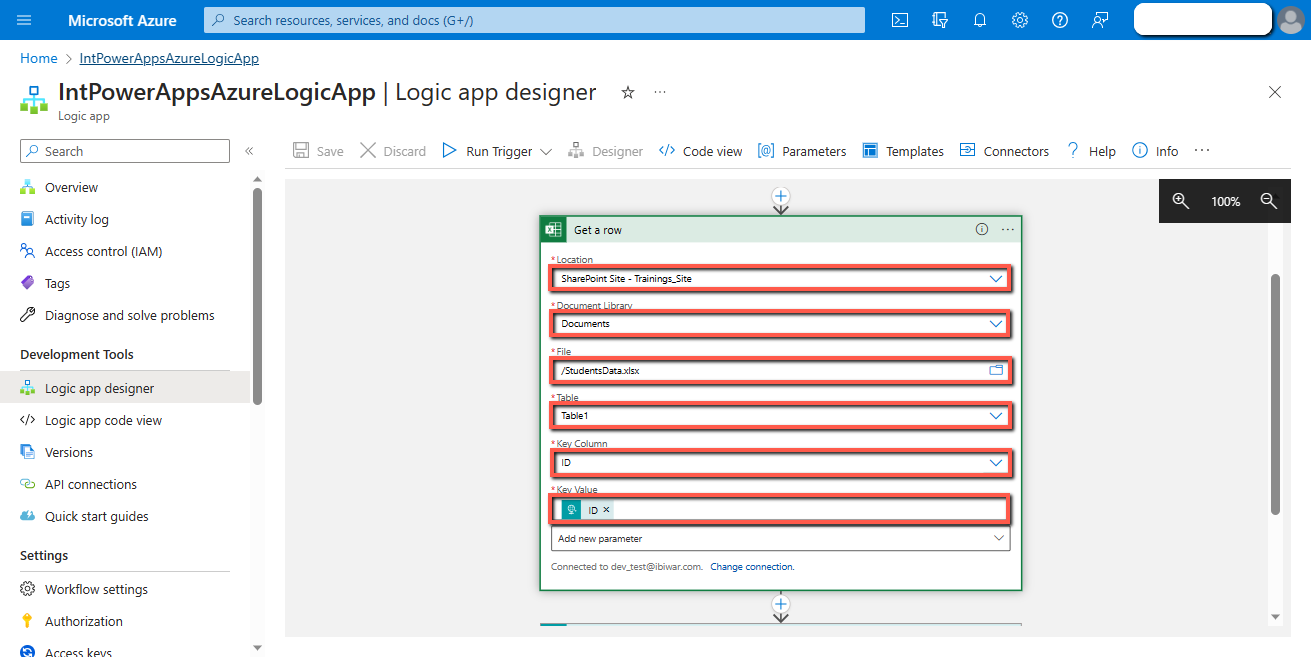
Add a “Get a row” action.
Select the “Site”, select the “Library”, select the “File”, select the “Table”, and select the “Key column”.
In the “Key Value”, add the “ID” coming from the trigger action.
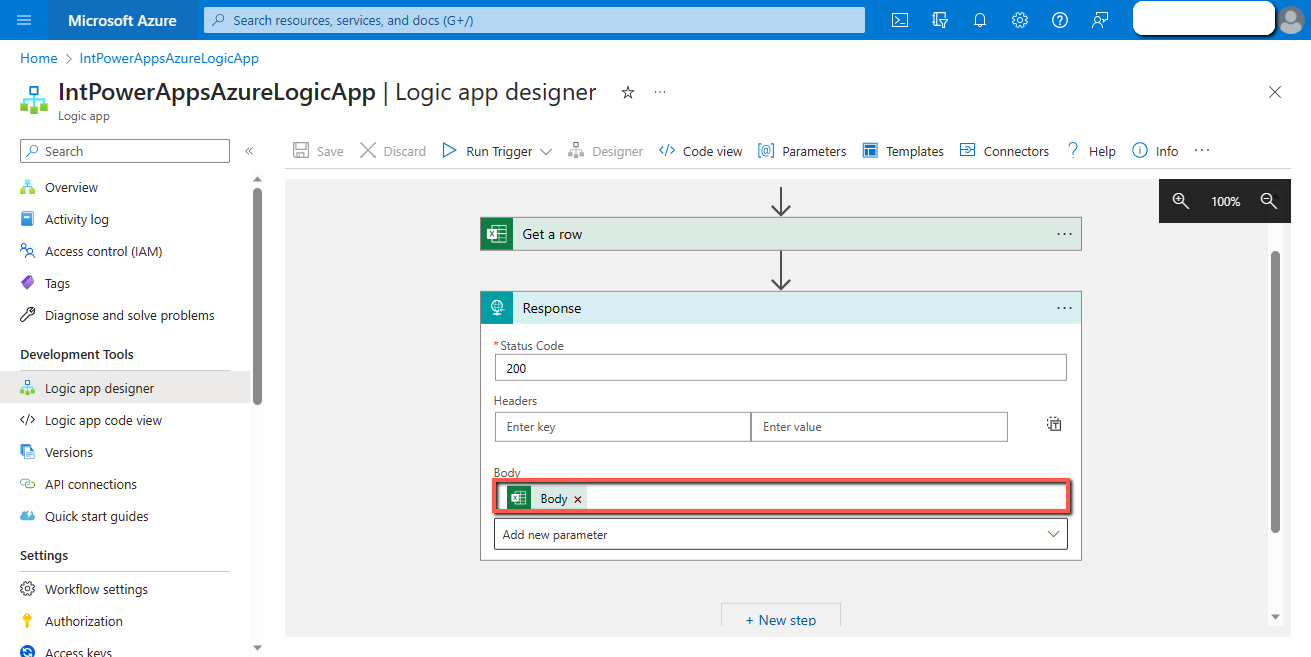
Open the “Response” action.
In the “Body” field, pass the “Body” of the “Get a row” action.
The Logic app is ready, save it.
4. Create the Power Automate flow
Now we create a Power Automate flow that will bridge the Azure Logic App and the PowerApps.
Create an “Instant” flow.
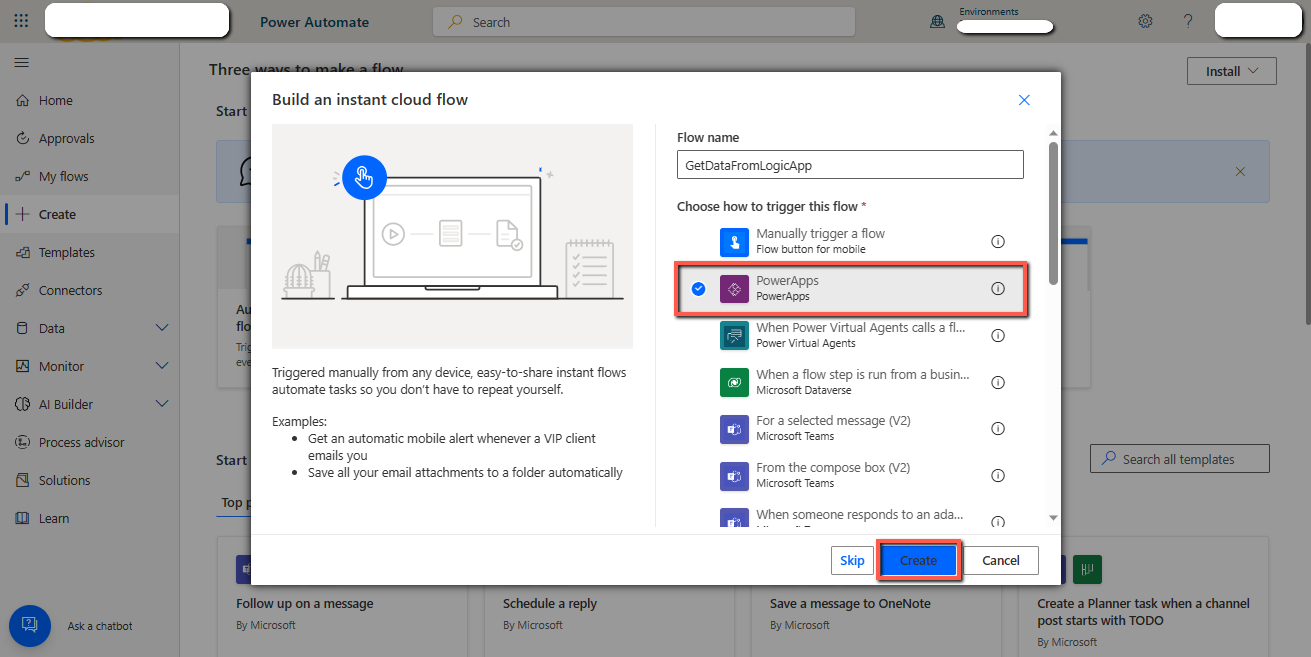
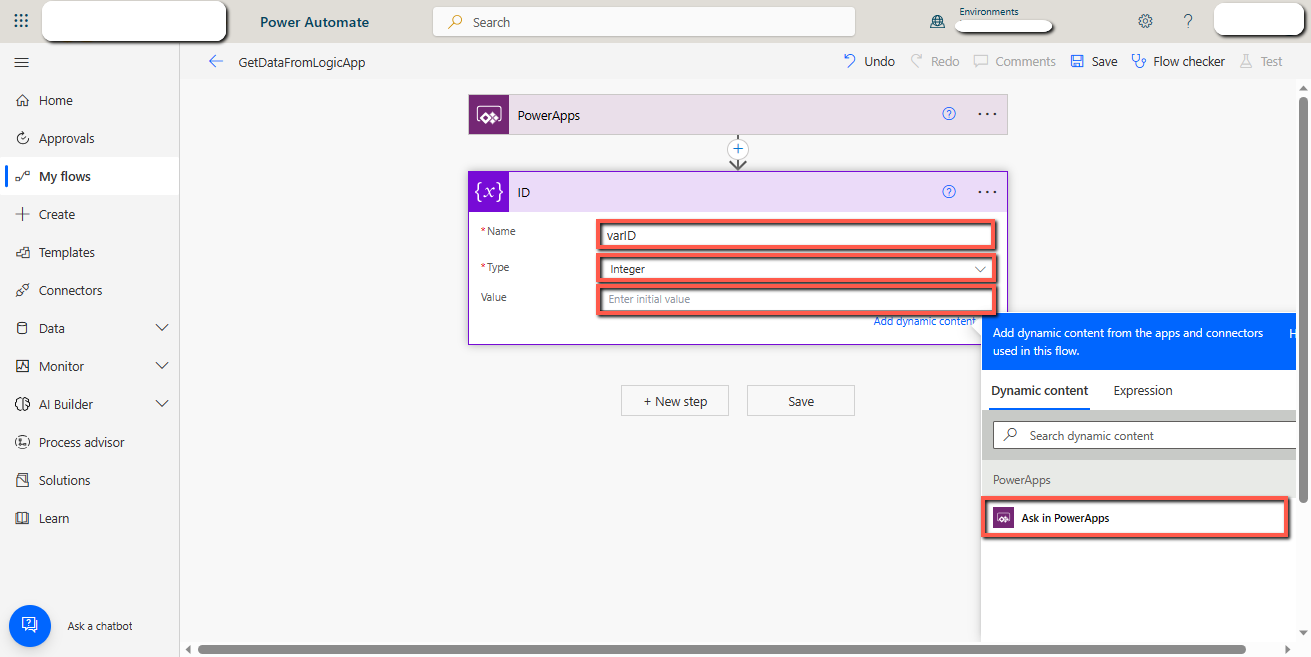
Add an “Initialize variable” action.
In the “Name” field write “varID”, select “Integer” in the “Type” field, and for the “Value” field click on “Ask in PowerApps”.
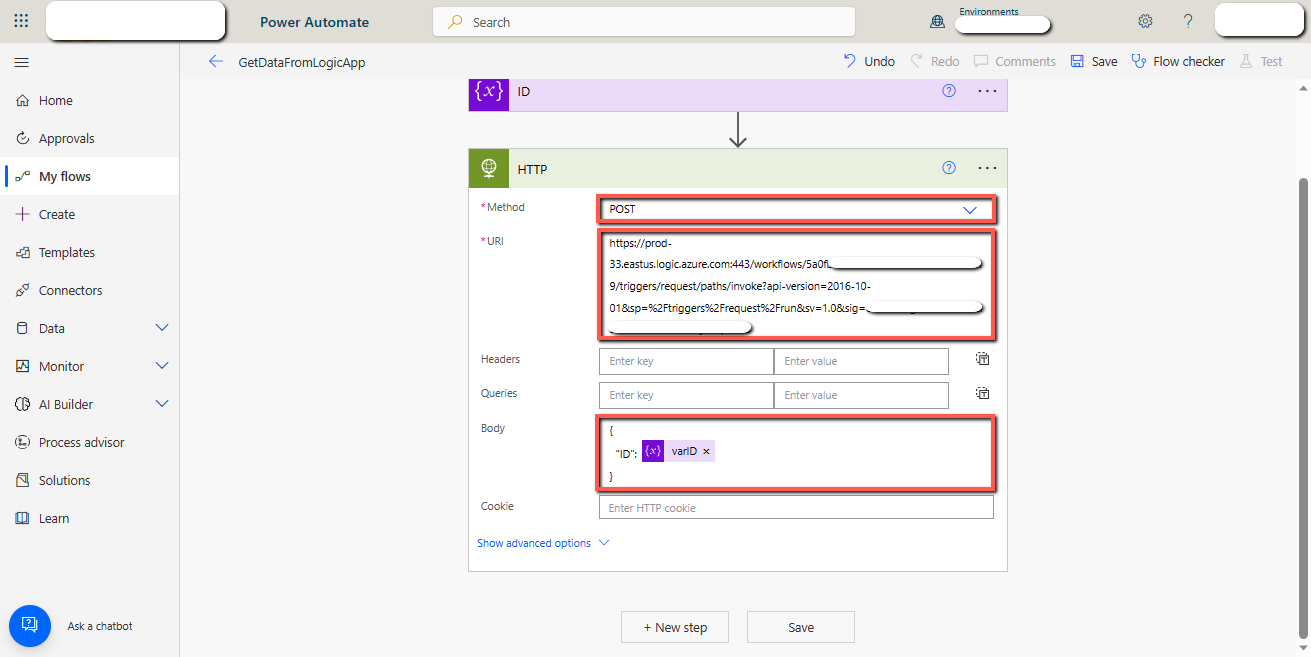
Add an “HTTP” action and do the following configurations.
Method: Post
URL: URL of Logic App trigger
Body:
{
“ID”: varID variable
}
Add a “Respond to PowerApps” action.
Write “Result” as the parameter name and “body(‘HTTP’)” as an expression.
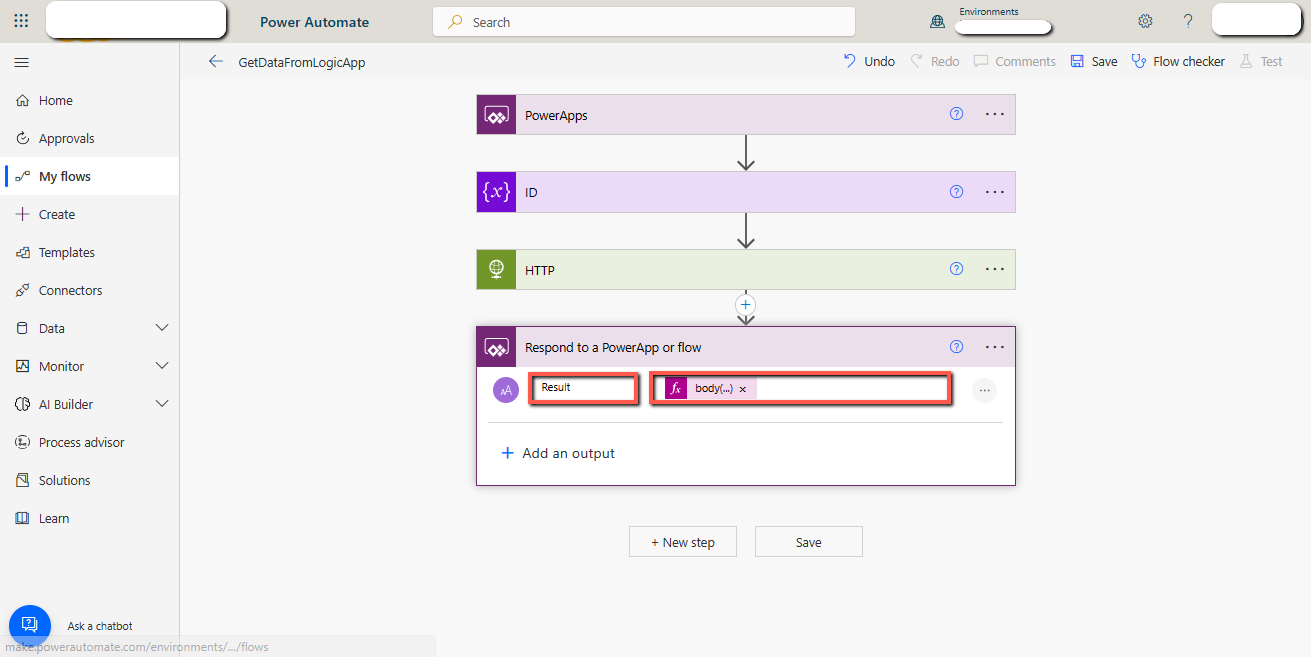
The flow is ready, save it.
5. Integrate with PowerApps
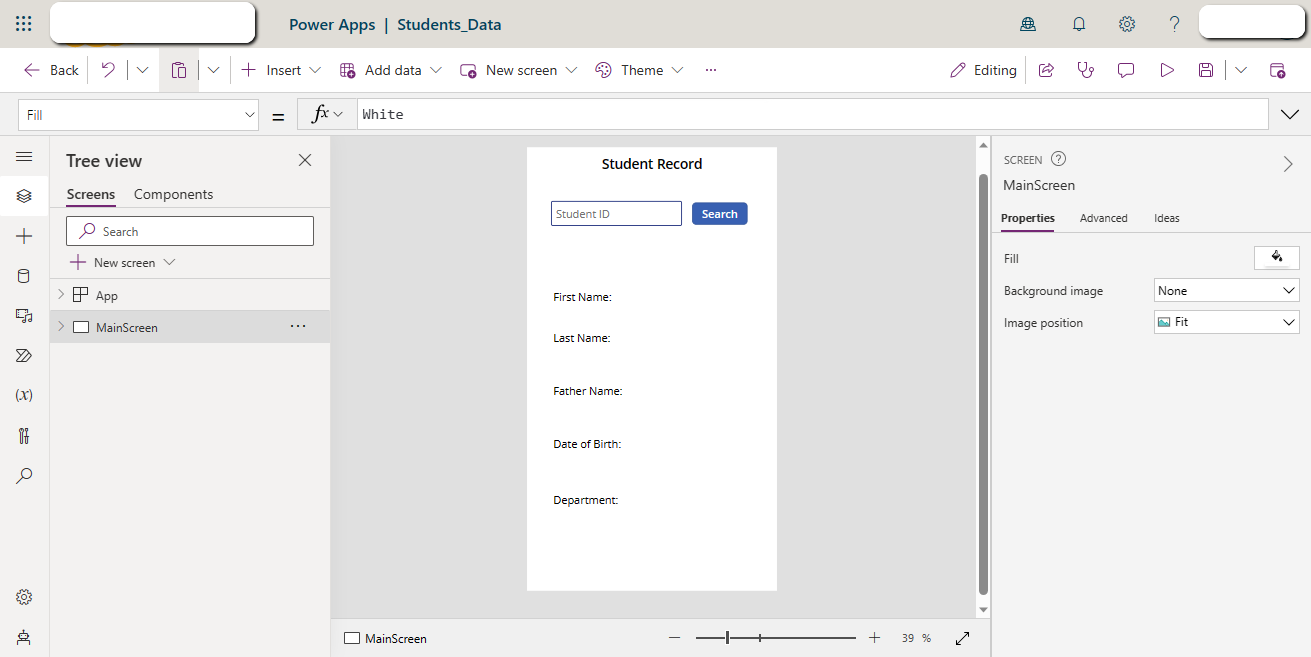
We have a Canvas application with a “Button” and “Labels” to show the results.
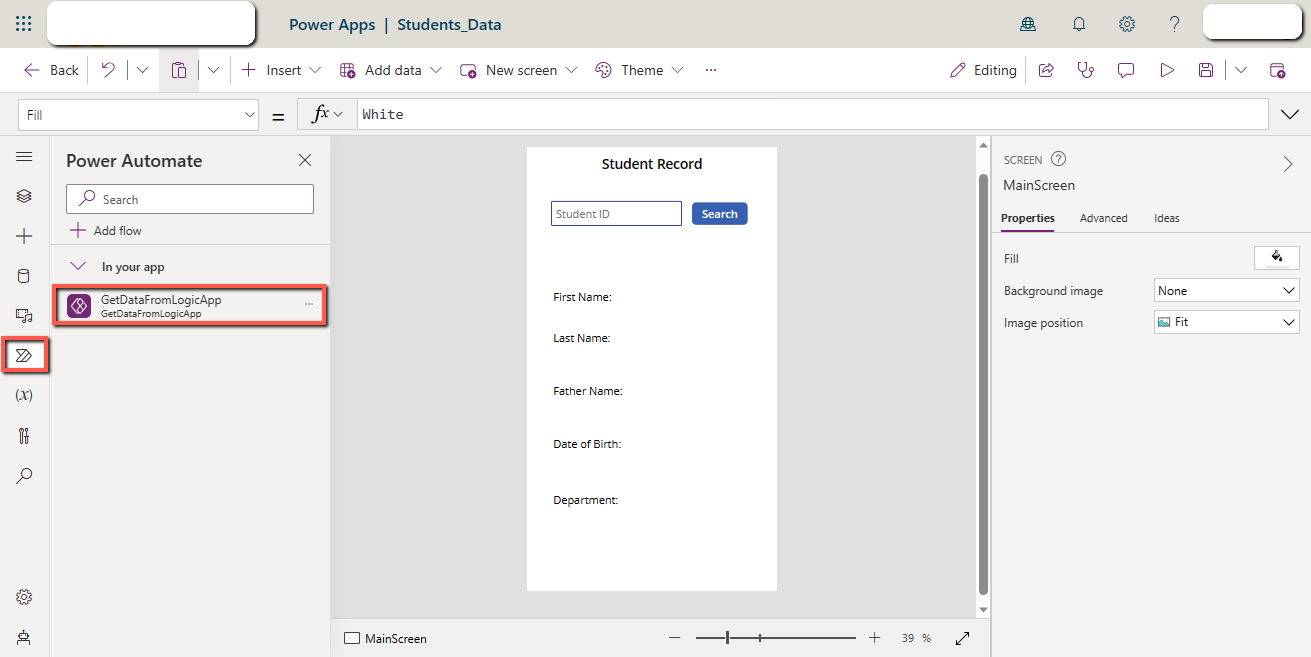
Connect the Power Automate flow that we created in the previous step.
You can click here to see how to connect Power Automate flow with PowerApps.
Select the “OnSelect” property of the “Search” button, copy the code given below, and paste it into the top bar.
Code:
Set(
varResult,
GetDataFromLogicApp.Run(Value(SearchInput.Text)).result
)

The flow returns the result in a JSON string format so we can present the results as follows.
Select the “Label” and use the following code to show the “First Name” of the student.
Code:
Text(ParseJSON(varResult).FirstName)
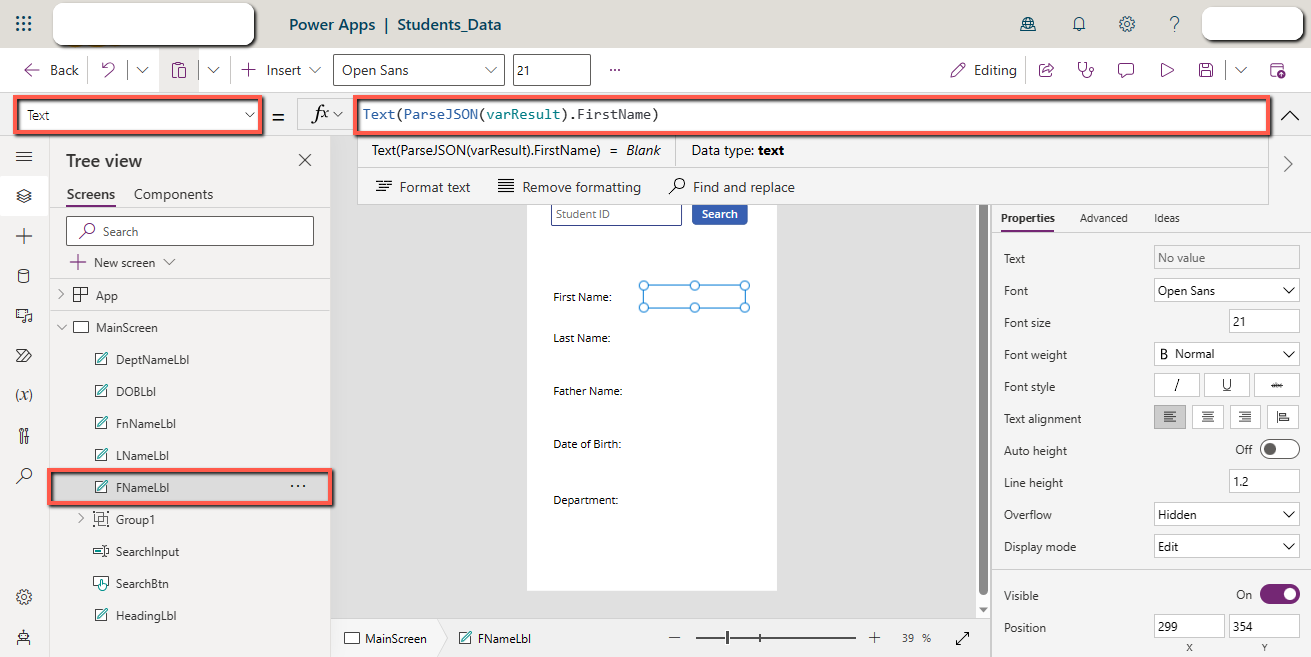
Replace the column name and do the same for the other Labels.

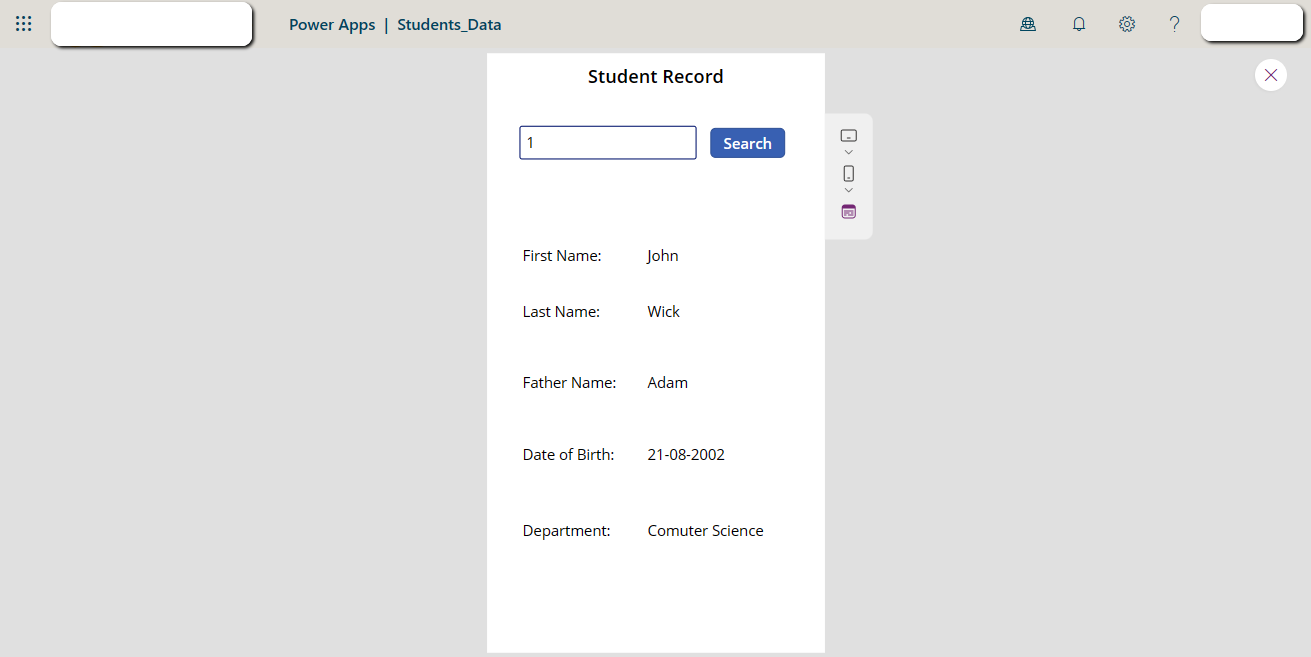
6. Test the app
Play the app, and search for a student id.
Conclusion
We can use Azure Logic Apps with PowerApps using Power Automate flow. To do this, create a Logic App in Azure, copy the URL of the HTTP trigger, send an HTTP request from Power Automate flow, and return the results to PowerApps.