
In this blog, we will pass parameters to Power Automate flow from PowerApps.
Scenario
We will create a SharePoint list, create a customized form for that list and then pass parameters from that customized form to Power Automate. The flow will get values from Power App form, create an item in SharePoint list and send an email to the concerned person with the item details.
Step1. Create SharePoint list
Create a SharePoint list named “Customers Record” that contains the following columns.
- Name – Single line of text
- Address – Multiple lines of text
- Contact – Number
Step2. Customize form using Power Apps
- Click on the “Integrate” , choose “PowerApps” and then choose “Customize forms”.
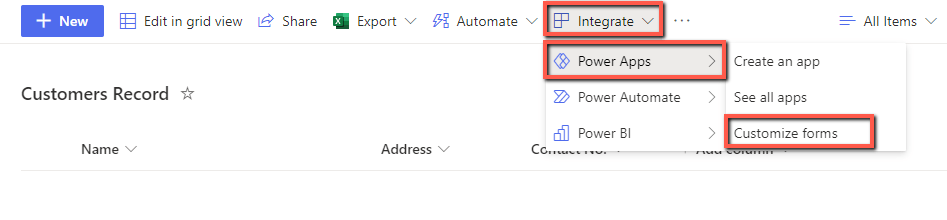
You will be redirected to the Power Apps studio and see the following layout.

Step3. Add the Submit button
We will add a button for form submissions.
- From the Top-bar, click on the “Insert” tab.
- Click on the “Button”.

Now drag and drop the “Button” where you want to place it.
Replace the “Button” text with “Submit”.
Step4. Create Power Automate flow
We will now link the “Submit” button to the flow.
- Click on the “Submit” button.
- Click on the “Action” tab.
- Click on the “Power Automate”.
- Click on the “Create a new flow”.

You will be redirected to the Power Automate screen.
- Click on the “Power Apps button” as shown below.

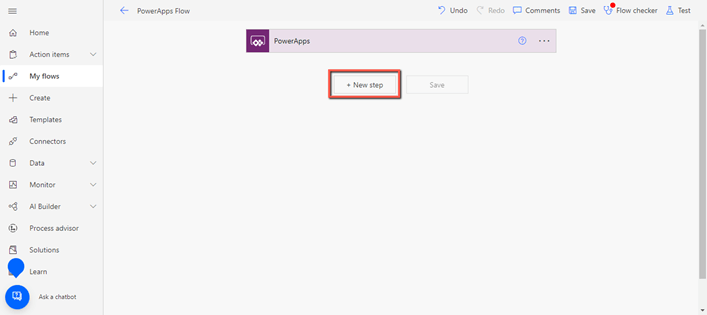
Now you will see the following screen.
- Click on the “New step”.
Create the following three variables.
- varName for Name
- varAddress for Address
- varContact for Contact
Follow the steps given below to create your first variable.
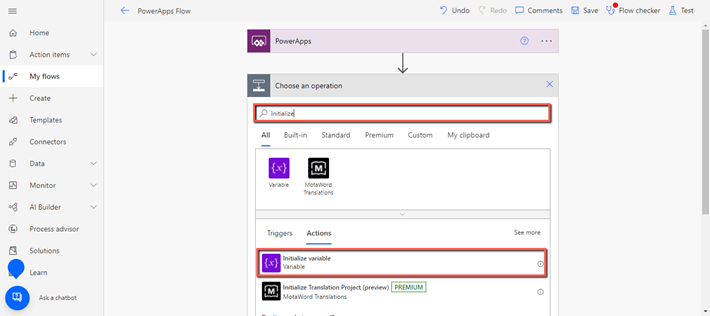
- Search “initialize” in the search bar.
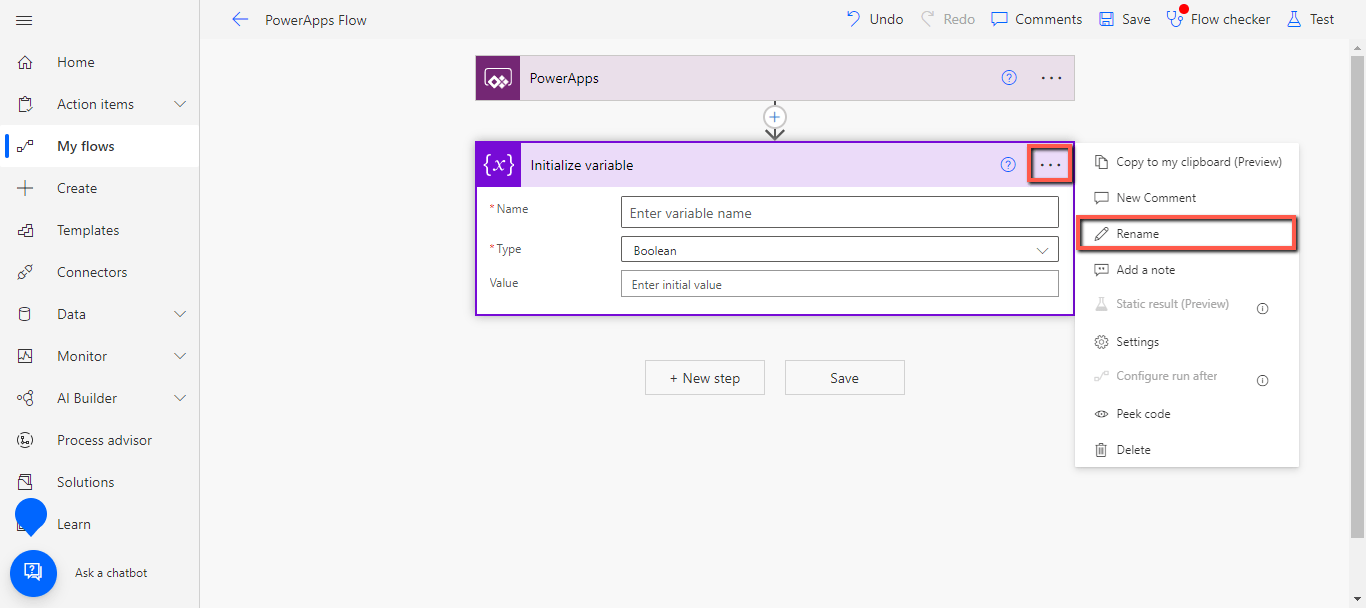
- Click on the “Initialize variable”.
- Click on three dots in front of “Initialize variable”.
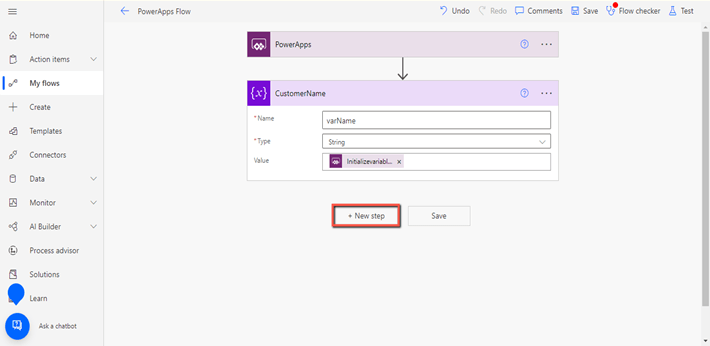
- Rename the instance, to “CustomerName” as shown below.
- Set the variable name to “varName”.
- Set the data type to String.
- For value, click in the value bar.
- Click on the “Ask in PowerApps” option from the drop-down.

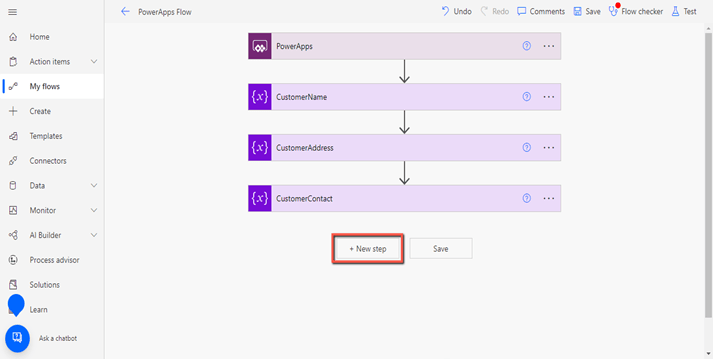
You have successfully initialized one variable for the customer’s Name. Now using the same above-mentioned method, initialize two more variables for customer Address, and Contact No.
Again, click on the “New step”.
For customer address
- Add a new action of “Initialize variable”.
- Rename the action to “CustomerAddress”.
- Set the variable name to “varAddress”.
- Set the data type to String.
- For value, click in the value bar.
- Click on the “Ask in PowerApps” option from the drop-down.
For customer contact
- Add a new action of “Initialize variable”.
- Rename the action to “CustomerContact”.
- Set the variable name to “varContact”.
- Set the data type to String.
- For value, click in the value bar.
- Click on the “Ask in PowerApps” option from the drop-down.
Again, click on the “New step”.
- Search for “Create item”.
- Click on “Create item” action to add it to the flow.
- Select the “Site Address” from the drop-down.
- Select the specific SharePoint list on that site, using the drop-down.
- Click on the “Show advanced options”.

You will see the fields of Title, Address, and Contact No.
We will add the initialized variables in their respective fields as shown below.
- Click on the “Title” field.
- Click on the “varName” from the left menu.

Similarly, add “varAddress” in the Address field and “varContact” in the Contact No. field.

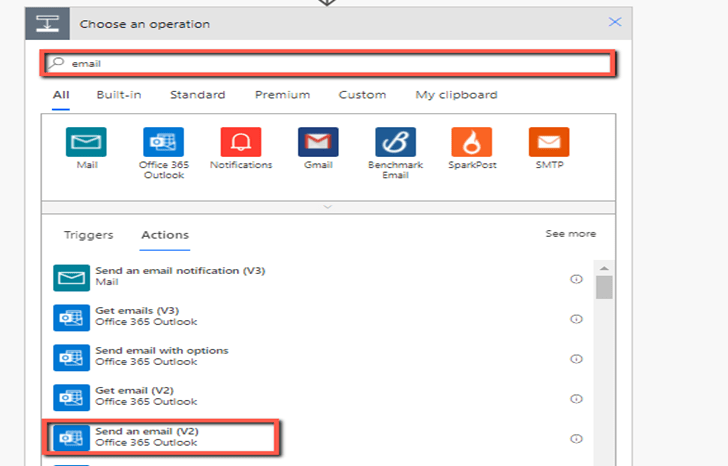
- Click on the “New step”.
- Search for “Email”.
- Click on the “Send an Email (V2)”.
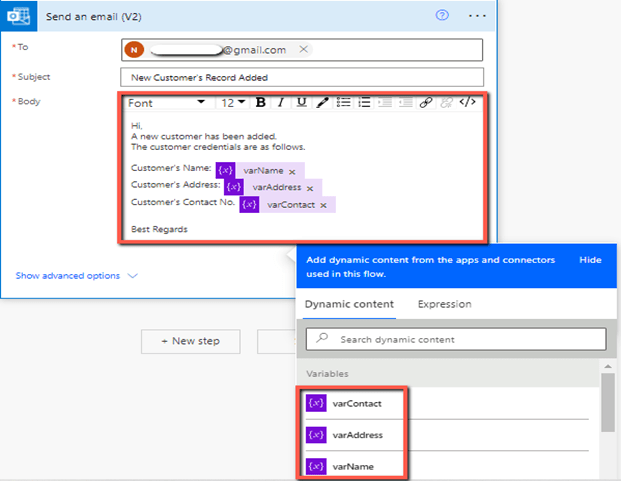
In this section, we must specify the receiver’s email address, subject, and body of the email.
- Add an email address in the “To” field.
- Write the subject of the email in the “Subject” field.
- In the “Body” section, we will pass the dynamic values of the new record. Just select variables from the left menu to add to the body section.
Now click on the “Save” button at the top right corner of the screen.
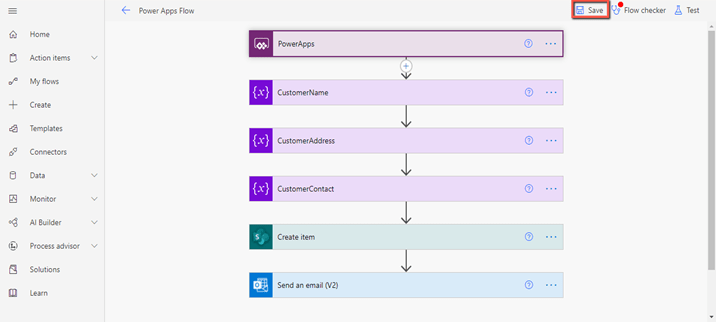
Your flow is created and saved successfully.
Step5. Call the flow from PowerApps
Now we will set our flow at the “Submit” button.
- Go back to the Power Apps studio tab.
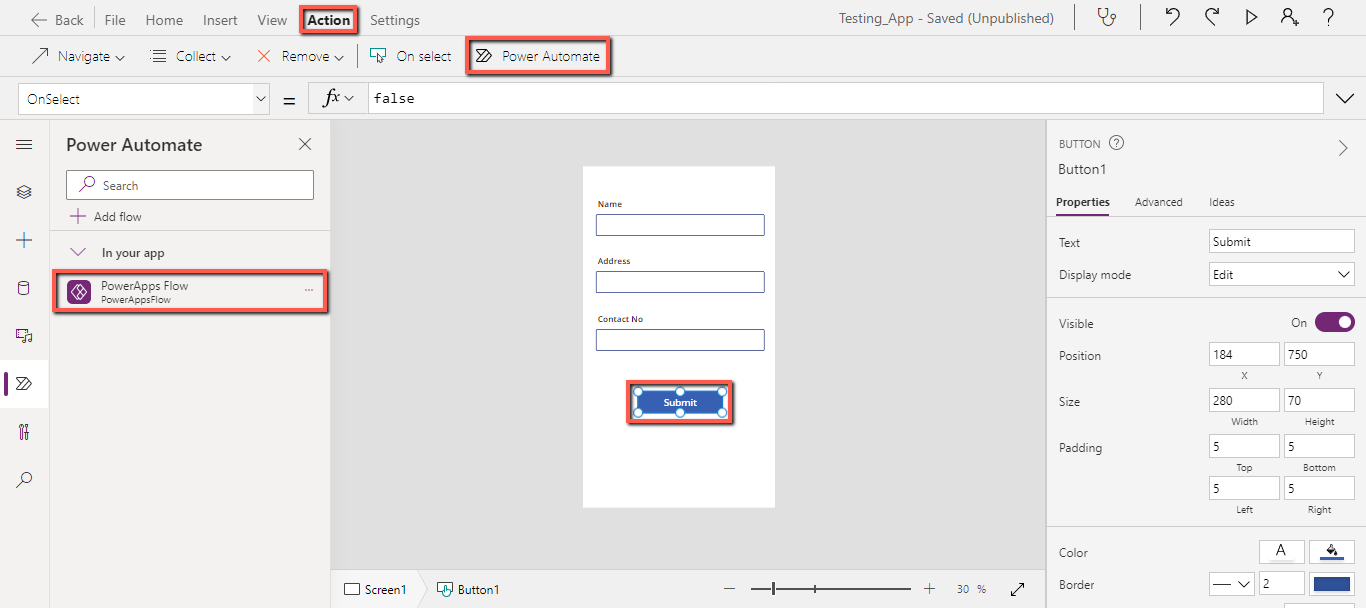
- Click on the “Submit” button.
- Click on the “Action” tab.
- Click on the “Power Automate”.
- Click on the “Power Apps flow”.
- Click on the “Submit” button.
- Copy the code given below and paste it in the top bar as shown below.
Code:
PowerAppsFlow.Run(
DataCardValue1.Text,
DataCardValue2.Text,
DataCardValue3.Text
)
Code explanation:
PowerAppsFlow is the name of the flow we created and added on the “Submit” button.
- DataCardValue1 passes the value entered in the “Name” field.
- DataCardValue2 passes the value entered in the “Address” field.
- DataCardValue3 passes the value entered in the “Contact” field.

Step6. Save and Publish the customized form to SharePoint
Save and publish the customized form in the SharePoint list.
- Click on the “File” in the top right corner.
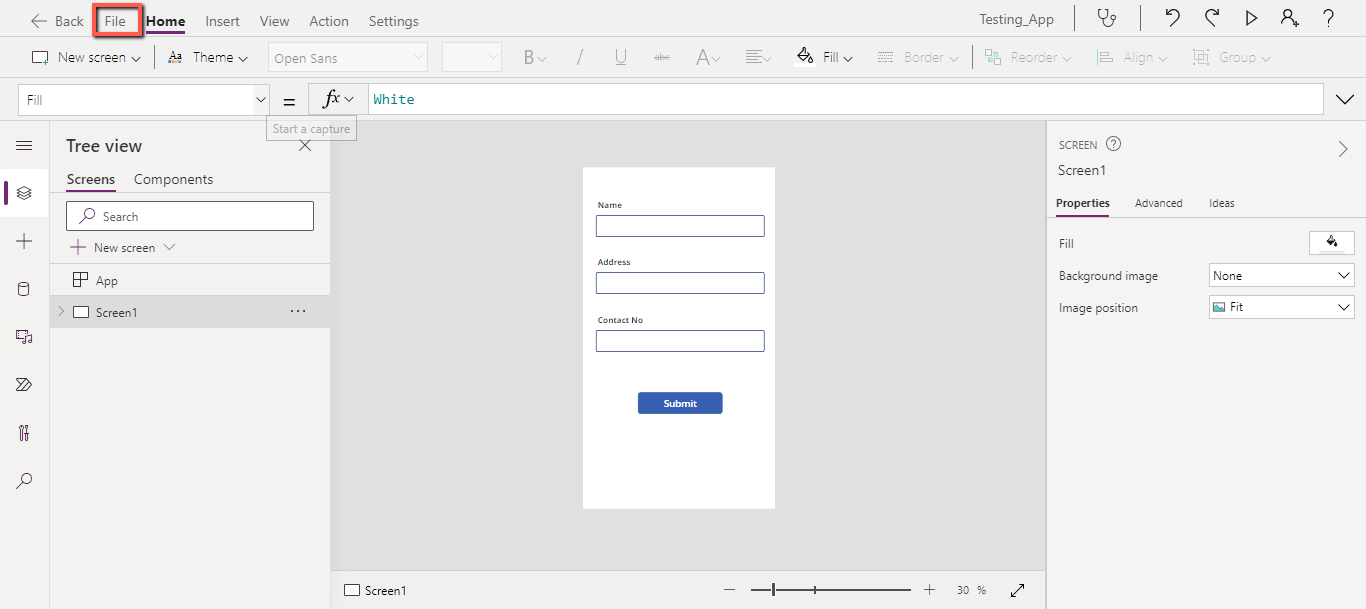
- Click on the “Save” button.

- Click on the “Publish to SharePoint” button.
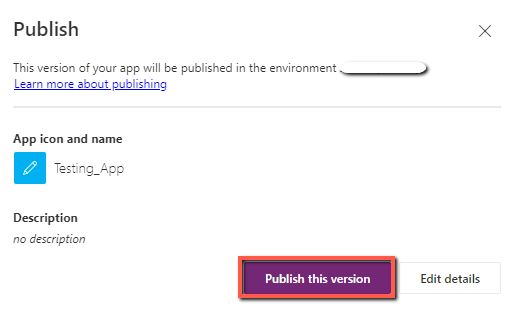
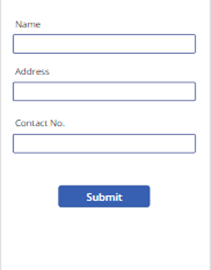
The form will look like the one below.

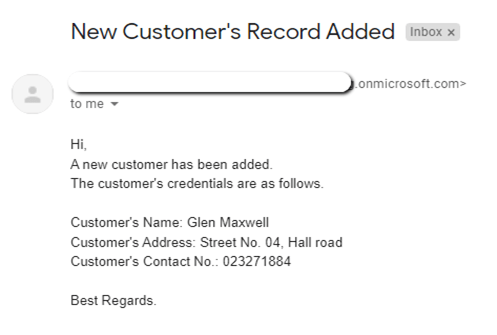
Step7. Test the flow
Let’s see if everything is working correctly.
- Add a record to the SharePoint list.
- Check the email address that you have entered.
You will receive an email like the one below and a new item will be created in SharePoint list.
In this blog, we have successfully created a customized form, added a flow to it, learned how to pass parameters, and successfully gotten an email.