This article will demonstrate how to link a SharePoint list with a Power Apps gallery and sort its items in either ascending or descending order based on various column values.
1. Create a SharePoint list
We need to store the records of the customers in a SharePoint list.
Create a “Customers Record” SharePoint list that contains the following columns.
- Name (Title) – Single line of text
- Address – Multiple lines of text
- Contact No. – Single line of text
- Status – Choice (Regular or Not Regular customer)
- Calculated_Status – Calculated column (with status value as text)
2. Create an App
Go to PowerApps studio.
Create a “Canvas” PowerApps application.
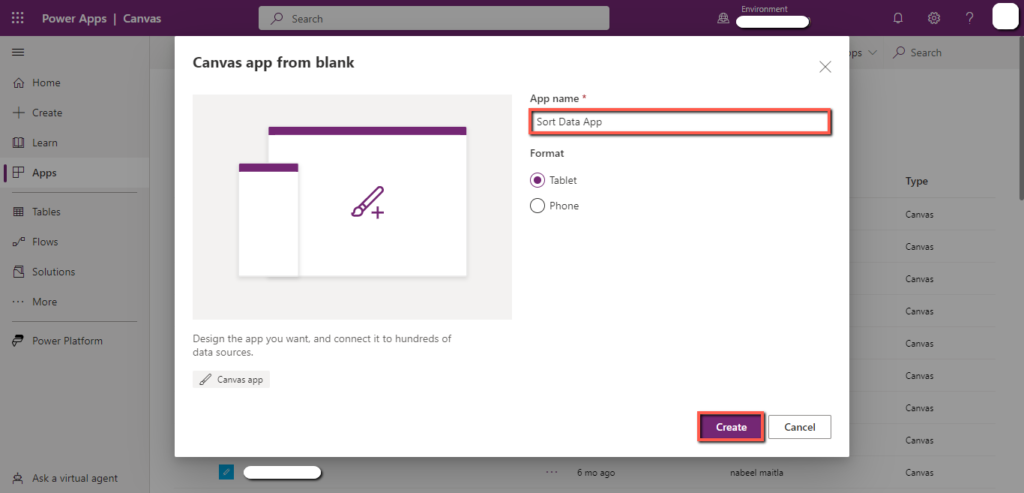
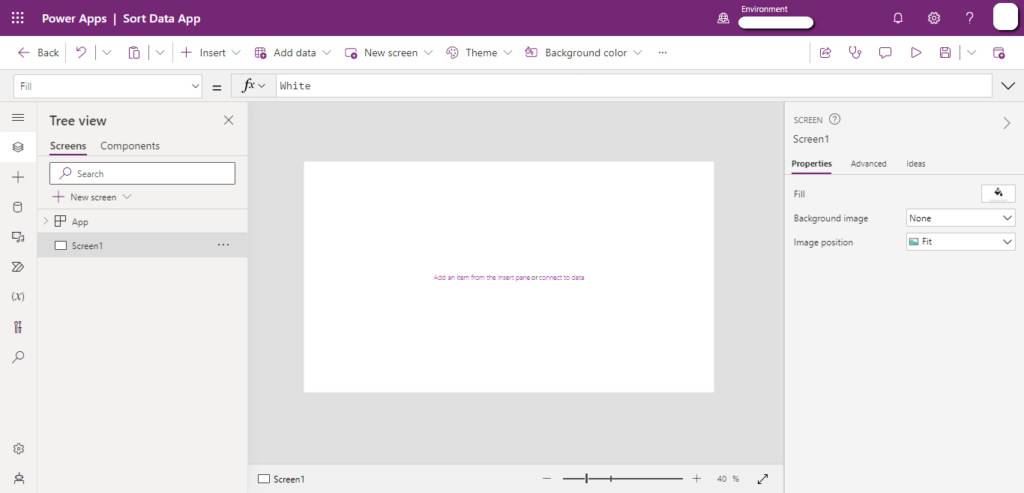
You will see the following screen.
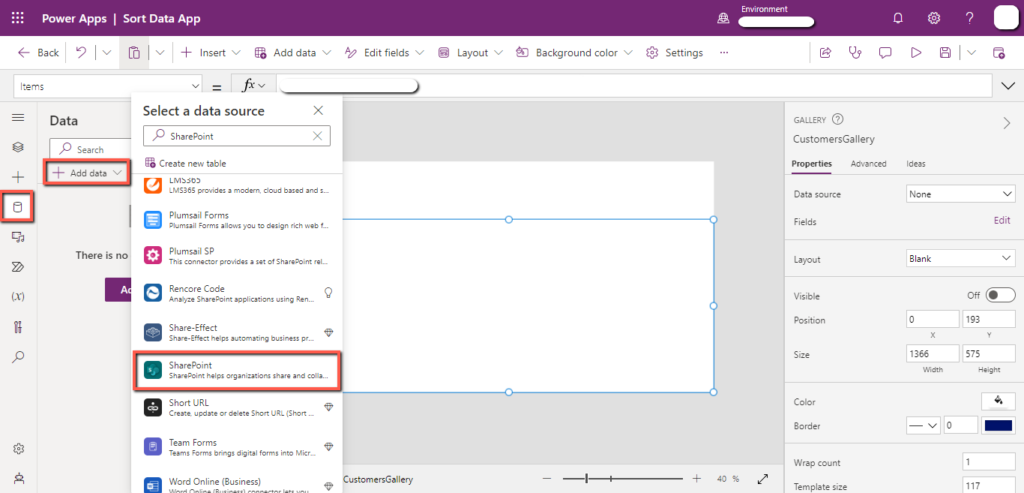
Connect the “Customers Record” SharePoint list with the app.
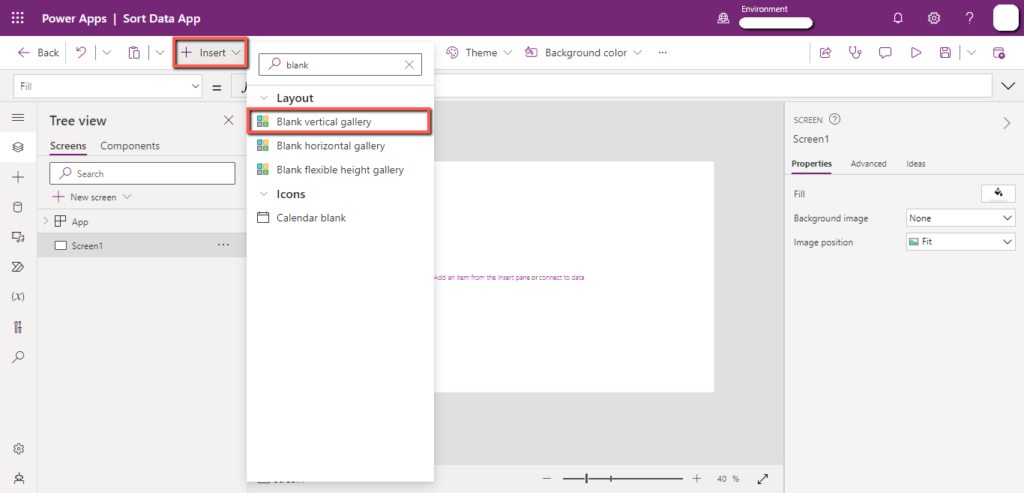
Click on the “Insert” tab, add a “Blank vertical” gallery, and rename it “CustomersGallery”.
Select the “Items” property of the “CustomersGallery” and write the “Customers Record” SharePoint list name.

Insert labels in the “CustomersGallery” to showthe “Name”, “Address”, “Contact No”, and “Status” of the customer.
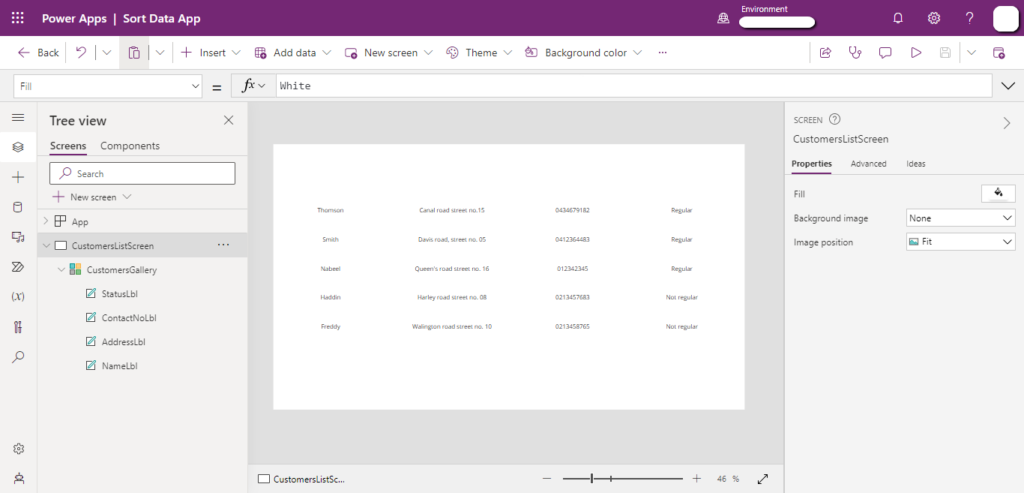
Insert labels for the headings and add background colors.

In this step, we will add “Sort” icons that will be used as a button for sorting the records.
Click on the “Insert” tab and add a “Sort” icon for each column.
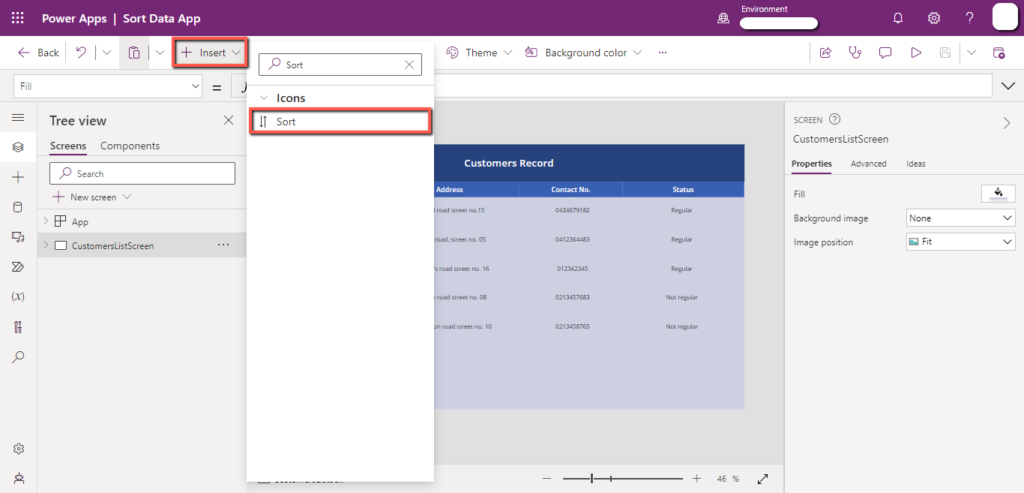
Drag and drop the “Sort” icons beside each column’s name.
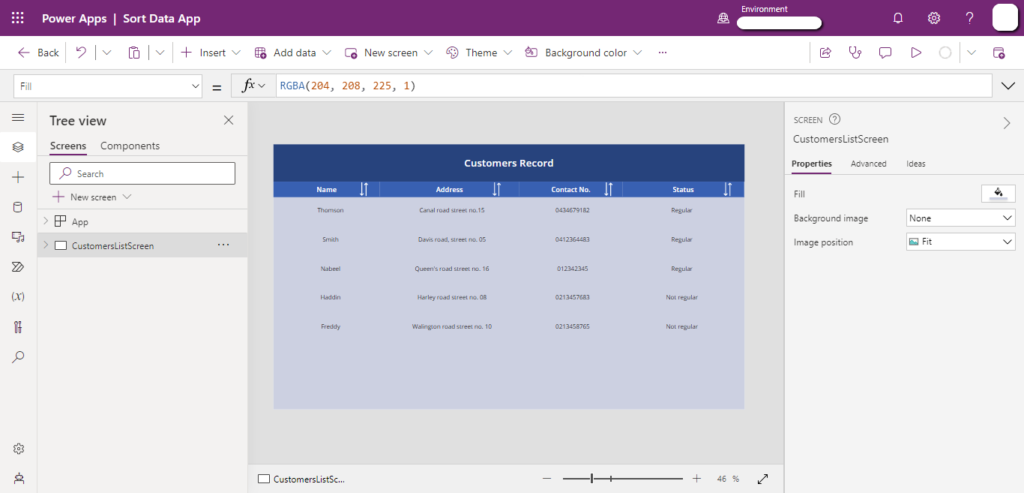
Select the “OnVisible” property of the screen, copy the code given below, and paste it into the top bar.
Code:
UpdateContext(
{
SortPriority: “Title”,
SortDescending: !SortDescending
}
)
This code initializes two variables that will be used for sorting the items.

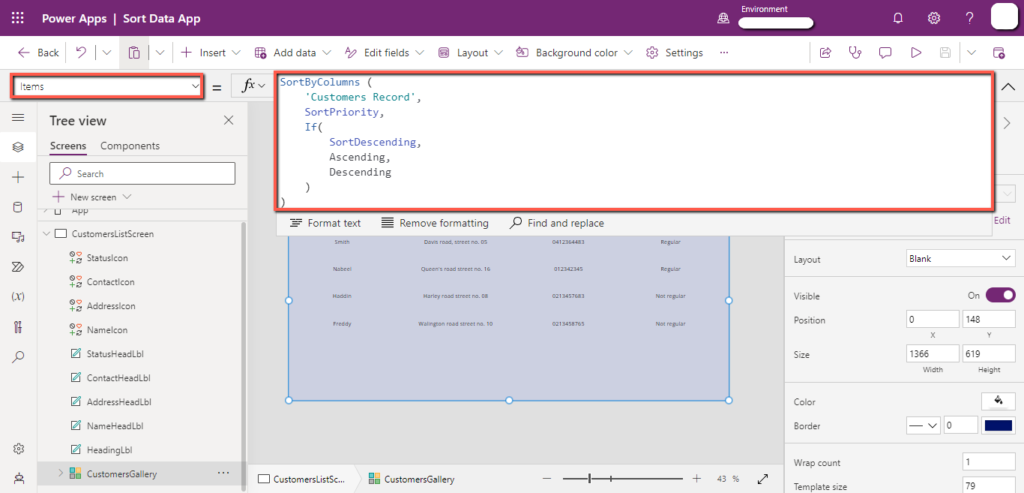
Select the “Items” property of the “CustomersGallery”, copy the code given below, and paste it into the top bar.
Code:
SortByColumns (
‘Customers Record’,
SortPriority,
If(
SortDescending,
SortOrder.Ascending,
SortOrder.Descending
)
)
Code explanation:
SortByColumns is a built-in function.
‘Customers Record’ is the name of the SharePoint list.
SortPriority is the name of the variable.
If(SortDescending,Ascending,Descending)) SortDescending is a variable that we declared here.
“If condition” checks if the SortDescending has a value stored in it, then the sort order will be Ascending, otherwise the sort order will be Descending.
Now we will add formulas to the “Sort” icons.
Select the “OnSelect” property of the “Sort” icon of the “Name” column.
Copy the code given below and paste it into the top bar.
Code:
UpdateContext(
{
SortPriority: “Title”,
SortDescending: !SortDescending
}
)
Code explanation:
UpdateContext is a built-in function.
SortPriority: “Title” assigns the Title value to the variable.SortDescending:!SortDescending reverses the value of the “SortDescending” variable.
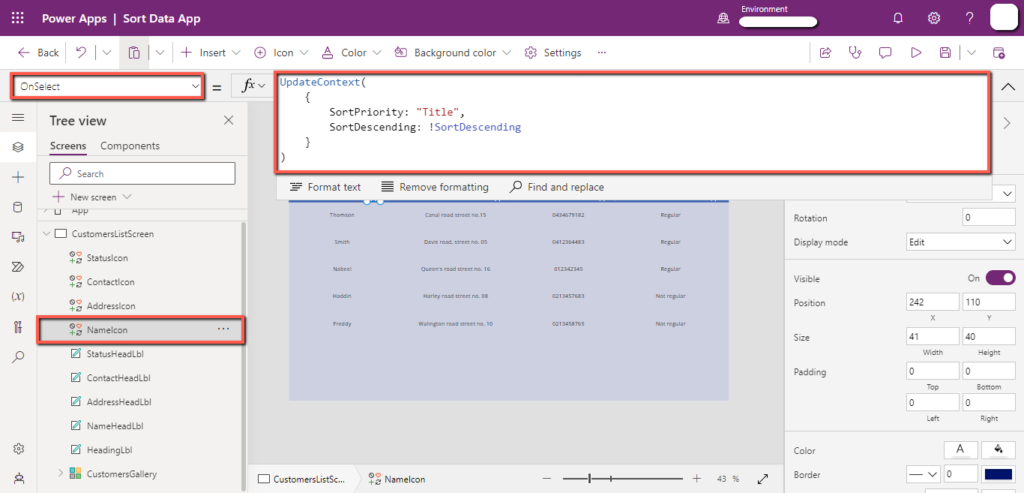
Select the “OnSelect” property of the “Sort” icon of the “Address” column.
Copy the code given below and paste it in the top bar.
Code:
UpdateContext(
{
SortPriority: “Address”,
SortDescending: !SortDescending
}
)

Select the “OnSelect” property of the “Sort” icon of the “Contact No.” column.
Copy the code given below and paste it into the top bar.
Code:
UpdateContext(
{
SortPriority: “Contact_No”,
SortDescending: !SortDescending
}
)
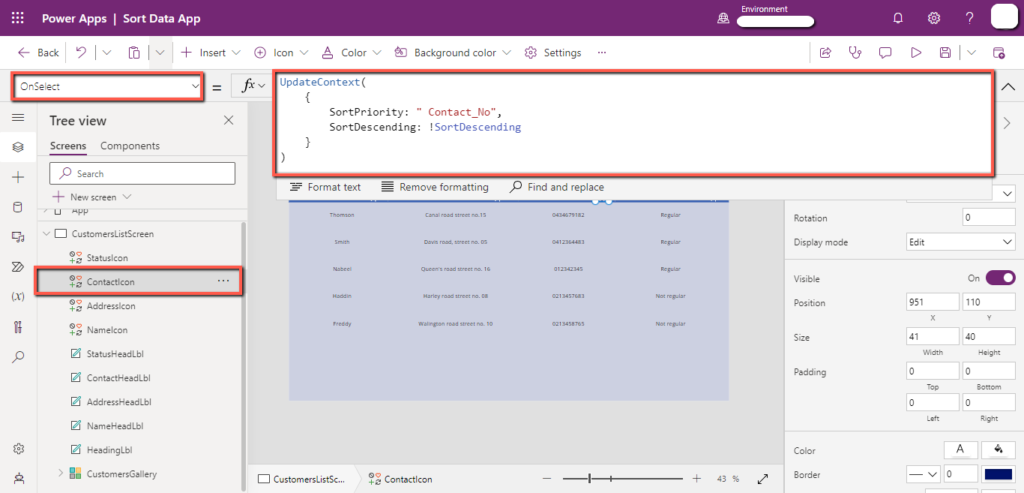
Select the “OnSelect” property of the “Sort” icon of the “Status” column.
Copy the code given below and paste it in the top bar.
Code:
UpdateContext(
{
SortPriority: “Calculated_Status”,
SortDescending: !SortDescending
}
)

Note: The “Sort” icon beside the “Status” column, is using the value of “Calculated_Status” column.
The “Status” column is of type choice, this formula may not work on the “Choice” type column. So, we stored the “Status” choice value as a text value in the “Calculated_Status” column.
3. Testing
You can test the “Sort” function, using the preview application option.
The final layout of the application will look like the one below.
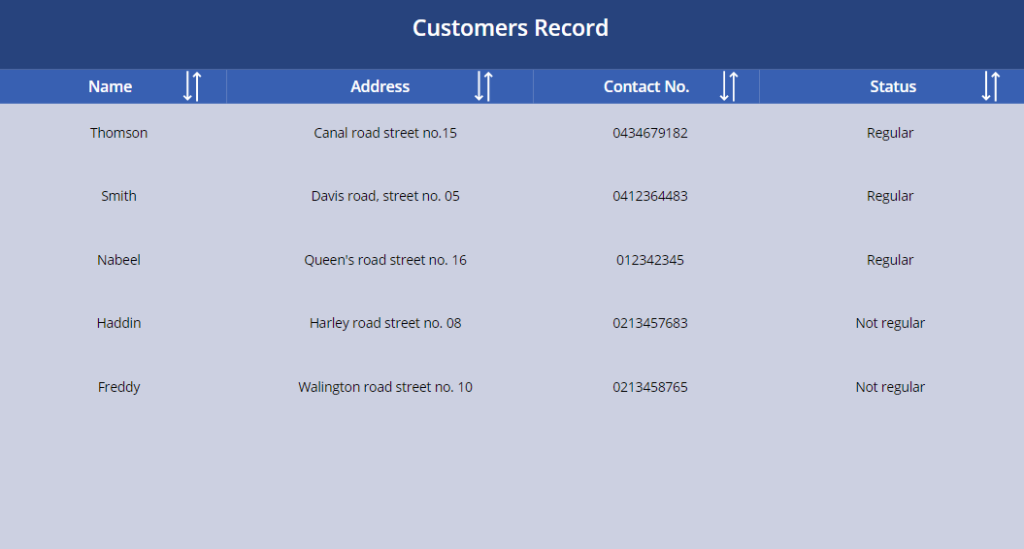
Click on the “Sort” icon of the “Name” column.
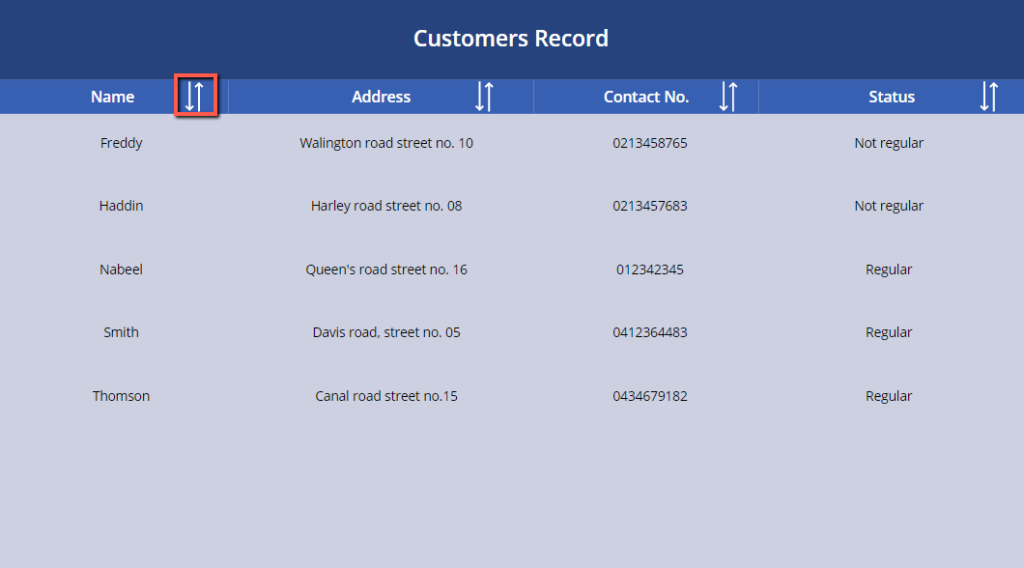
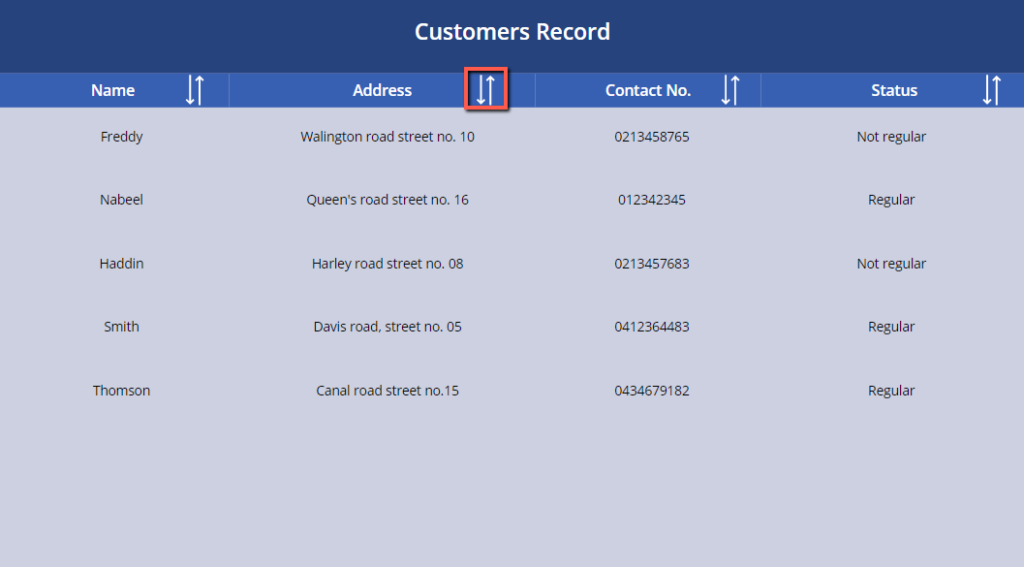
Click on the “Sort” icon of the “Address” column.
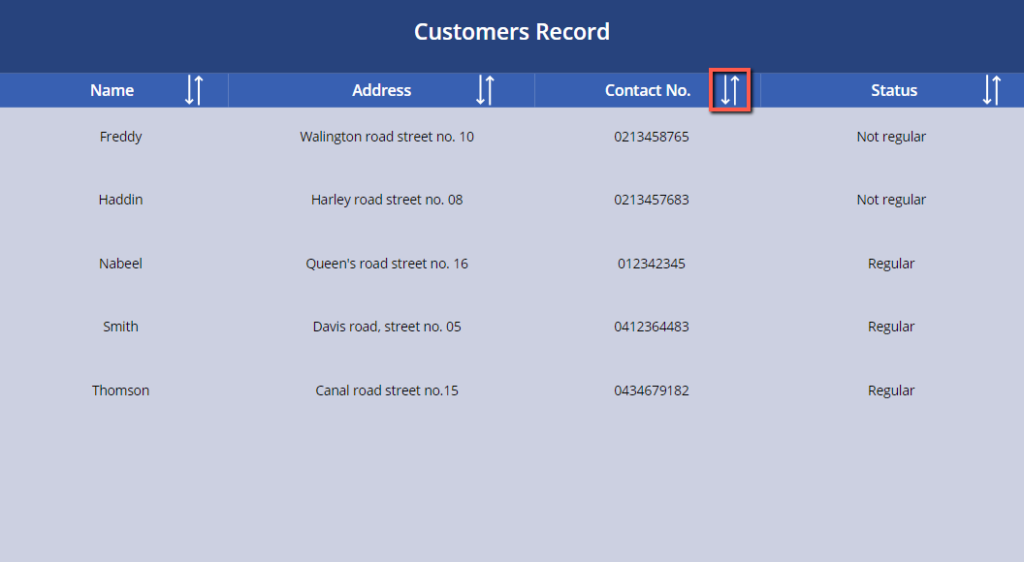
Click on the “Sort” icon of the “Contact No.” column.
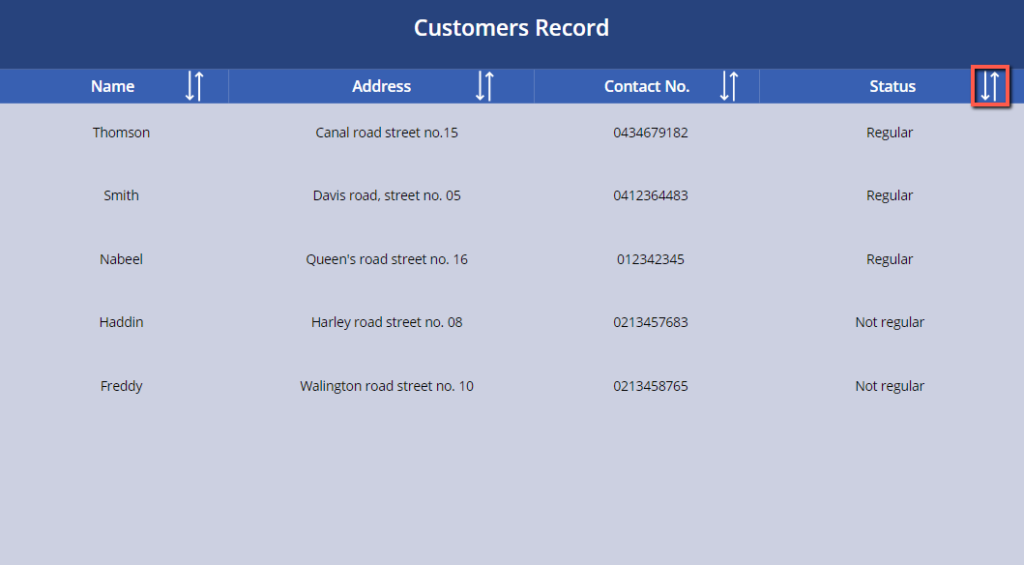
Click on the “Sort” icon of the “Status” column.
Conclusion
We have sorted the PowerApps gallery based on ascending or descending order of “Text”, “Number”, and “Choice” type columns.
