
Problem
While building SharePoint Webparts, different solutions may need different Node versions. For instance, SharePoint-On Prem supports very initial versions of Node while SharePoint Online generally supports the latest versions. To solve this problem, we use Node Version Manager (NVM). NVM allows us to switch between Node versions seamlessly.
Installing and Using NVM
Follow the steps below to install NVM.
1. Uninstall existing node versions
Uninstall any existing version of the node from your computer. NVM will not work properly if any existing version of Node is installed.
2. Install NVM
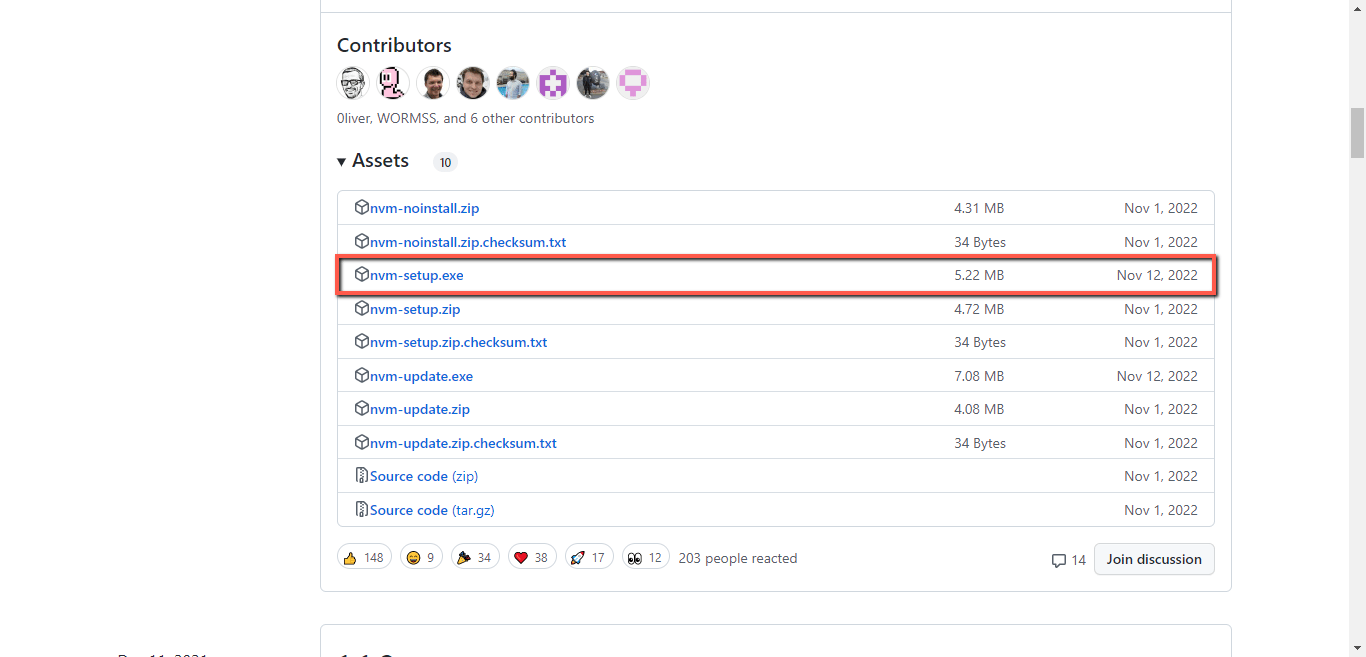
Click here to download the “nvm-setup.exe” file.
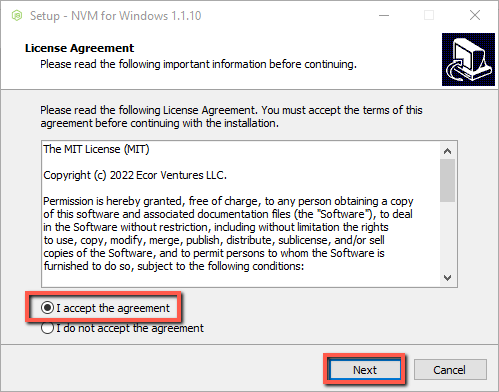
Run the “nvm-setup.exe” file.
Select the “I accept the agreement” option and click on the “Next” button.
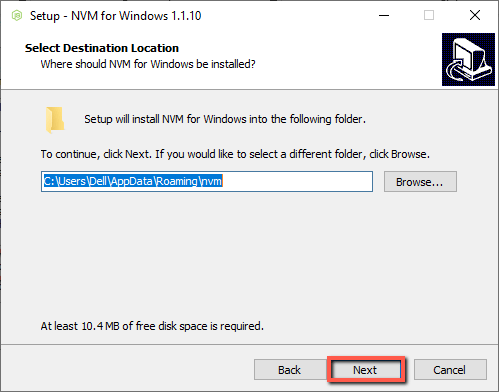
Click on the “Next” button.
Click on the “Install” button.
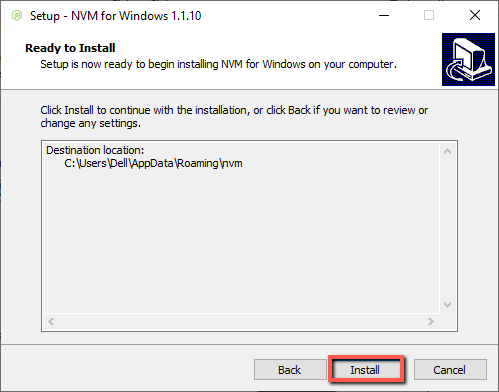
Your NVM is installed successfully.
3. Check NVM version
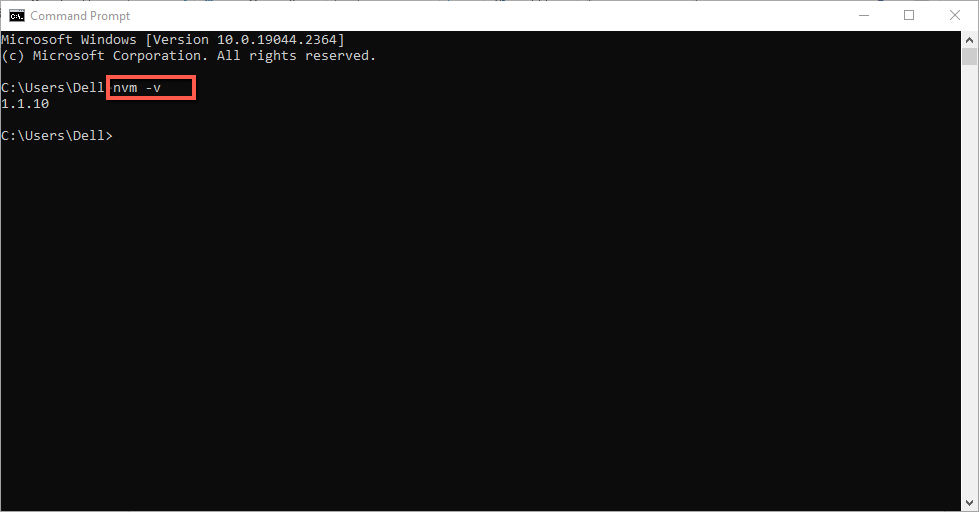
Open the windows command prompt and run the following command.
nvm -v
If it’s successfully installed, you will see the NVM version.
4. Install node versions
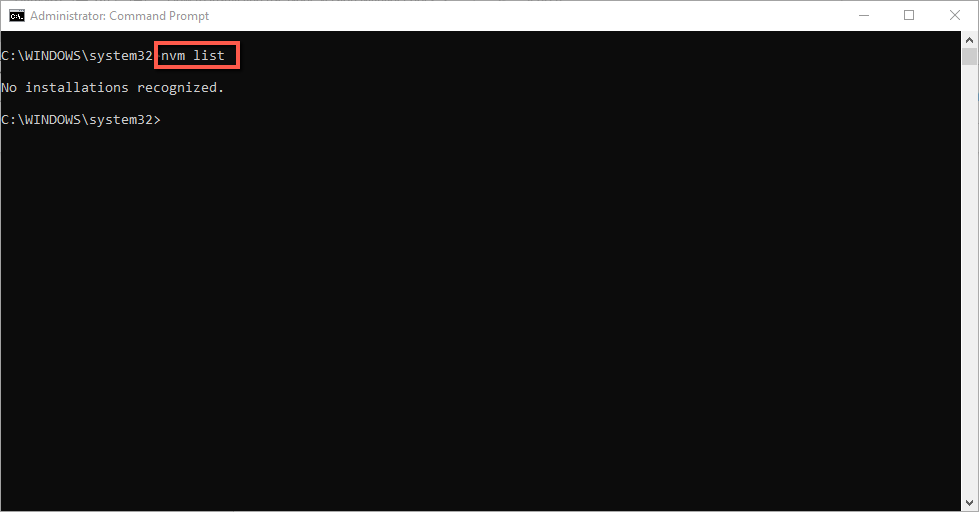
Open the windows command prompt and run the following command. You will see, no node version is installed.
nvm list
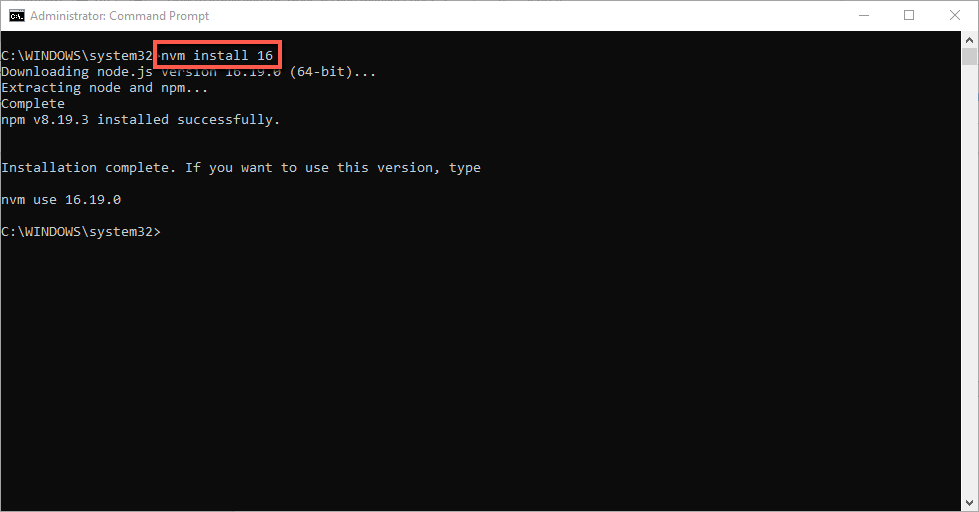
Now run the following command with specific node versions to install.
nvm install 16
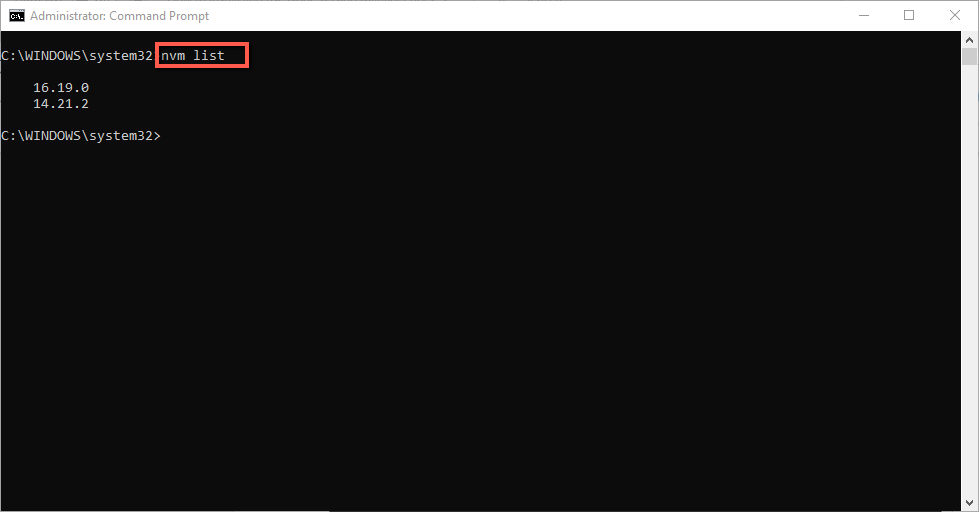
Similarly install some other versions, and again run the following command to see the installed versions.
nvm list
5. Switch node versions
You can switch between installed node versions using the following command.
nvm use 16
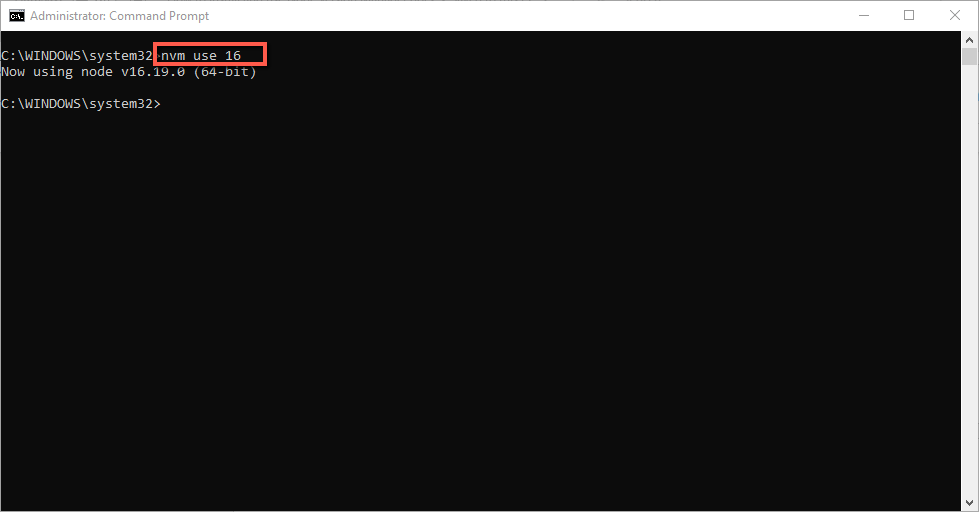
nvm use 14
