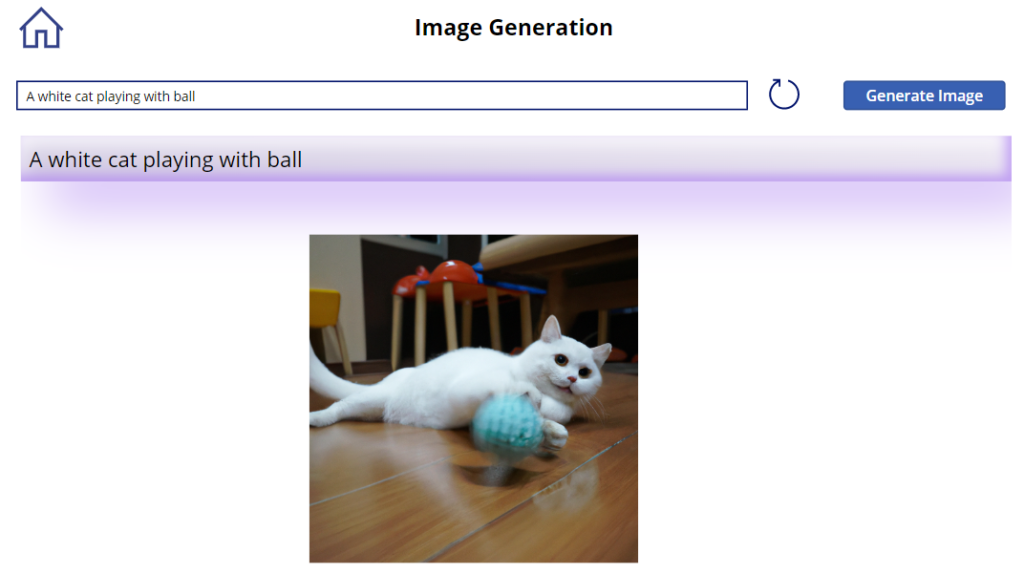
DALL-E is an artificial intelligence model created by Open AI. This model takes textual description from the user and returns an image based on the given description.
1. Generate Open AI API key
Follow the steps given below to generate your “API key” to use in the Power Automate flow.
Open the following URL and Sign-up.
https://beta.openai.com/account/api-keys
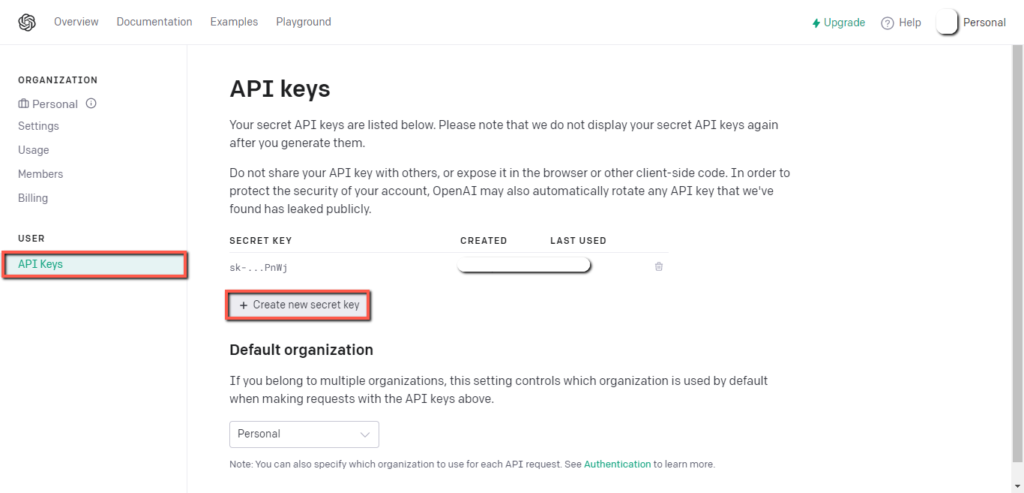
After the sign-up, you will see the following screen.
Click on the “API keys” and click on the “Create new secret key” button.
A new key will be generated.
Save it.
2. Create a Power Automate flow
Create an “Instant” Power Automate flow.
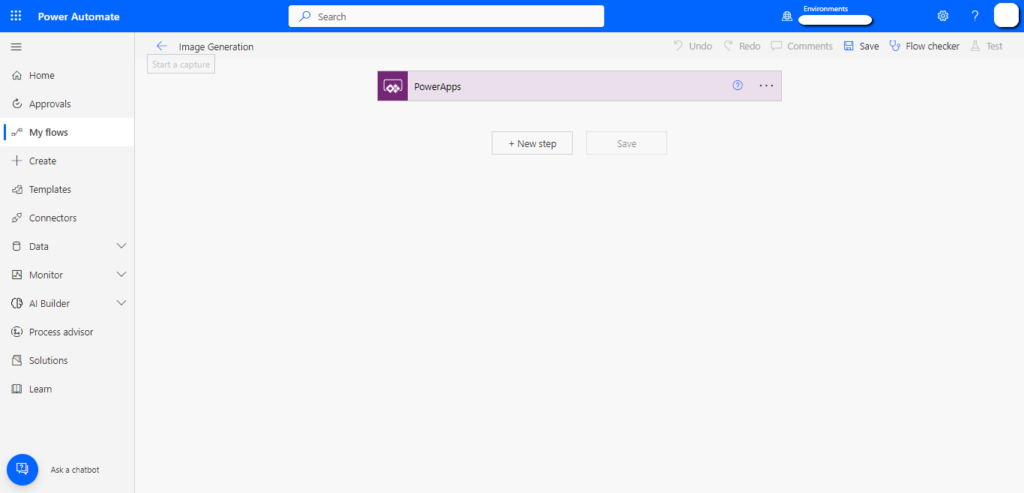
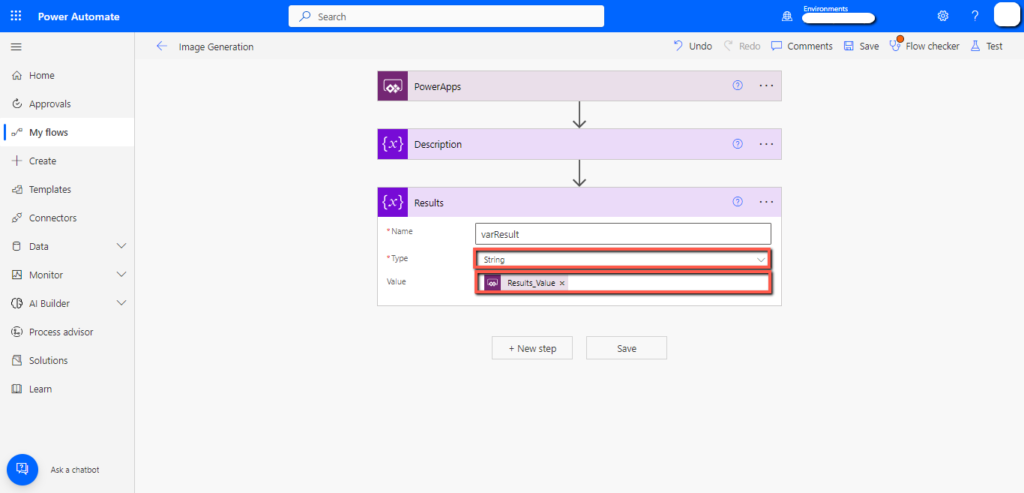
“Initialize” a variable for getting a text description from PowerApps.
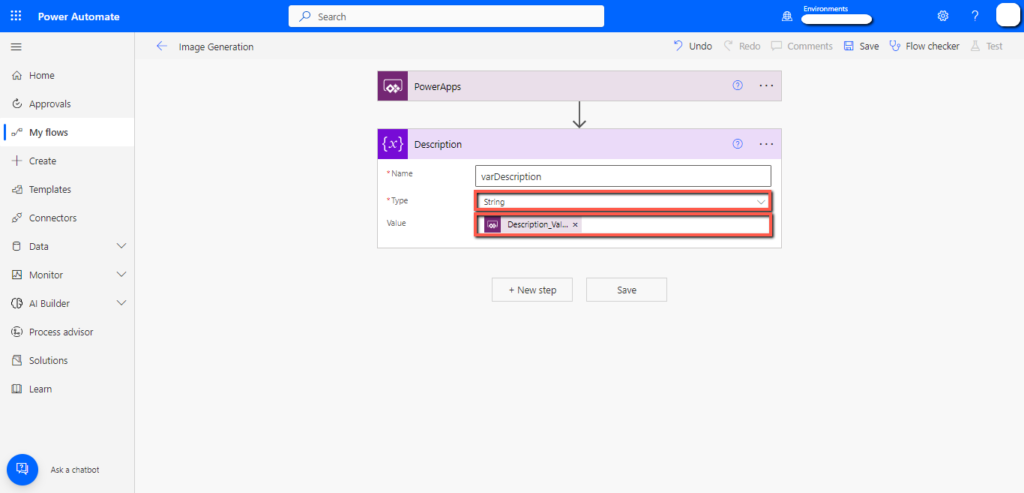
“Initialize” another variable to store the results received from DALL-E and send them back to PowerApps.
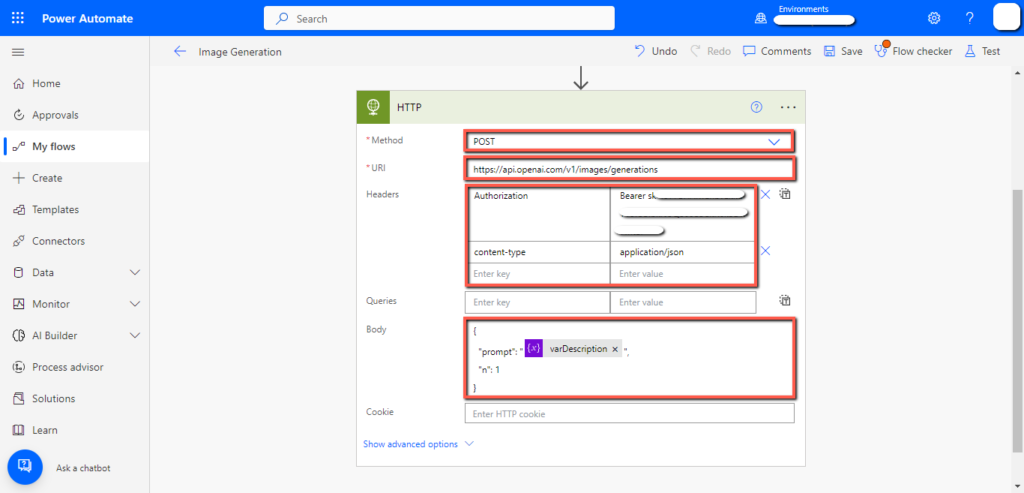
Add an “HTTP” trigger and set the following parameters.
Method: POST
URL: https://api.openai.com/v1/images/generations
Headers
| Authorization | Bearer “API-Key generated in step 1” |
| content-type | Application/json |
Body:
{
“prompt”: “varDescription”,
“n”: 1
}
Note: In the body of the “HTTP” action “varDescription” is the variable that we initialized at the start of the flow.
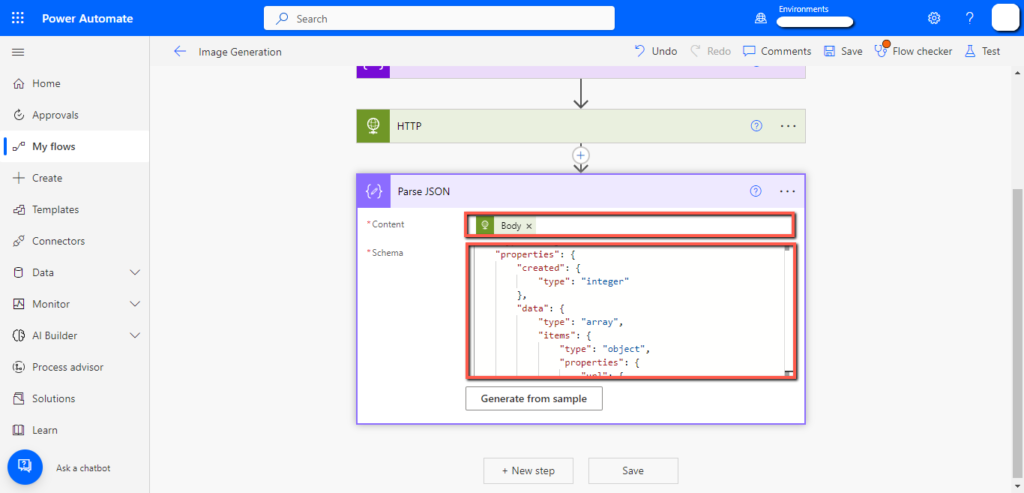
Add a “Parse JSON” action, pass the “body” outputs of the “HTTP” action in the “Content” field of the “Parse JSON” action, and paste the following schema in the “Schema” field.
Schema
{
“type”: “object”,
“properties”: {
“created”: {
“type”: “integer”
},
“data”: {
“type”: “array”,
“items”: {
“type”: “object”,
“properties”: {
“url”: {
“type”: “string”
}
},
“required”: [
“url”
]
}
}
}
}
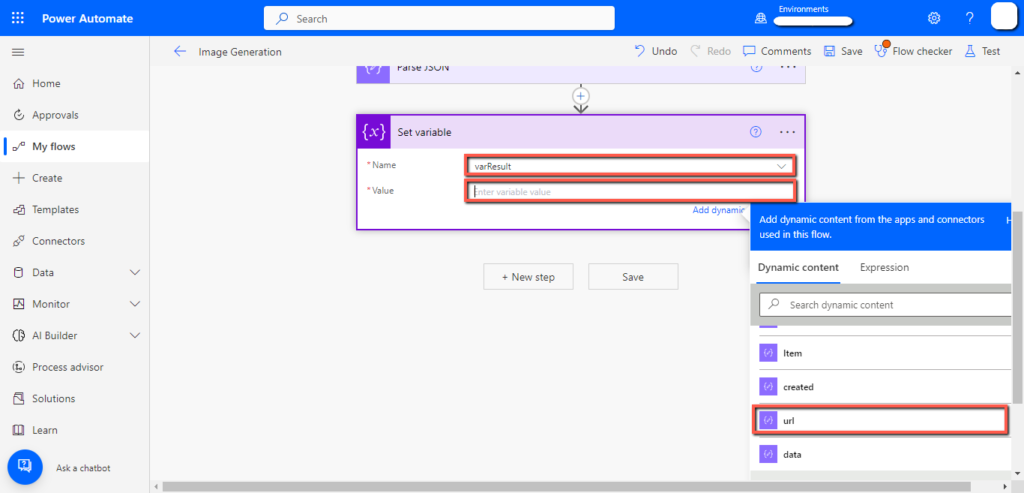
Add the “Set variable” action to store the output received from the DALL-E into the “varResult” variable.
Select the “varResult” variable.
Pass the “url” in the “Value” field.
It will automatically get wrapped in a loop.
Add the “Respond to a PowerApp or flow” action and add the “varResult” variable.
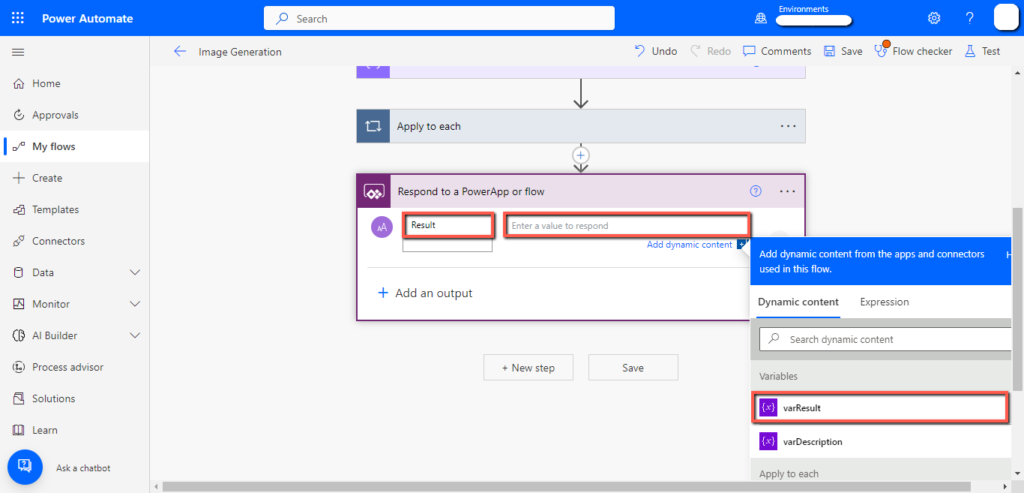
The flow is ready, now we can use it in our PowerApps.
3. Integrate with PowerApps
Add a “TextInput” field and rename it “SearchTextInput”, add a “Button” and set its “Text” property to “Generate Image”.
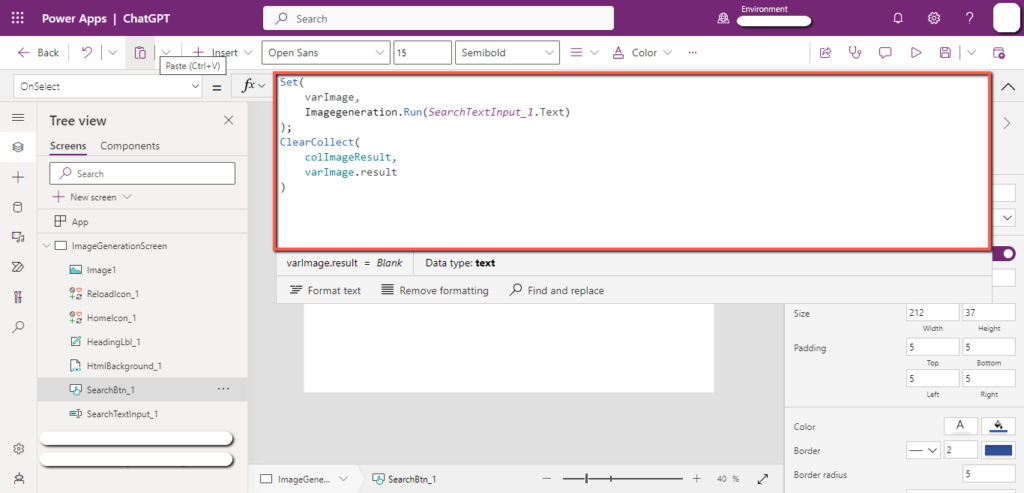
Paste the following code on the “OnSelect” property of the “Generate Image” button.
Code:
Set(
varImage,
Imagegeneration.Run(SearchTextInput_1.Text)
);
ClearCollect(
colImageResult,
varImage.Result
)
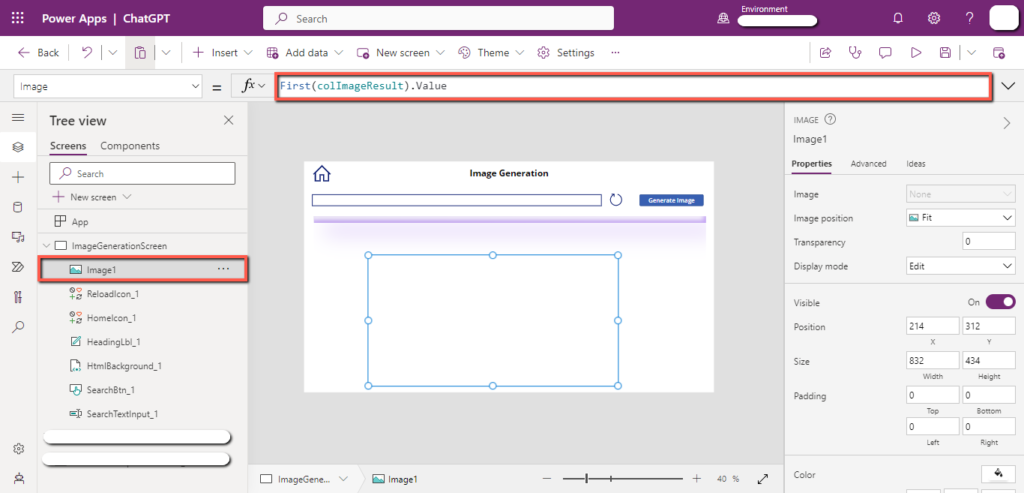
Add an “Image” field, select the “Image” property, and paste the following code into it.
Code:
First(colImageResult).Value
4. Test the app
Play the app, write a description in the “SearchTextInput” field, and click the “Generate Image” button.
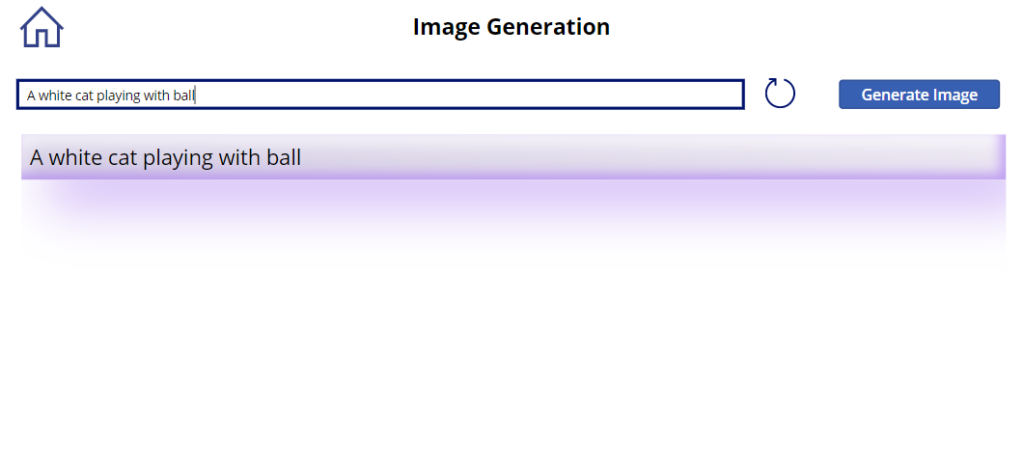
You will see the output image as given below.
