
Have you ever wondered how components can be used to take input from the user, process it, and return the output to the user? If you want to know, here is a step-by-step tutorial.
Scenario
We want to create a calculator component for the commission calculation of an organization. This component will show the amount of every commission applied to the sale price of an item.
1. Create a component library
Create the custom component in a “Component library” so that our component can be used across all applications in our tenant.
Go to the PowerApps studio.
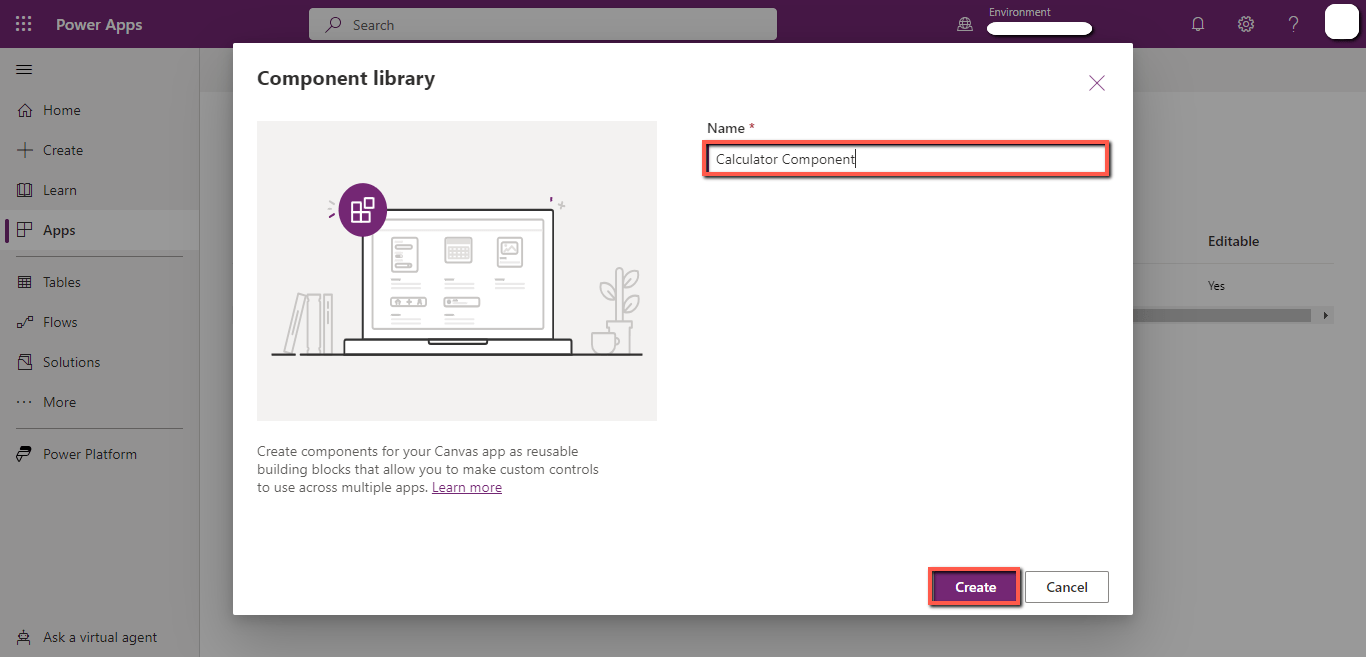
Click on the “Component libraries” tab and click on the “Create component library” button.

Write the “Name” and click on the “Create” button.
We get the following screen.
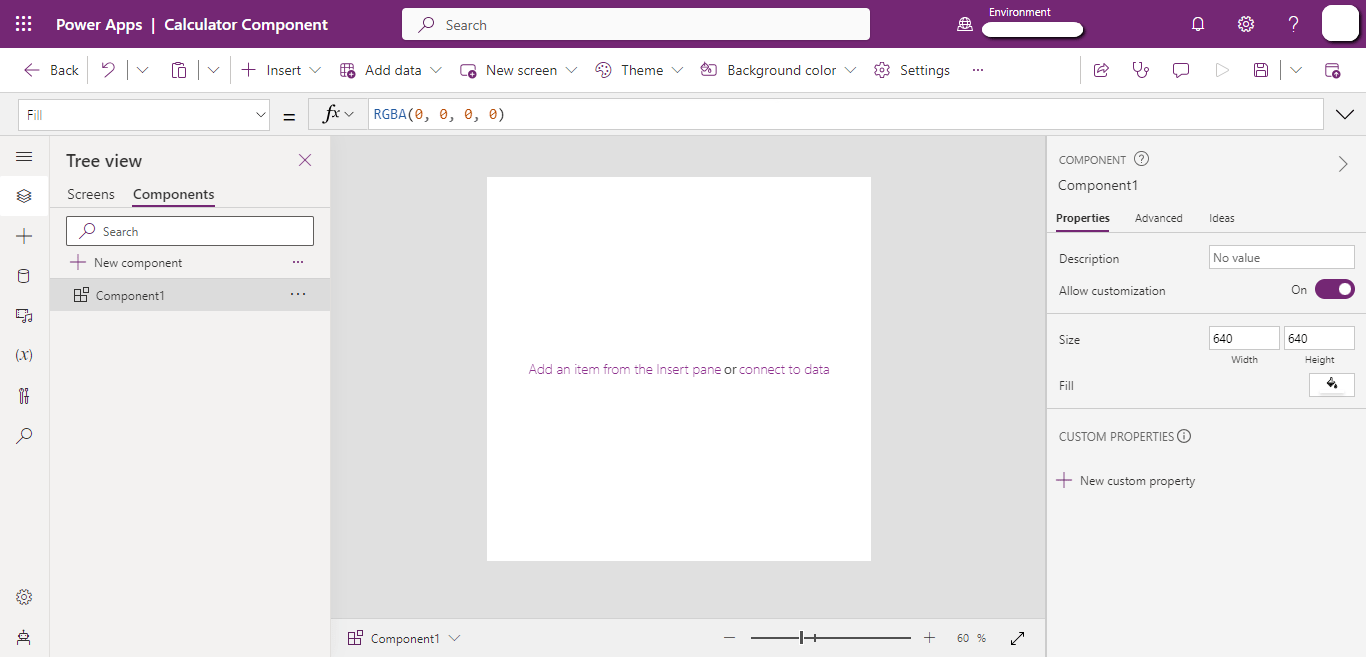
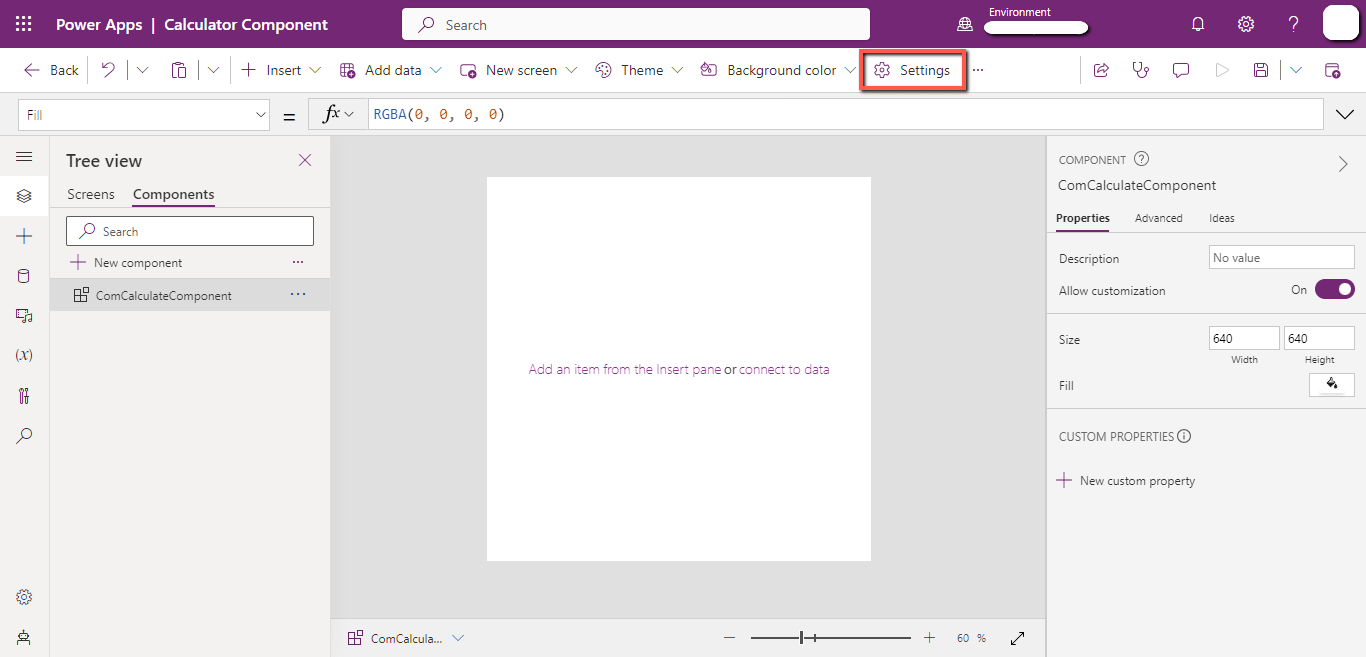
Rename “Component1” to “ComCalculateComponent”.
Before moving forward, you need to turn on the experimental features because we are using an upcoming component feature.
Click on the “Settings” tab.
Click on the “Upcoming features”, click on the “Experimental” tab, and turn on the “Enhanced component properties”.

Add custom properties to the “ComCalculateComponent” component.
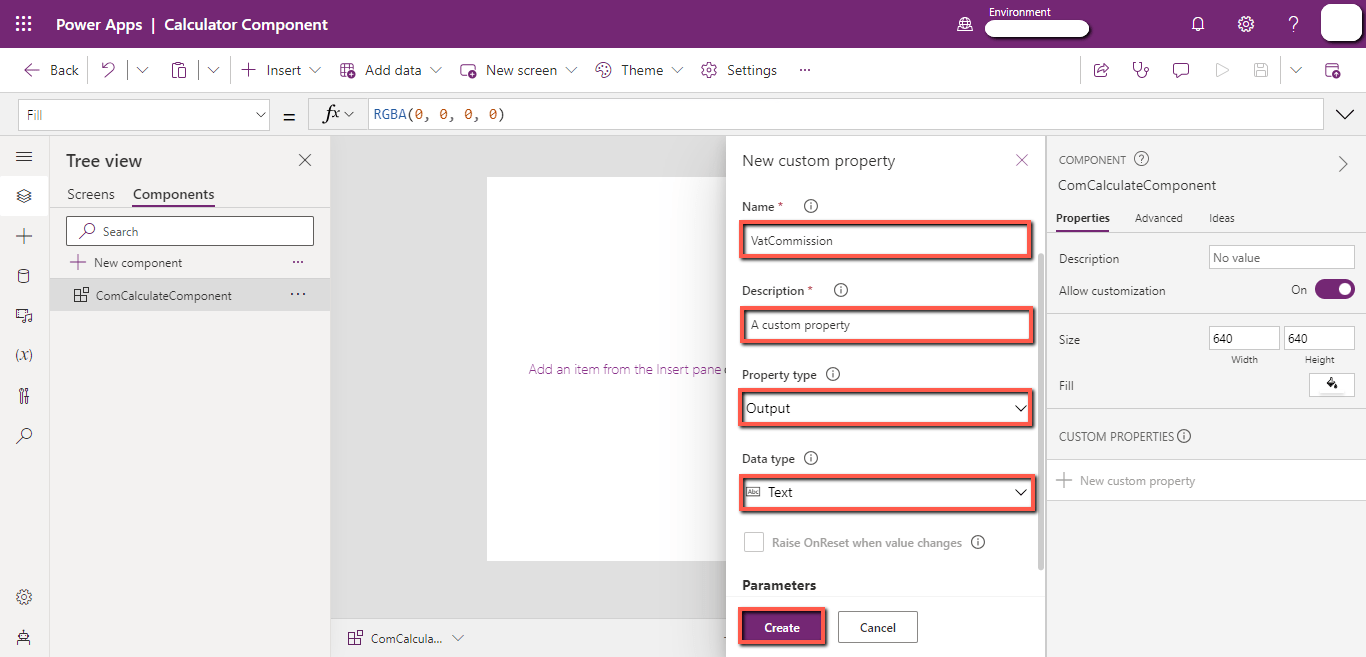
Click on the “New custom property” tab from the right menu.

Write the “DisplayName”, “Name”, “Description”, set the “Data type” to “Text”, set the “Property type” to “Output”, and click on the “Create” button.
Now add a “Parameter” to the “VatComission” property. This parameter will be used to get the amount from the user.
From the right sidebar, click on the “VatComission” property.

Scroll down and click on the “New parameter” option.

Write the “Name”, and “Description”, set the “Data type” to “Number”, and click on the “Create” button.

Click on the “Save” button.

Now write a formula for calculating the VAT commission.
Select the “VatCommission” property, copy the code below, and paste it into the top bar.
Code:
(Amount*20)/100
This code simply calculates the VAT commission based on the value of the “Amount” parameter.

Similarly, add another “Output” property named “SalesTax” that also has a parameter to get the “Amount” value.

Using the above-mentioned method, create the “Amount” parameter in the “SalesTax” property and use the following formula in it.
Code:
(Amount*5)/100
This code simply calculates the sales tax based on the value of the “Amount” parameter.

The component is ready, now import the component to the screen to test its functionality.
2. Test the component
Click on the “Screens” tab, click on the “Insert” tab, and click on “ComCalculateComponent”.
Note: The screens in the component libraries are just for testing purposes. So, the user can see how the component will look and perform in applications.

Add two “Text fields”, and two “Label” to show the VAT commission and Sales Tax.
Select the “Text” property of the Vat “Label” and paste the following code in the top bar.
Code:
ComCalculateComponent_1.VatCommission(VatAmountInput.Text)
Explanation:
ComCalculateComponent_1 is the name of the component.
VatCommission is the custom property that we have created.
VatAmountInput.Text is the value that we are providing for the “Amount” parameter required by the “VatCommission” property.

Similarly, add another “Label” to show the “SalesTax”.
Select the “Text” property of the Sales Tax “Label” and paste the following code in the top bar.
Code:
ComCalculateComponent_1.SalesTax(SalesTaxAmountInput.Text)
Explanation:
ComCalculateComponent_1 is the name of the component.
SalesTax is the custom property that we have created.
SalesTaxAmountInput.Text is the value that we are providing for the “Amount” parameter required by the “SalesTax” property.

Pass some values to the “VatCommission” and “SalesTax” properties and commissions are calculated for them. You can pass dynamic values according to your scenario.

Conclusion
We can create PowerApp components in the components library and can use these components in any application to perform various kinds of calculations. Components can have custom output properties and custom parameters based on the requirements.