
In this article, we will see how to use a nested gallery (gallery in a gallery) to represent the data more effectively and compactly.
1. Create a SharePoint list
Create a SharePoint list named “World_Cities” that contains the following columns.
- Title – Single line of text
- latitude – Single line of text
- longitude – Single line of text
- country – Single line of text
- population – Single line of text

2. Create an App
Go to PowerApps studio.
Create a new “Canvas” application.

Connect the “World_Cities” SharePoint list.

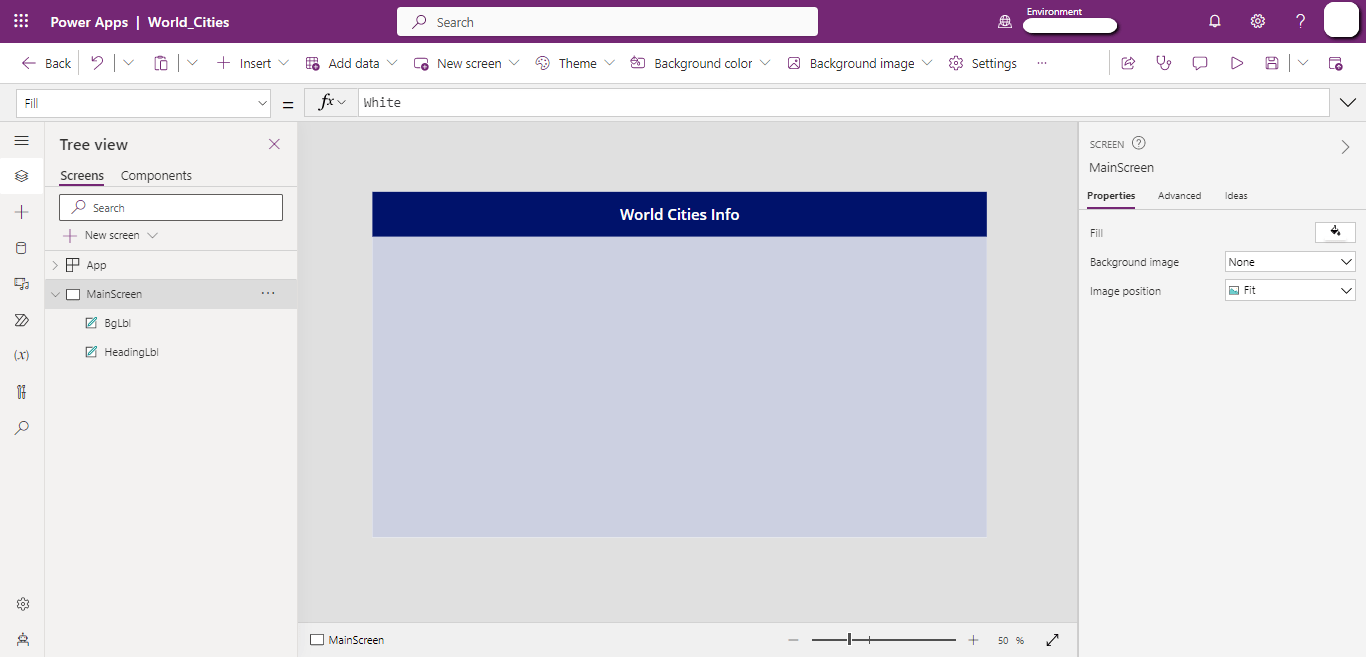
Insert “Label” for the heading and fill colors.
Insert a “Blank Flexible Height” gallery and rename it “ParentGallery”.

Connect the “World_Cities” SharePoint list with the “ParentGallery” as a data source.

Select the “ParentGallery” and insert a “Label” to show the name of the country.

Now we will add another gallery to display the cities of the country.
Select the “ParentGallery”, add a “Blank Vertical” gallery, and rename it as “ChildGallery”.

Connect the “World_Cities” SharePoint list with the “ChildGallery” as a data source.

Insert three “Labels” in the “ChildGallery” to show the city’s latitude, longitude, and population.

Apply the filter formula on the “Items” property of the “ChildGallery” so that each record includes the details of that specific record.
Select the “Items” property of the “ChildGallery”, copy the code given below, and paste it into the top bar.
Code:
Filter(
world_cities,
country = ThisItem.country
)

Now add the “Down” and “Up” icons to hide or show the details.
Select the “ParentGallery” and insert the “Down” icon.

Select the “OnSelect” property of the “Down” icon, copy the code given below, and paste it into the top bar.
Code:
If(
varShowCity = ThisItem.country,
Set(
varShowCity,
” “
),
Set(
varShowCity,
ThisItem.country
)
)

Select the “Visible” property of the “ChildGallery”, copy the code given below, and paste it into the top bar.
Code:
Switch(
varShowCity,
” “,
false,
ThisItem.country,
true
)

Upon applying this code, the “ChildGallery” becomes hidden until the user presses the “Down” icon.

Select the “ParentGallery” and insert the “Up” icon.

Select the “OnSelect” property of the “Up” icon, copy the code given below, and paste it into the top bar.
Code:
If(
varShowCity = ThisItem.country,
Set(
varShowCity,
” “
),
Set(
varShowCity,
ThisItem.country
)
)

Select the “Visible” property of the “Up” icon, copy the code given below, and paste it into the top bar.
Code:
Switch(
varShowCity,
” “,
false,
ThisItem.country,
true,
false
)
This code hides the “Up” icon and shows the “Down” icon.

Select the “Visible” property of the “Down” icon, copy the code given below, and paste it into the top bar.
Code:
Switch(
varShowCity,
” “,
true,
ThisItem.country,
false,
true
)
This code hides the “Down” icon and shows the “Up” icon.

3. Testing
At the start, the user only sees the “ParentGallery” like the one below.

When the user clicks the “Down” button, the “ChildGallery” and “Up” icons become visible.

When the user clicks the “Up” icon, it hides the “ChildGallery”.
