In this article, we will see how to pass parameters from one flow to another. We can use it to divide large complex flows into small parent and child flows.
We will create a parent and a child flow. From parent flow, we will pass, the Email, Subject, and Body of the email as parameters to child flow and the child flow will generate the email using the details passed down from parent flow.
1. Create parent flow
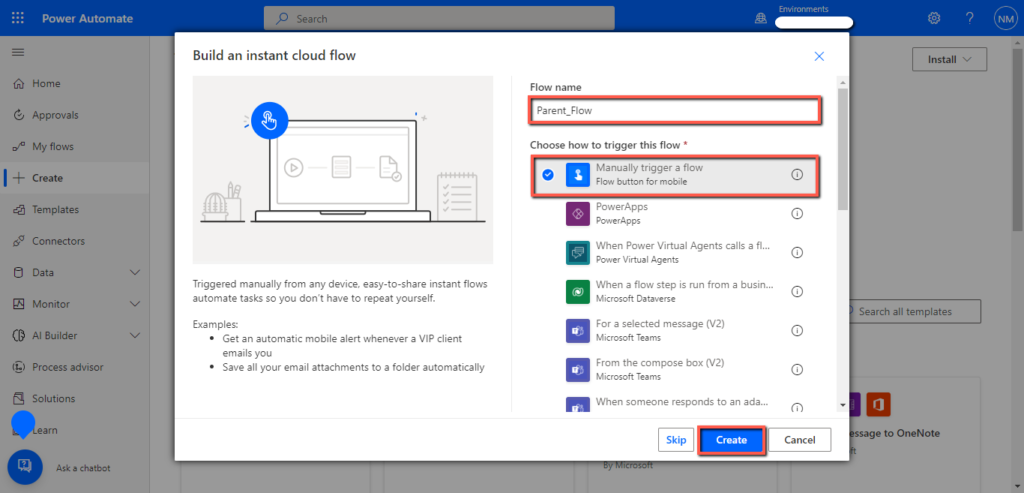
Select an “Instant flow”, write “Parent_Flow” in the “Flow name” field, use the “Manually trigger a flow” trigger and click on the “Create” button.
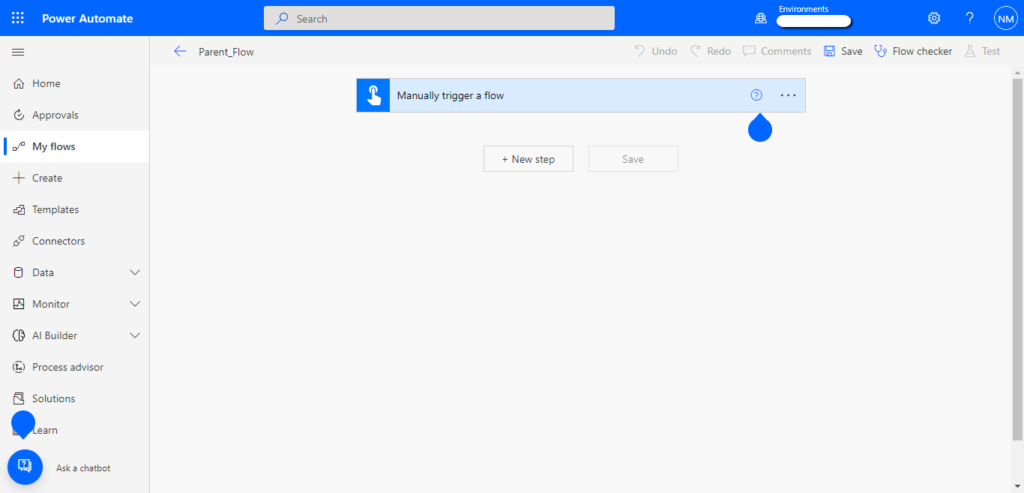
Now you will see the following screen.
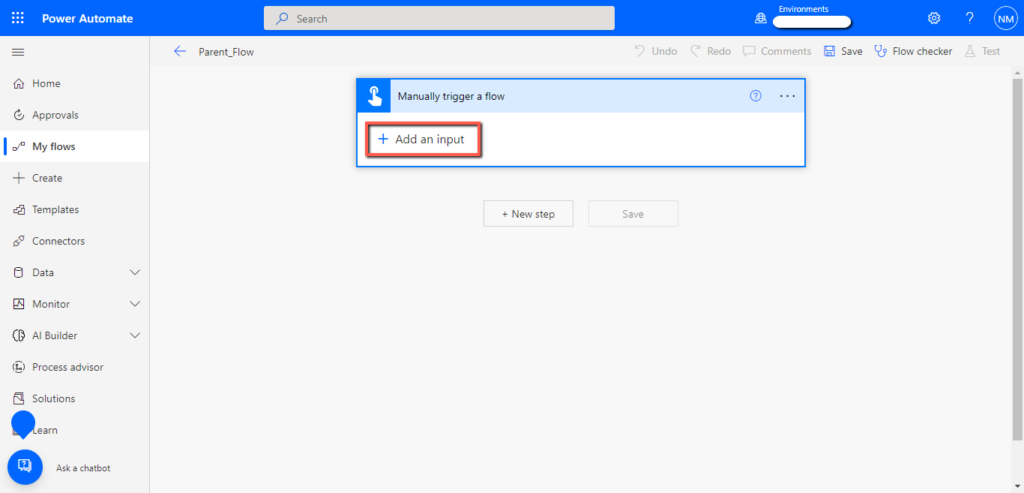
Click on the “Manually trigger a flow” action and click on the “Add an input” button.
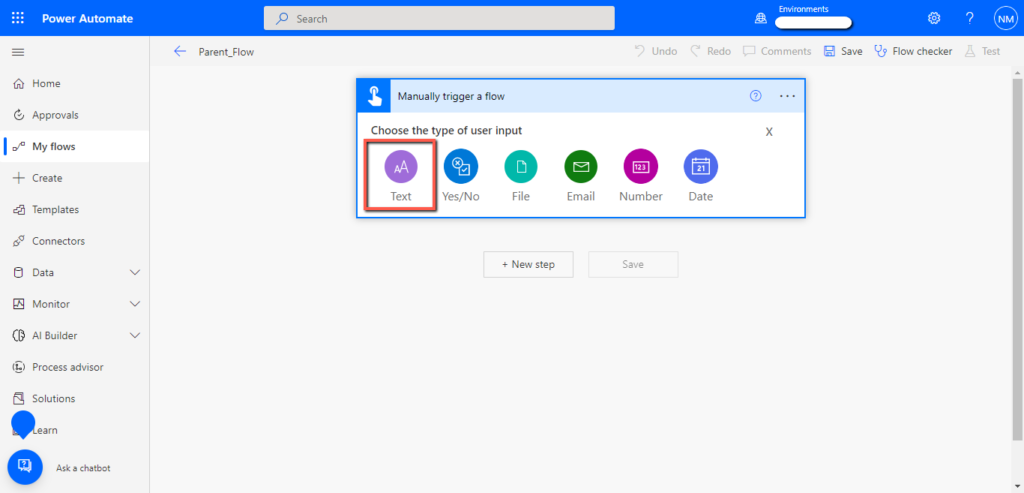
Click on the “Text” button.
Replace the “Input” with “Email”.
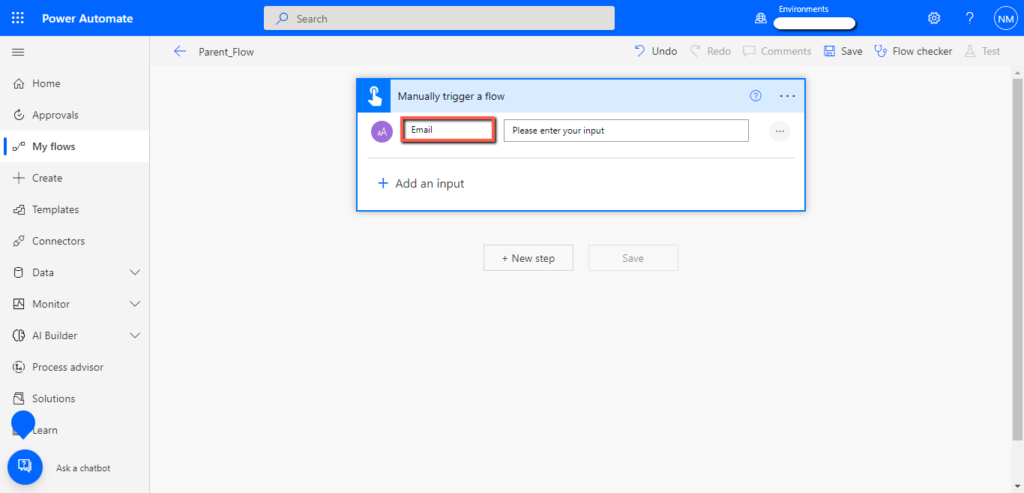
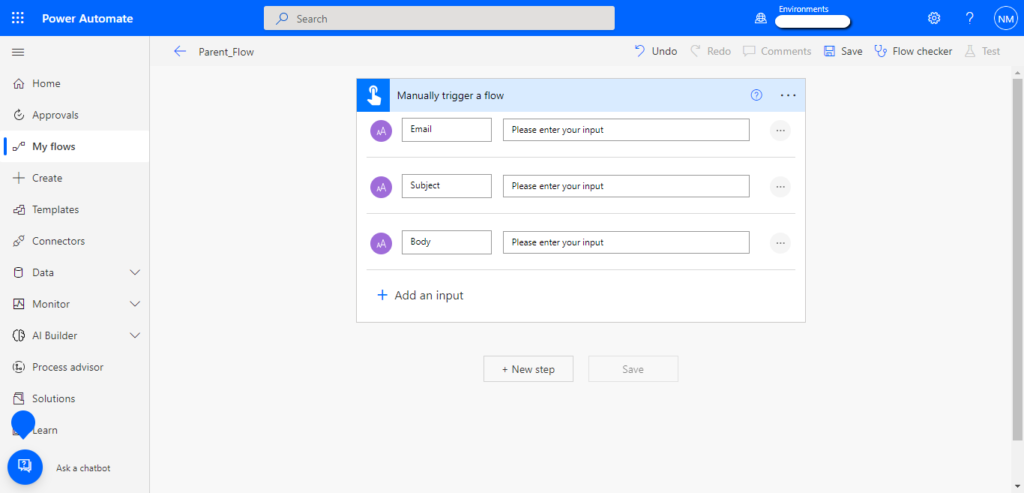
Similarly add two more parameters for the “Subject” and “Body” of the email.
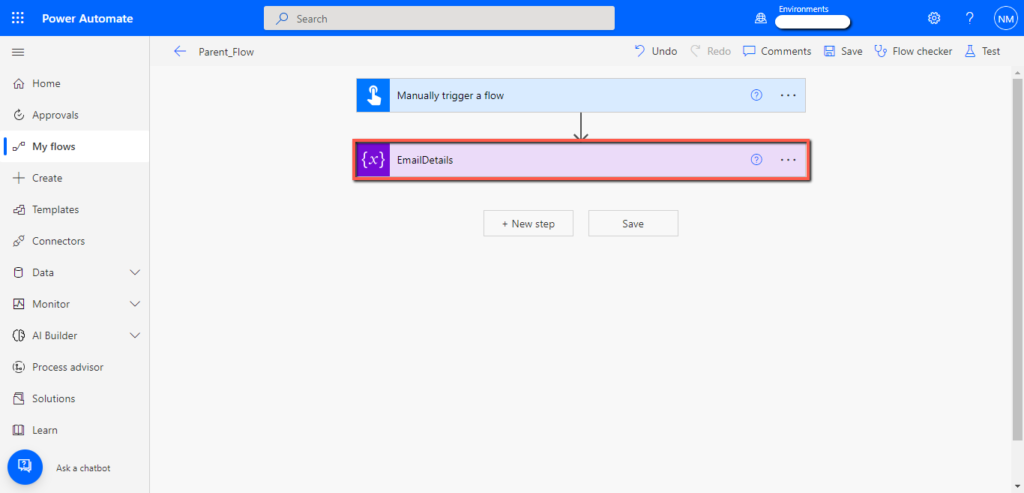
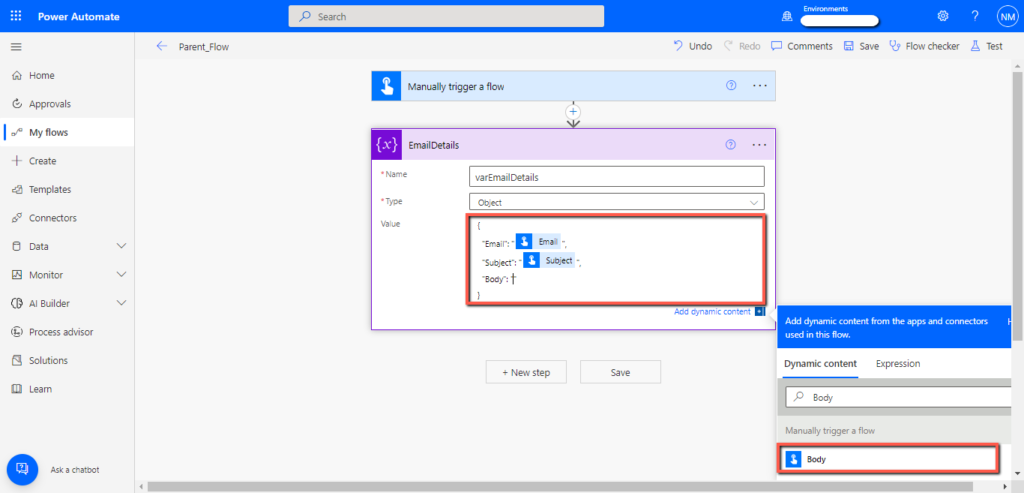
Click on the “New step”, add an “Initialize variable” action, and rename it to “EmailDetails”.
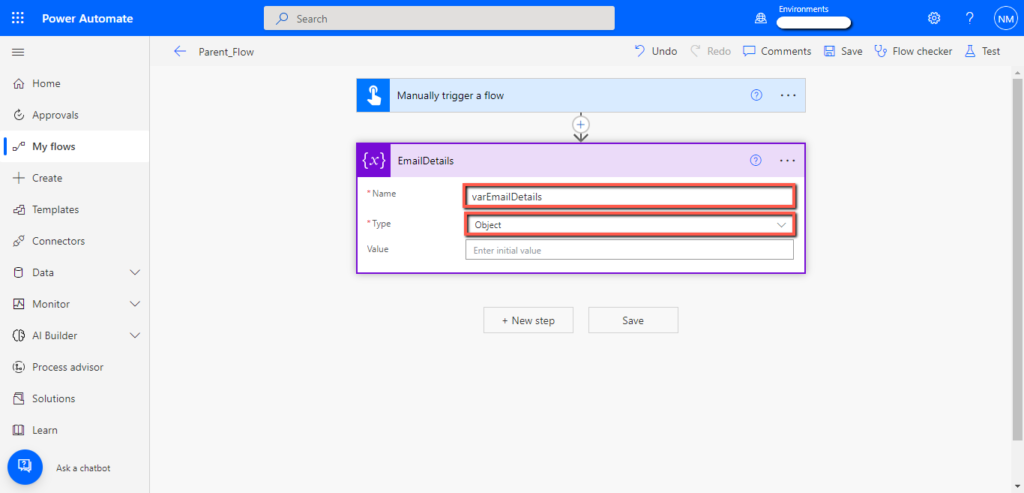
Write “varEmailDetails” in the “Name” field and select the “Object” as the data type from the “Type” dropdown.
Copy the code given below, paste it into the “Value” field of the “EmailDetails” action and add related dynamic values from the menu as shown below.
Code:
{
“Email”: “”,
“Subject”: “”,
“Body”: “”
}
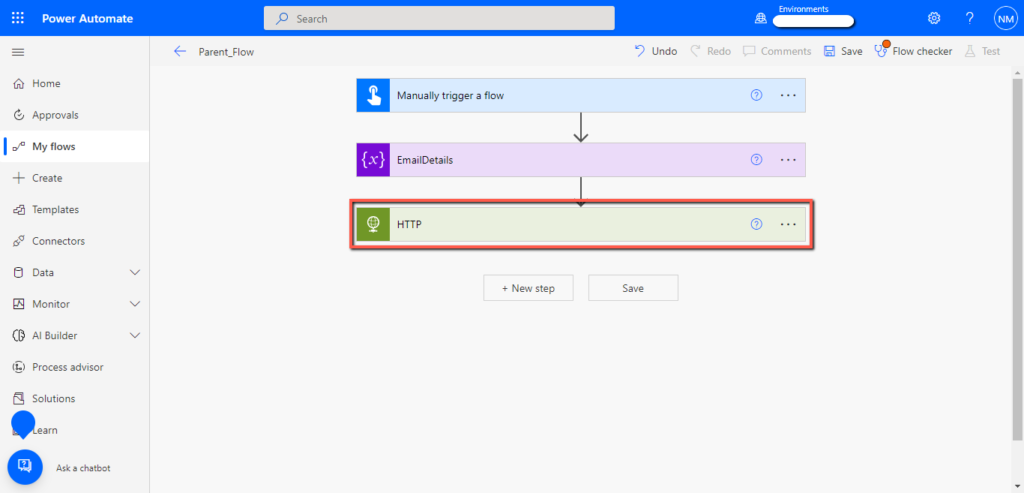
Click on the “New step” and add an “HTTP” connector.
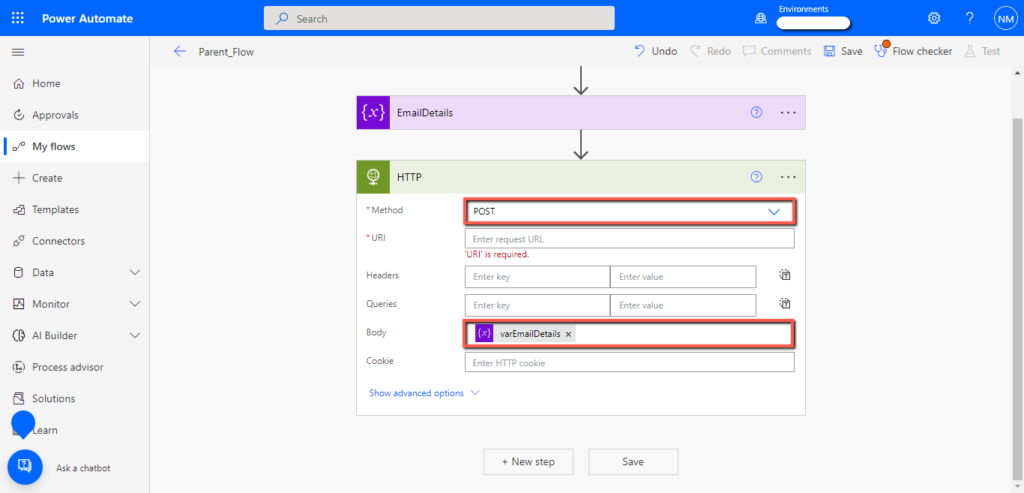
Select the “POST” option from the “Method” drop-down and add the “varEmailDetails” variable in the “Body” field.
Note: In the “URL” field we will paste the “URL” of the child flow “HTTP” connector. So, halt this flow here. We will complete it after creating the child flow.
2. Create child flow
Select an “Instant flow”, write “Child_Flow” in the “Flow name” field, use the “When an HTTP request is received” trigger, and click on the “Create” button.
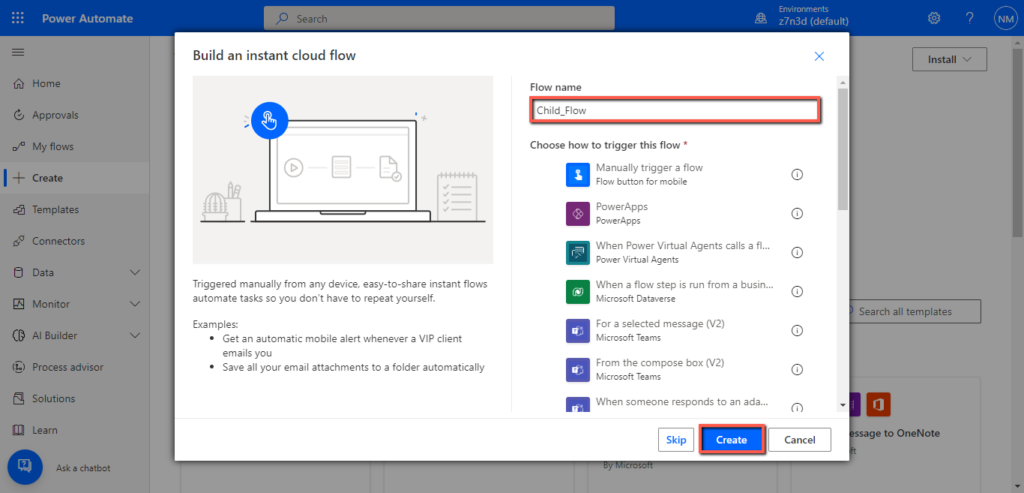
You will see the following screen.
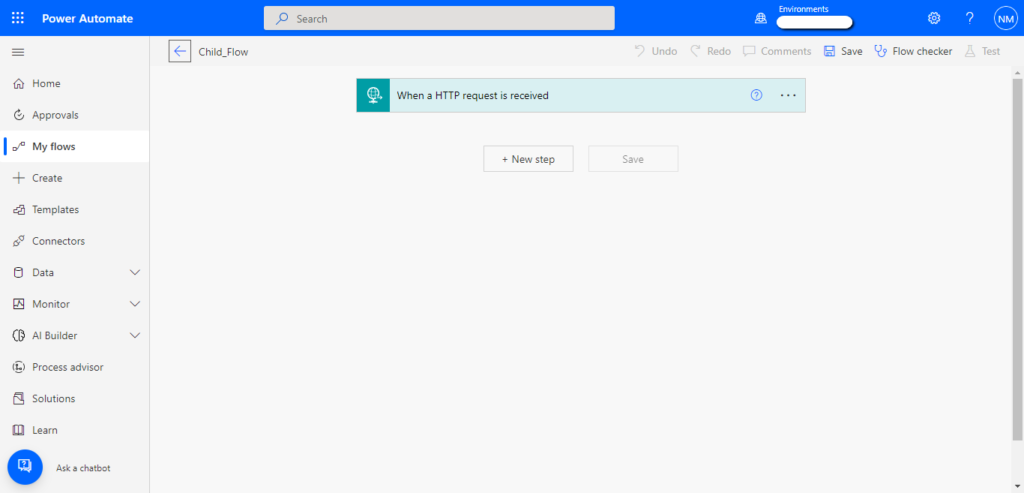
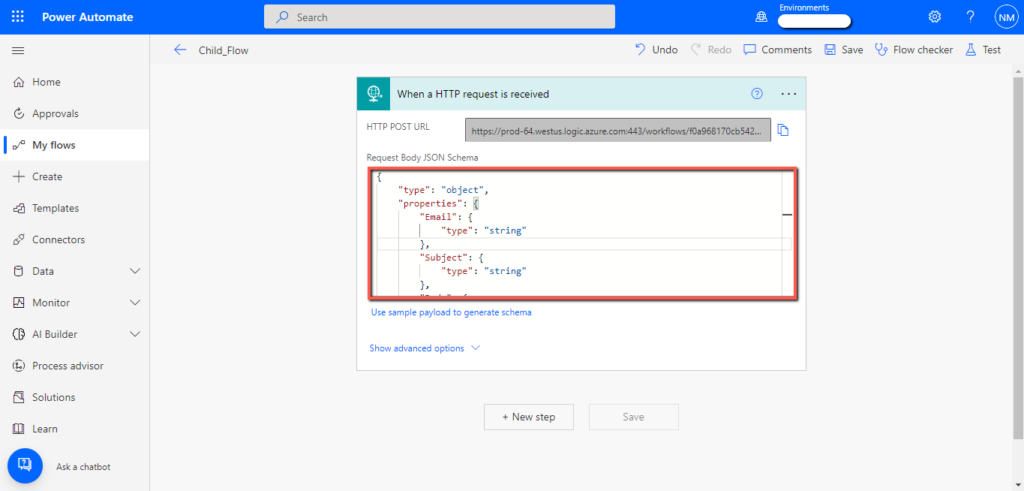
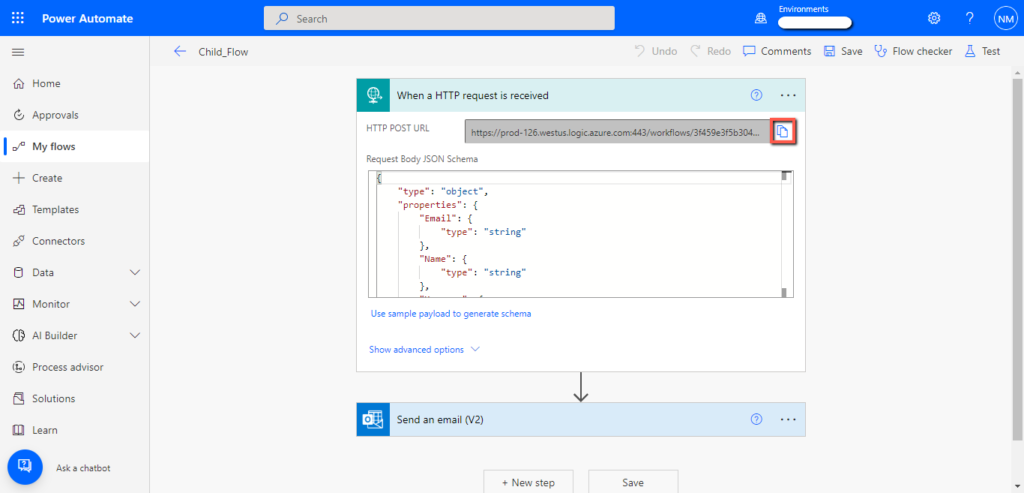
Select the “When an HTTP request is received” trigger, copy and paste the following JSON schema in the “Request Body JSON Schema” field.
Code:
{
“type”: “object”,
“properties”: {
“Email”: {
“type”: “string”
},
“Subject”: {
“type”: “string”
},
“Body”: {
“type”: “string”
}
}
}
This schema will be used to get values from the “Parent_Flow” and store them in their respective fields.
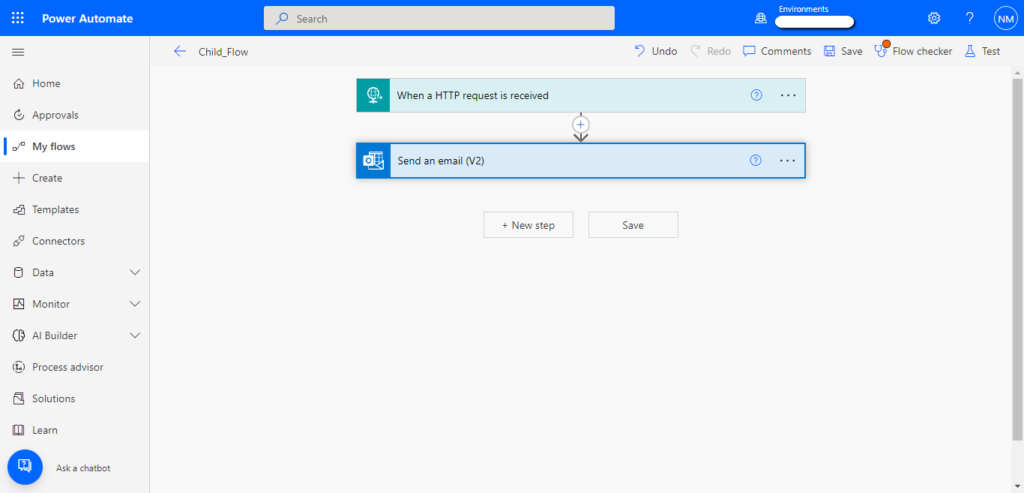
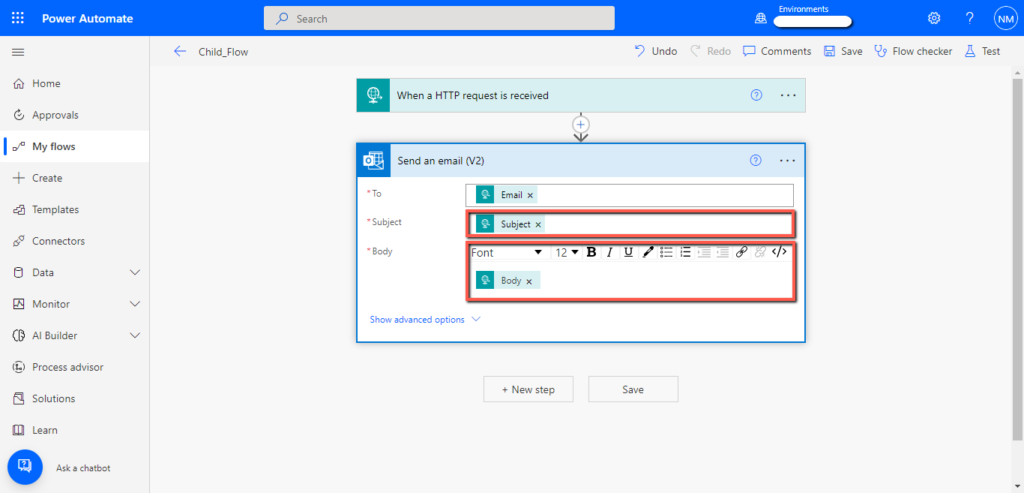
Click on the “New step” and add a “Send an email (V2)” action.
Add “Email” in the “To” field of the “Send an email (V2)” action.
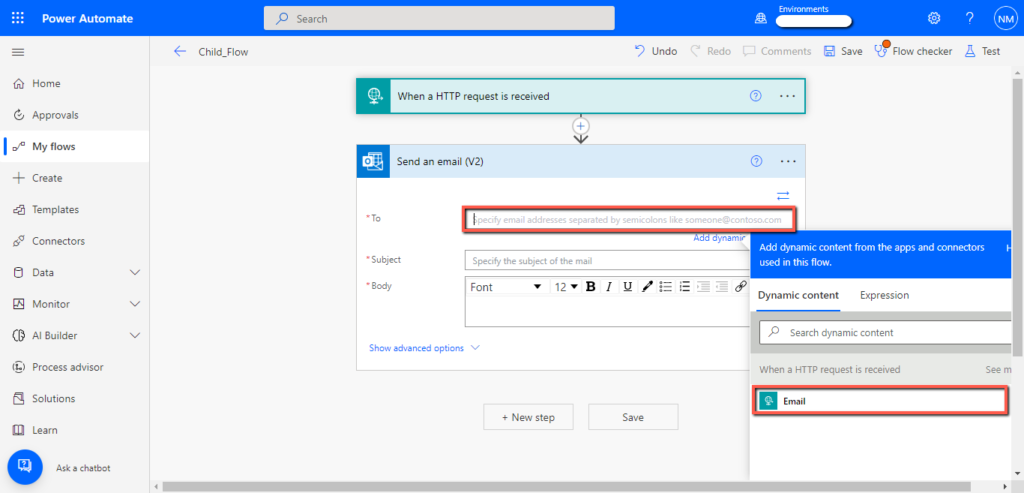
Similarly, add “Subject” and “Body” parameters in their respective fields.
Now “Save” the flow and copy the flow URL from the “When an HTTP request is received” trigger.
3. Connect parent and child flow
Now we will connect both “Parent_Flow” and the “Child_Flow”.
- Open the “Parent_Flow”.
- Select the “HTTP” action.
- Paste the “URL” of “Child_Flow” in the “URL” field.
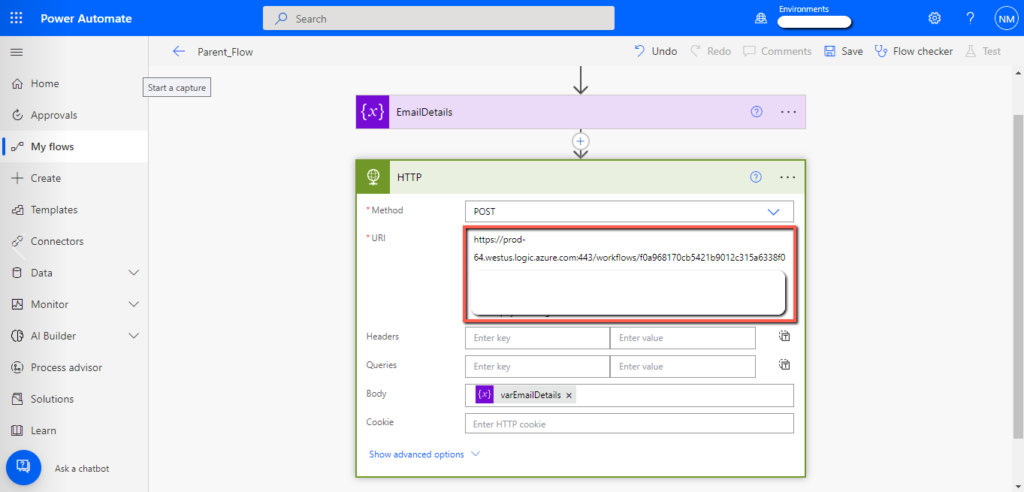
Save the flow and test it.
4. Testing flows
Open the “Parent_Flow” and click on the “Test” button at the top right corner of your screen.
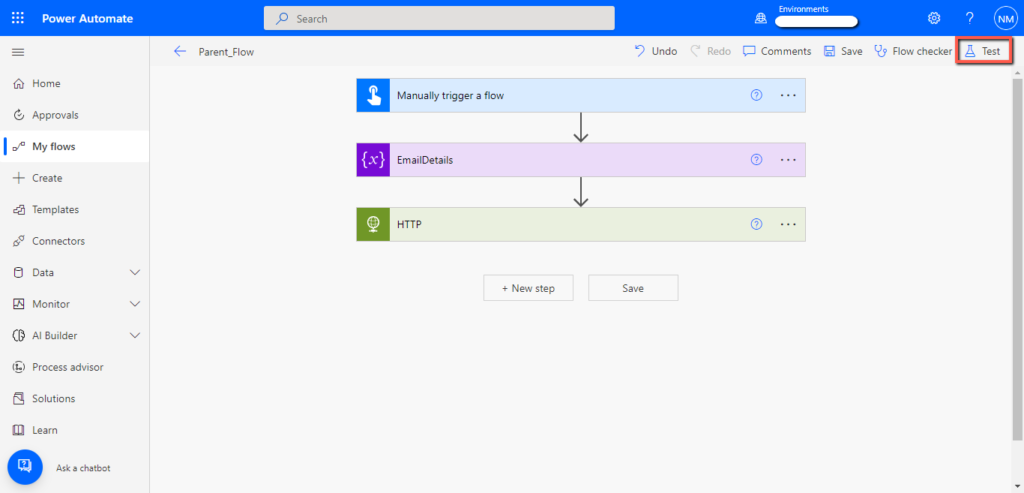
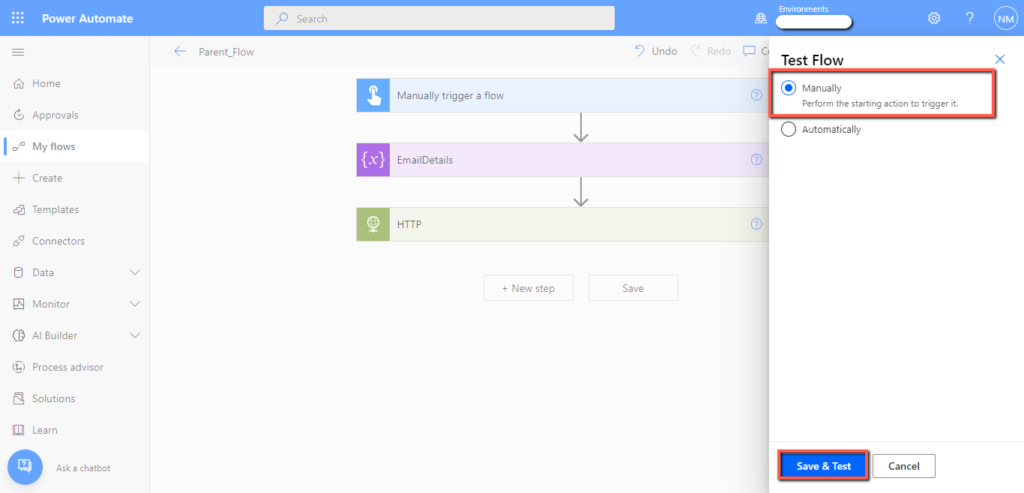
Select “Manually” and click on the “Save & Test” button.
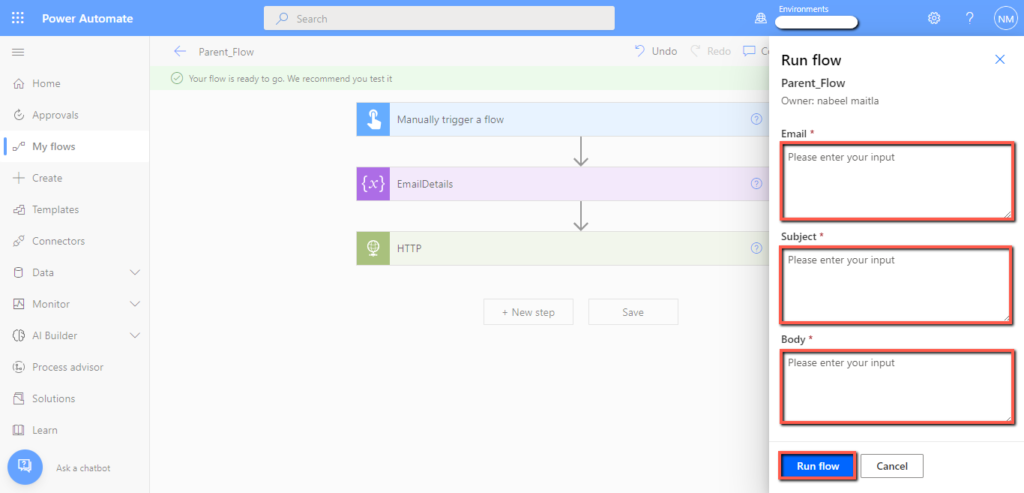
Write values for input parameters and click on the “Run” button.
Check the email address you entered. You should have received an email with the “Subject” and “Body” that you have provided.

Conclusion
You can pass parameters from one flow to another using an HTTP connector. This becomes very useful when you are dealing with large complex flows. Using this logic, you can easily break down your flow into small parts.
