
Microsoft introduced an AI Copilot that has various features for developers as well as for end users. Now you can ask the AI Copilot to create an application and you can also add a chat experience to learn about the data in your Canvas applications.
1. Create an application
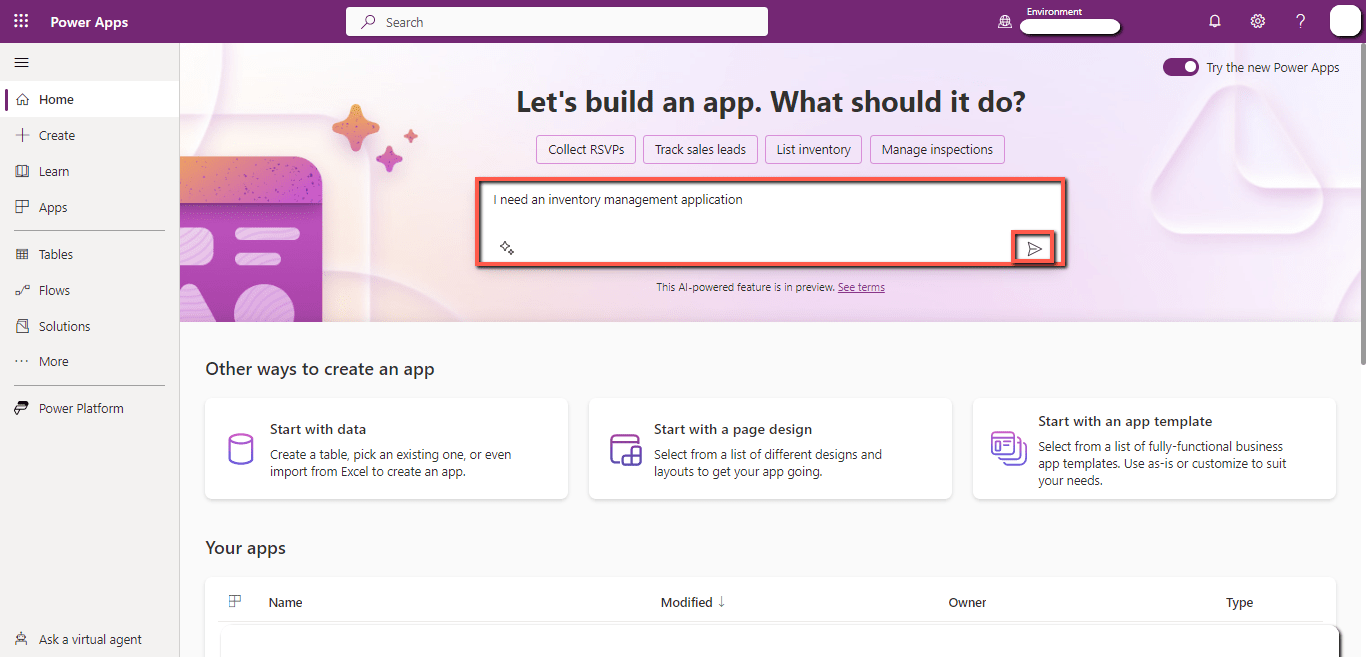
Go to the PowerApps studio.
Note: Make sure to turn on the “Try the new Power Apps” toggle.

Write your requirements in the chat box and click on the send icon.
It takes a moment to create a schema for the Dataverse table and load some sample data.
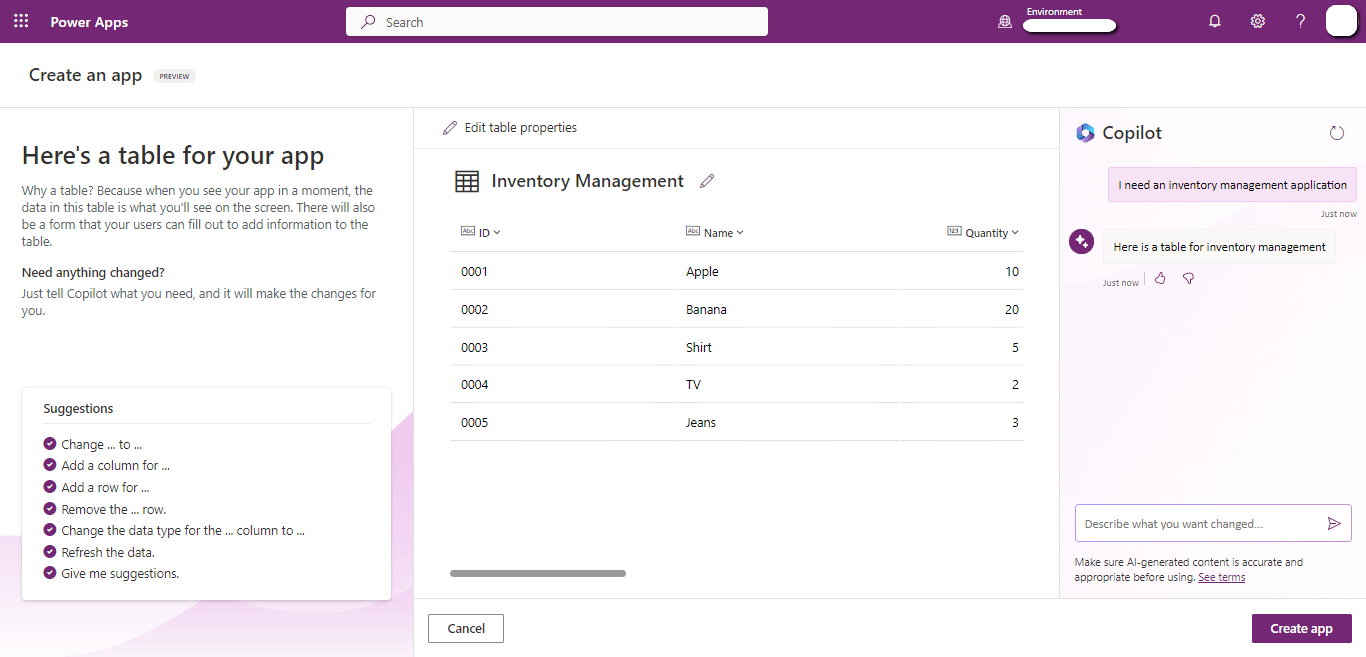
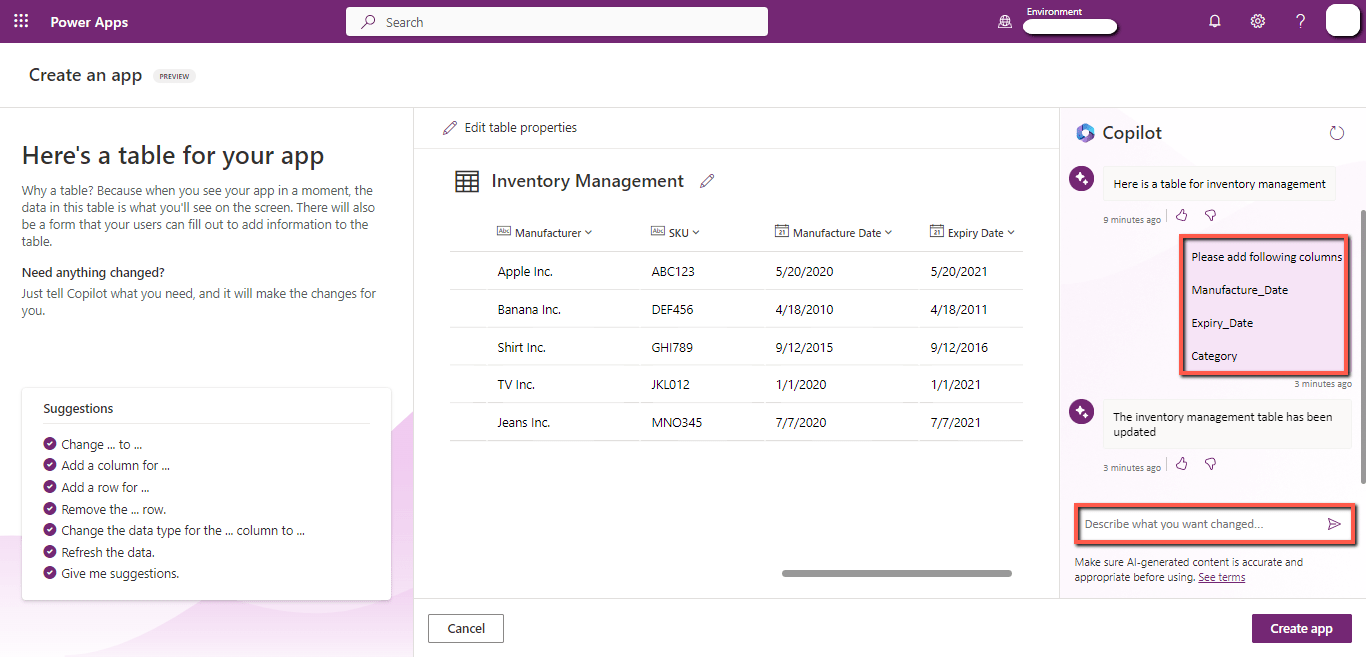
You can even ask the Copilot to create or remove some columns from the Dataverse table.
Once the table is ready, click on the “Create app” button.

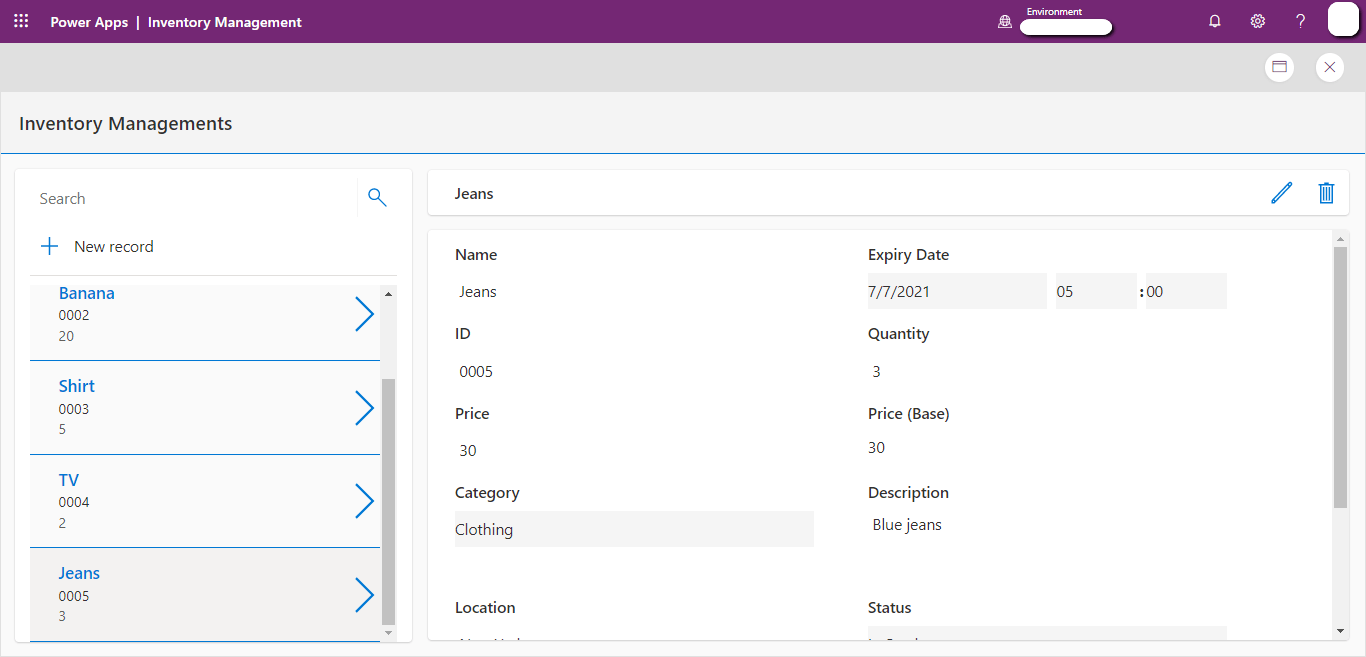
Creating a fully responsive application that performs CRUD operations on the Dataverse table takes a moment.
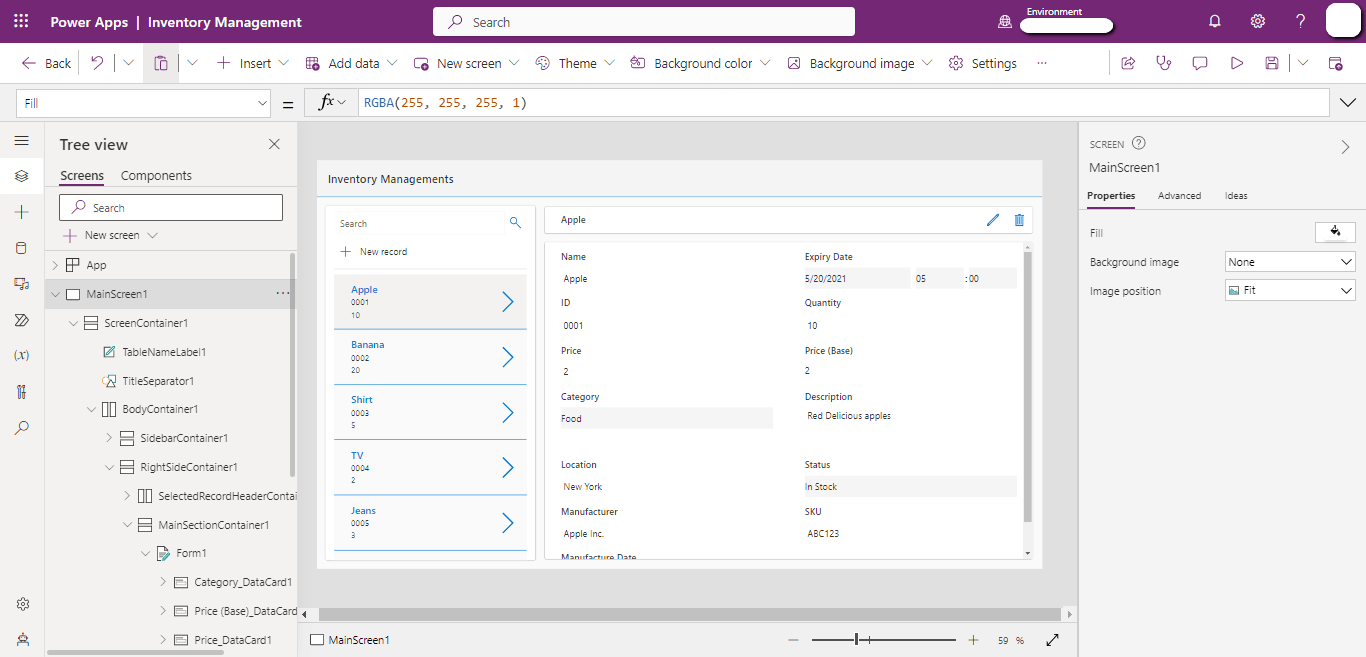
This is how the application looks till now.
2. Adding Copilot in the Canvas App
Go to the app “Settings”.
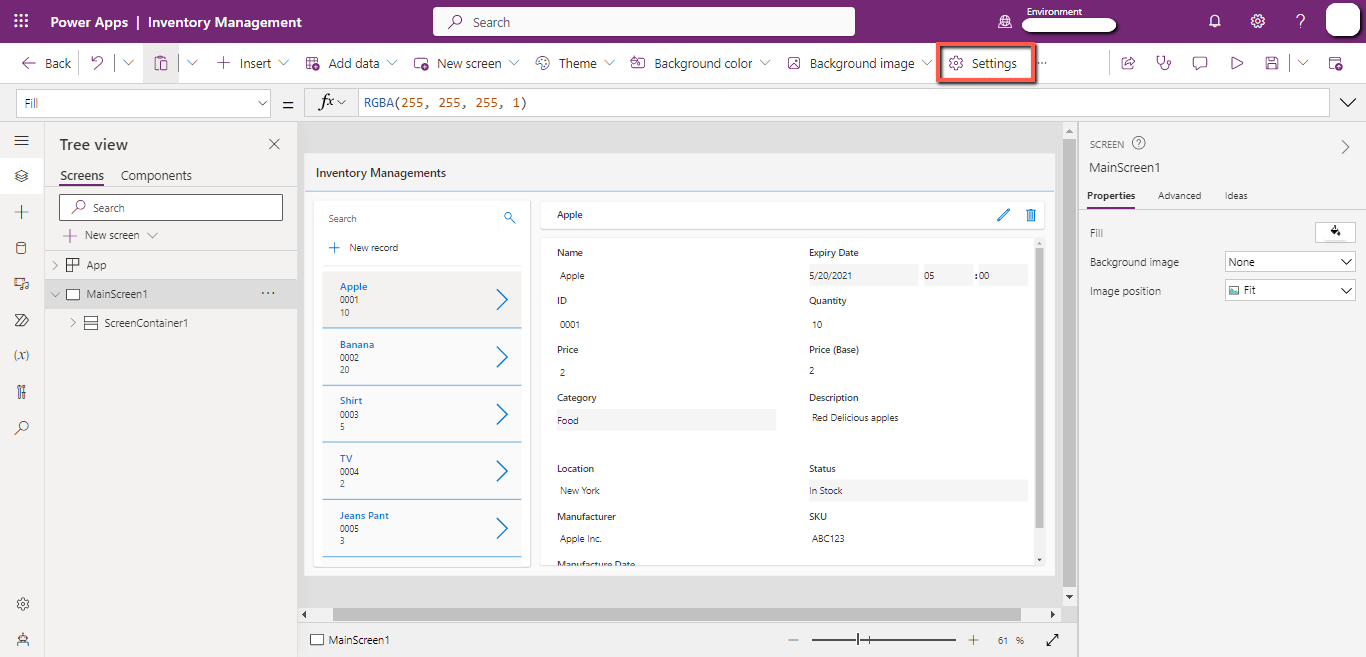
Enable the “Copilot component”.

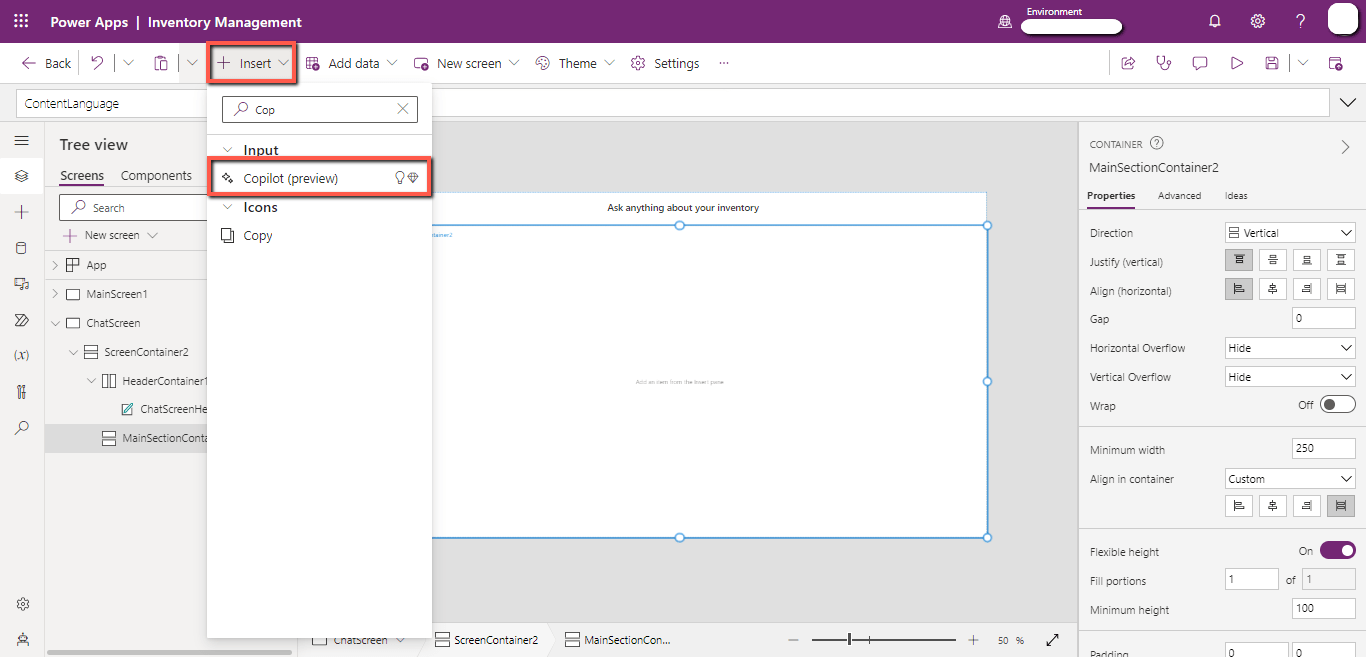
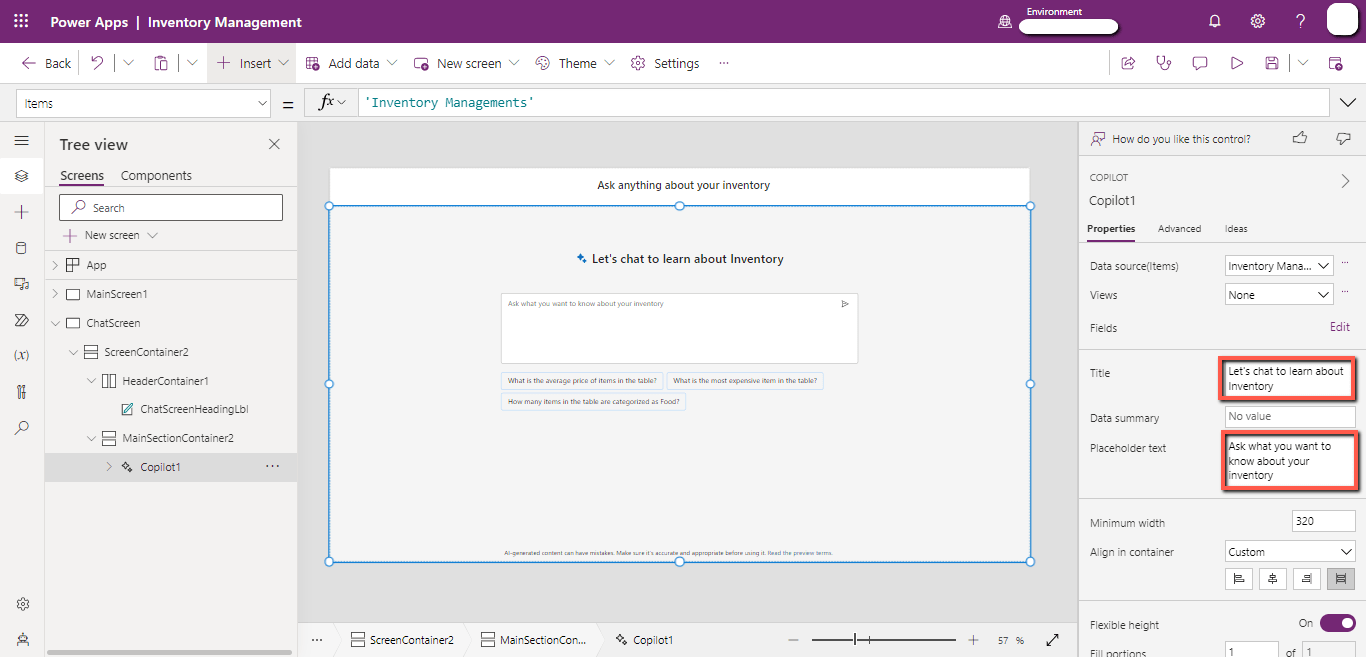
Create a blank “New screen” and insert “Copilot”.
Select the “Inventory Management” table as the “Data source” of Copilot.
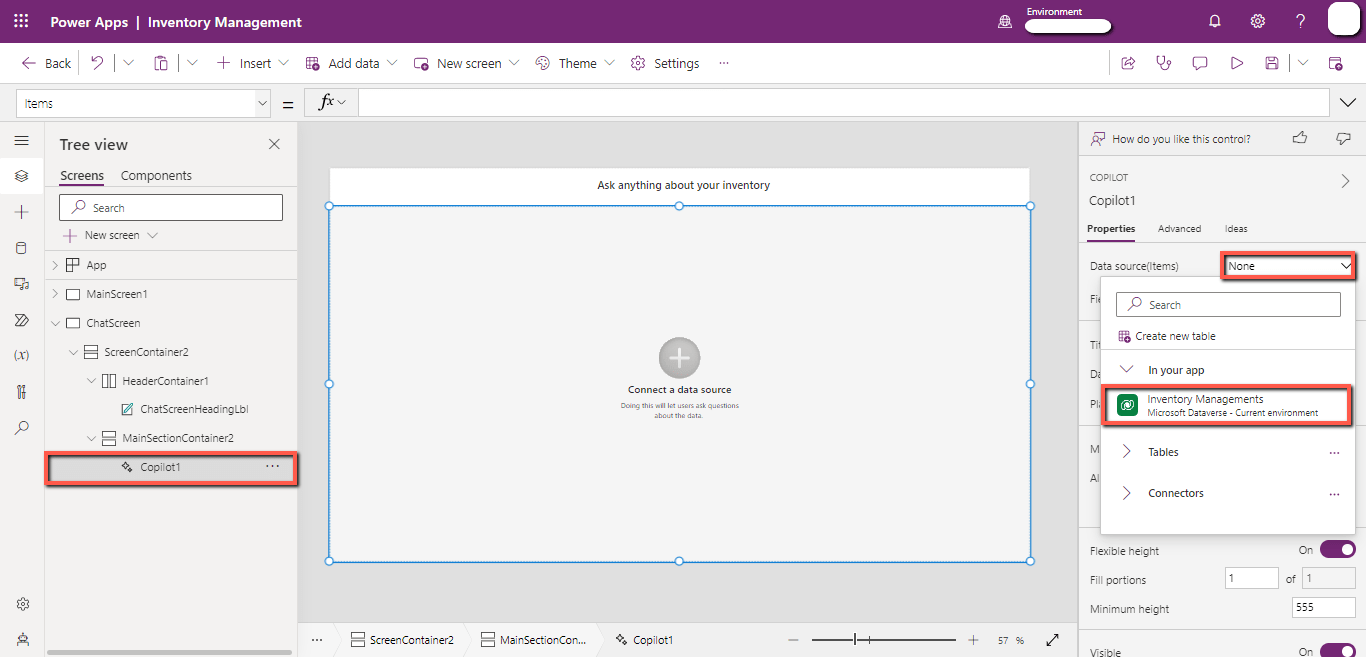
You can adjust further properties like the Title, Description, and Summary of the Copilot.
Add a “Back” icon to navigate to the main screen.

Add a “Button” on the main screen to navigate to the chat screen.

Save and publish the app.
3. Test the App
Select a record from the gallery on the left side and click on the “Edit” icon to edit the record.
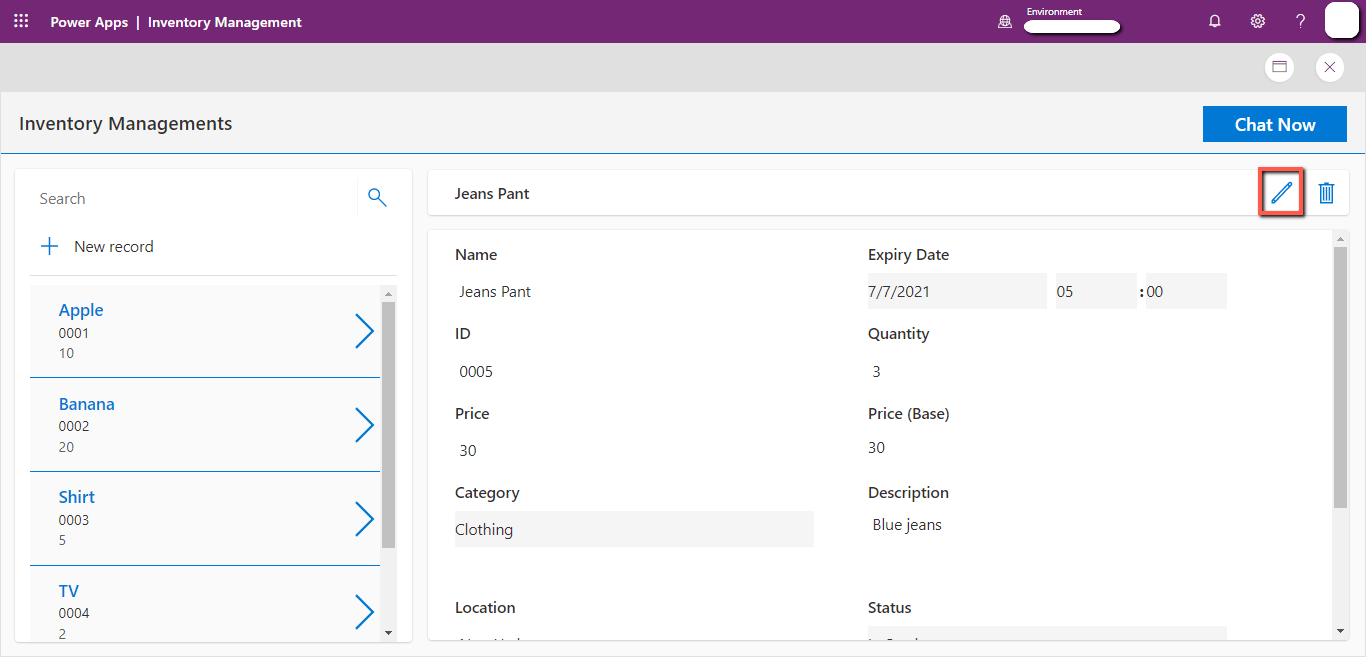
Edit the record and click on the “Check” icon to save it.

Click on the “Chat Now” button.
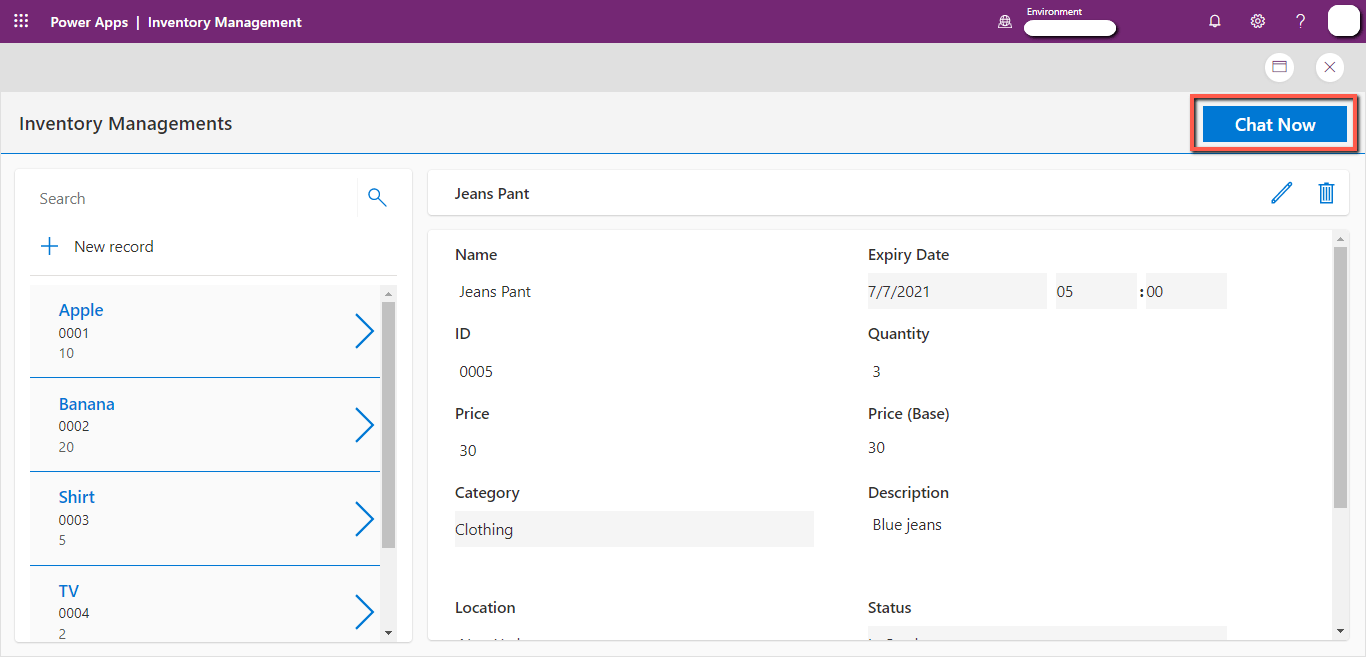
Ask questions about your table data and it answers your questions.

Conclusion
The new AI Copilot in PowerApps allows you to create Canvas applications by giving your requirements to Copilot. It takes your requirements and creates a customizable Dataverse table and a fully responsive application. You can also add Copilot within your application that can answer your questions related to the table data.