
1. What is Dataverse?
Microsoft Dataverse is a cloud-based storage system. Users can securely store and manage data in Dataverse tables.
Microsoft Dataverse supports
- Keys
- Relationships
- Business logics
- Validations
- Security
- Auditing
2. Create a solution
Open the PowerApps studio, and from the left bar click “Solutions”.

From the top bar, click on the “New solution” button.

Enter the “Display Name”, select the “Publisher”,and click on the “Create” button.

Your solution will be created, and you will see the following screen.
3. Create a Dataverse table
Now we will create a table.
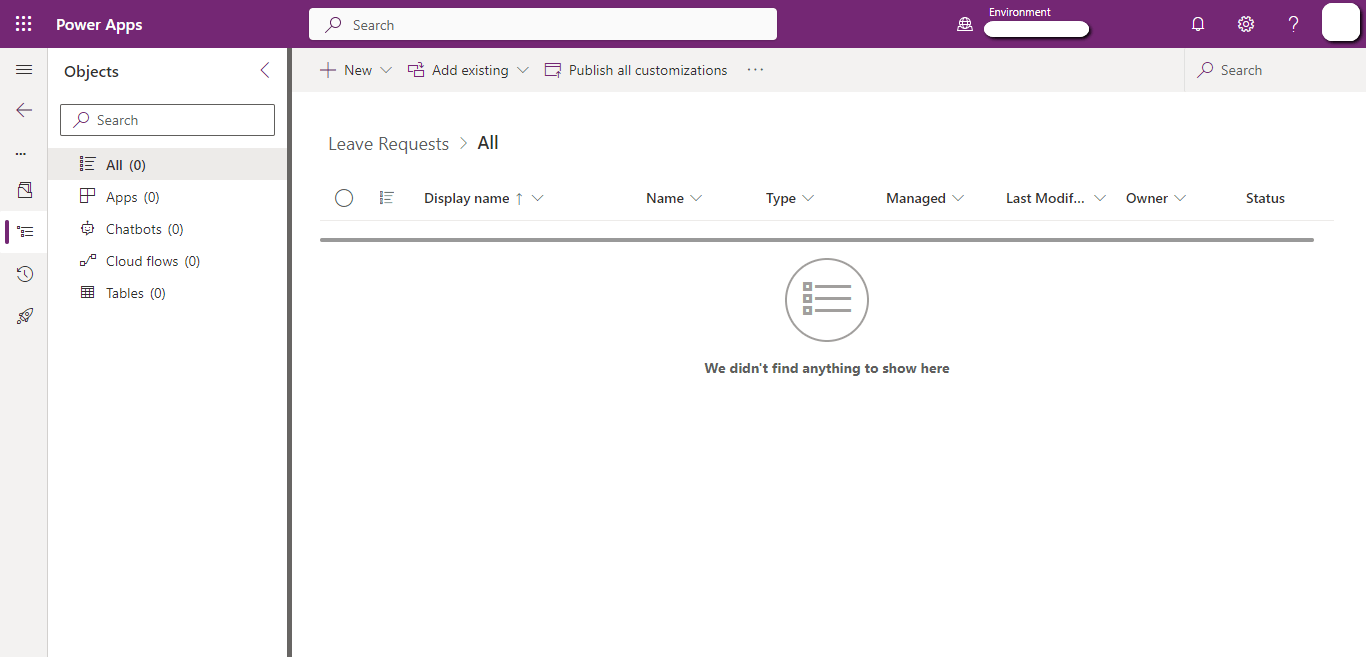
From the left bar, click on “Tables”.
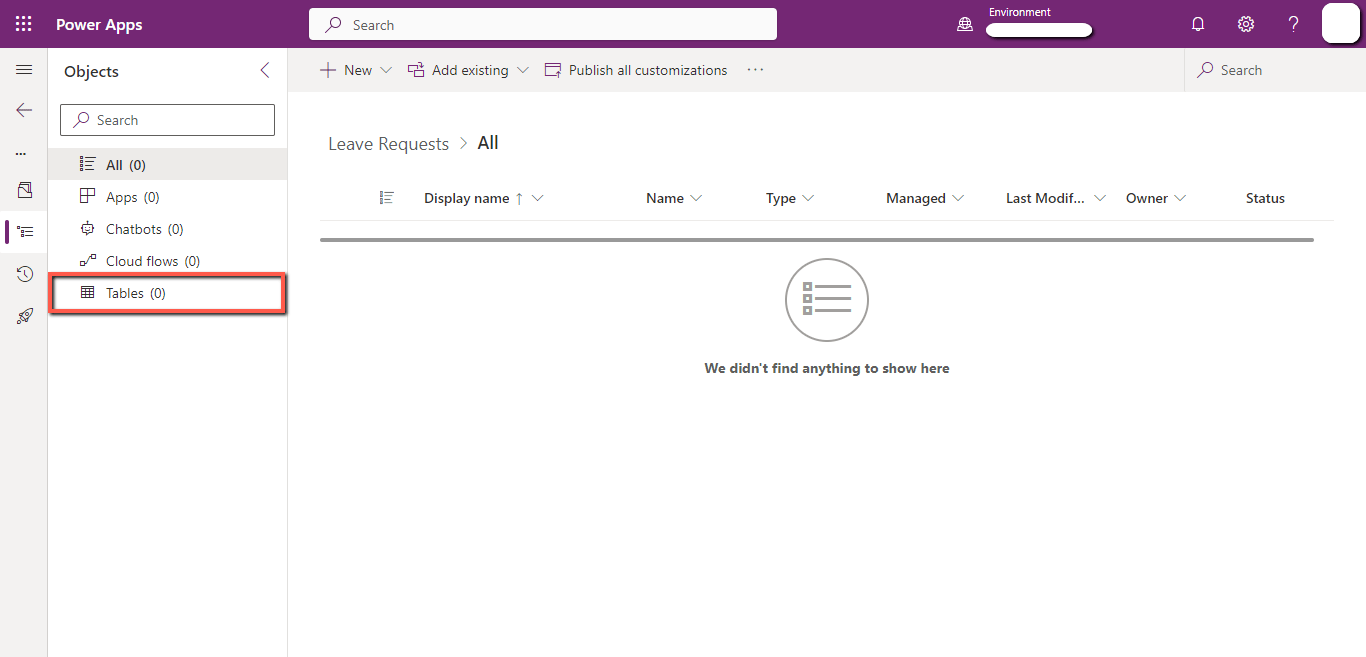
Click on the “New” tab, click on the “Table”, and then click on the “Table”.

Enter the “Display Name” and click on the “Save” button. For this demo we have created the “Requests” table.
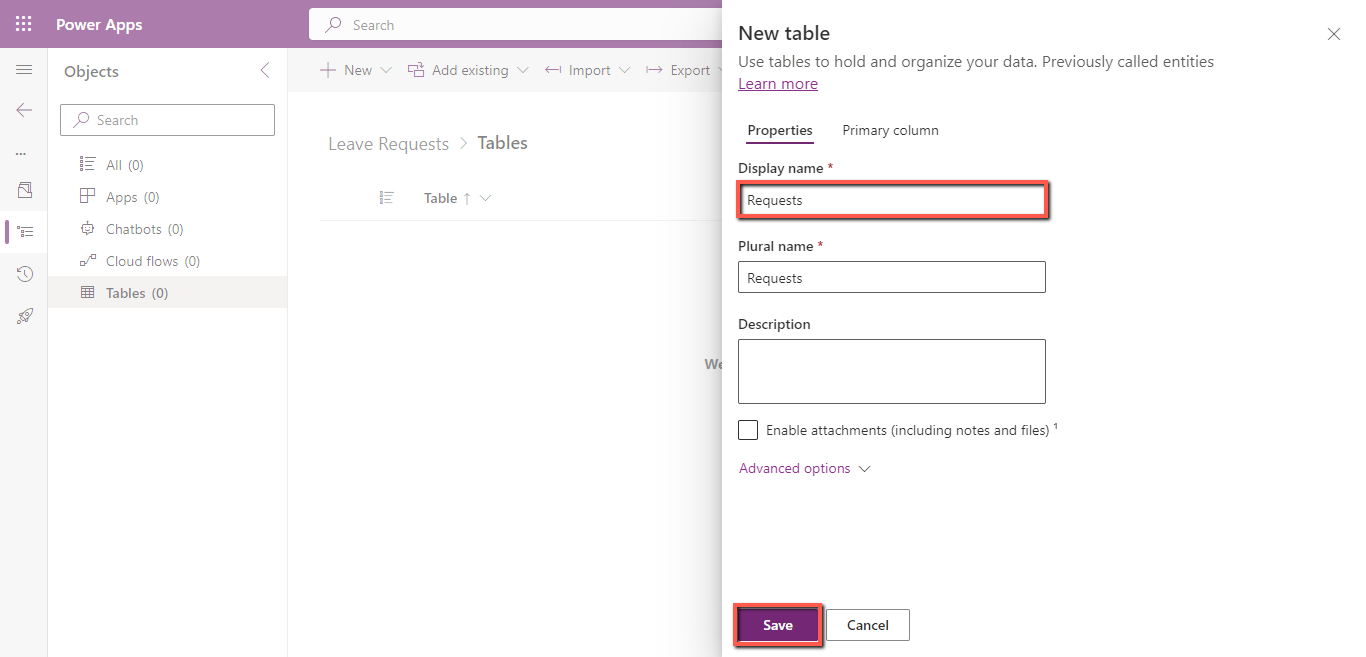
The “Requests” table is created.

Open the “Requests” table to create columns.
Click on the “+” icon.
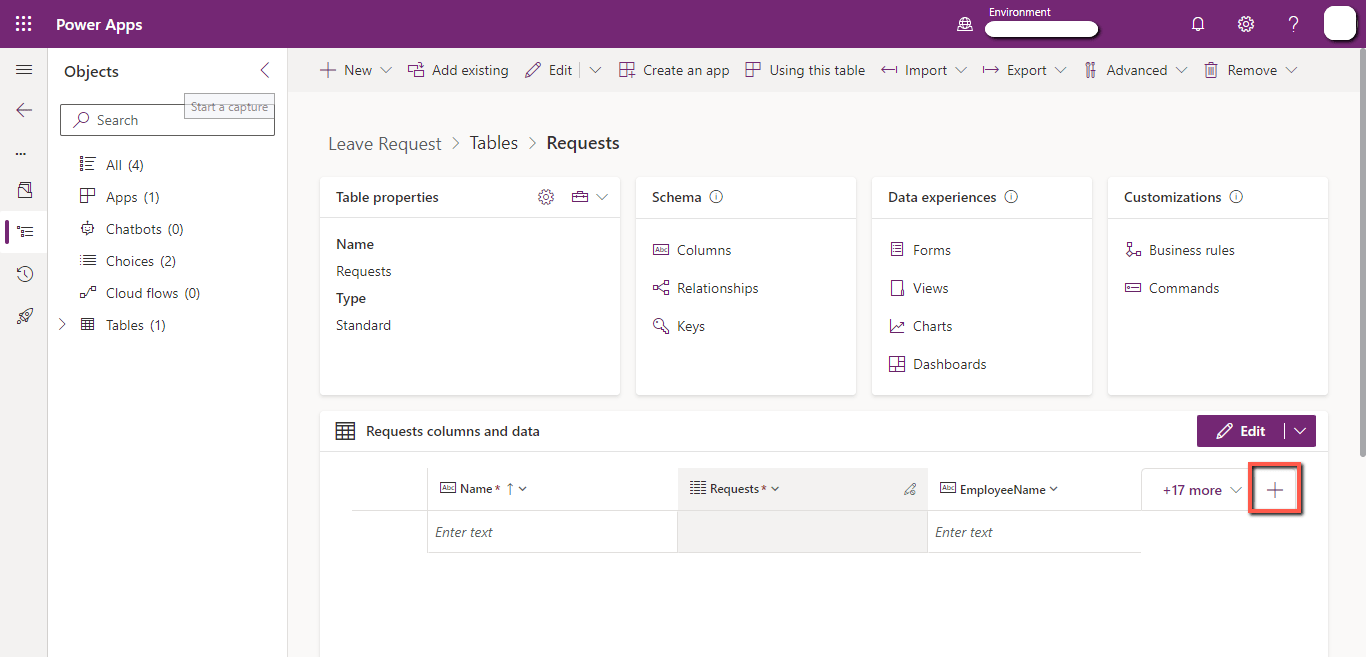
Write the “Display Name”, select the “Data type” and click on the “Save” button.
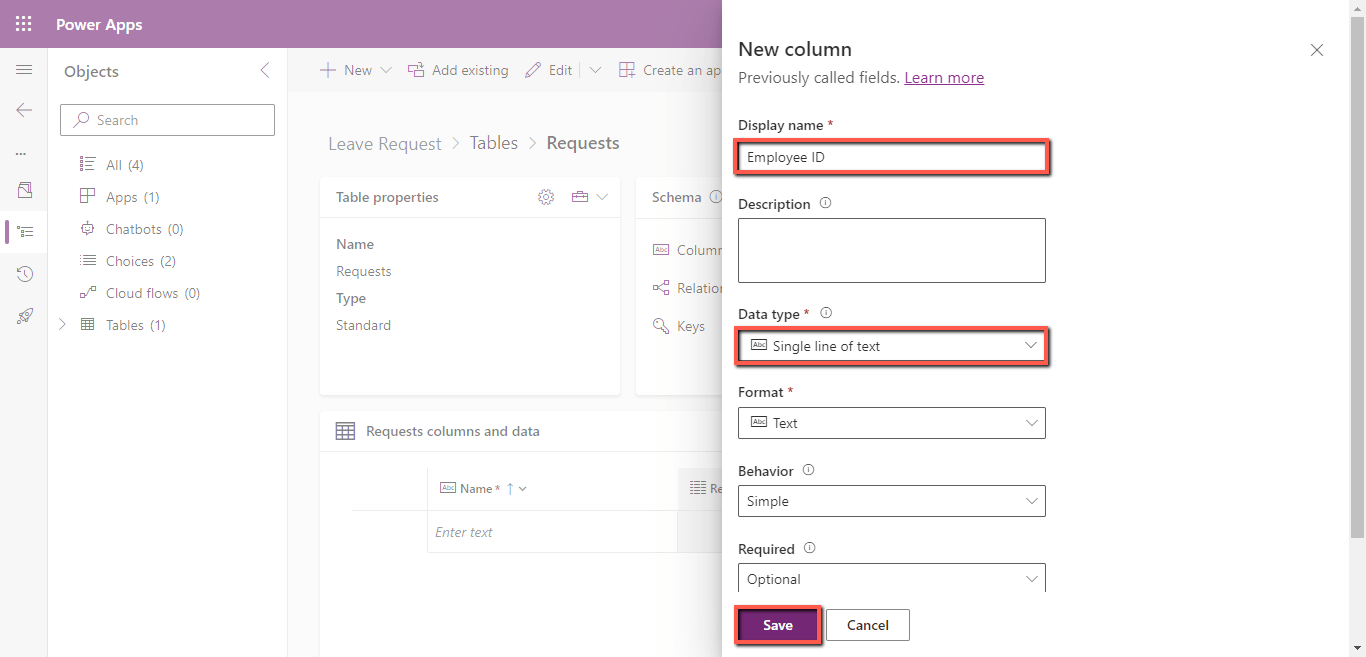
Similarly, create the following columns.
- Employee Name – (Single line of text)
- Department – (Choice)
- Start Date – (Date and time)
- End Date – (Date and time)
- Status – (Choice)
- Description – (Multiple line of text)
- Documents – (File)
4. Create a PowerApps
Click on the “New” tab, click on “App”, and click on the “Canvas app”.

Enter the app’s name and click the “Create” button.
A blank Canvas application will be created, and you will see the following screen.

Now we will connect the “Requests” Dataverse table with our application.
4.1 Connect the Dataverse table
From the left bar, click on the “database” icon, click on “Add data”, search for the table name, and click on the “Requests” table.

The Dataverse table is connected to our app.

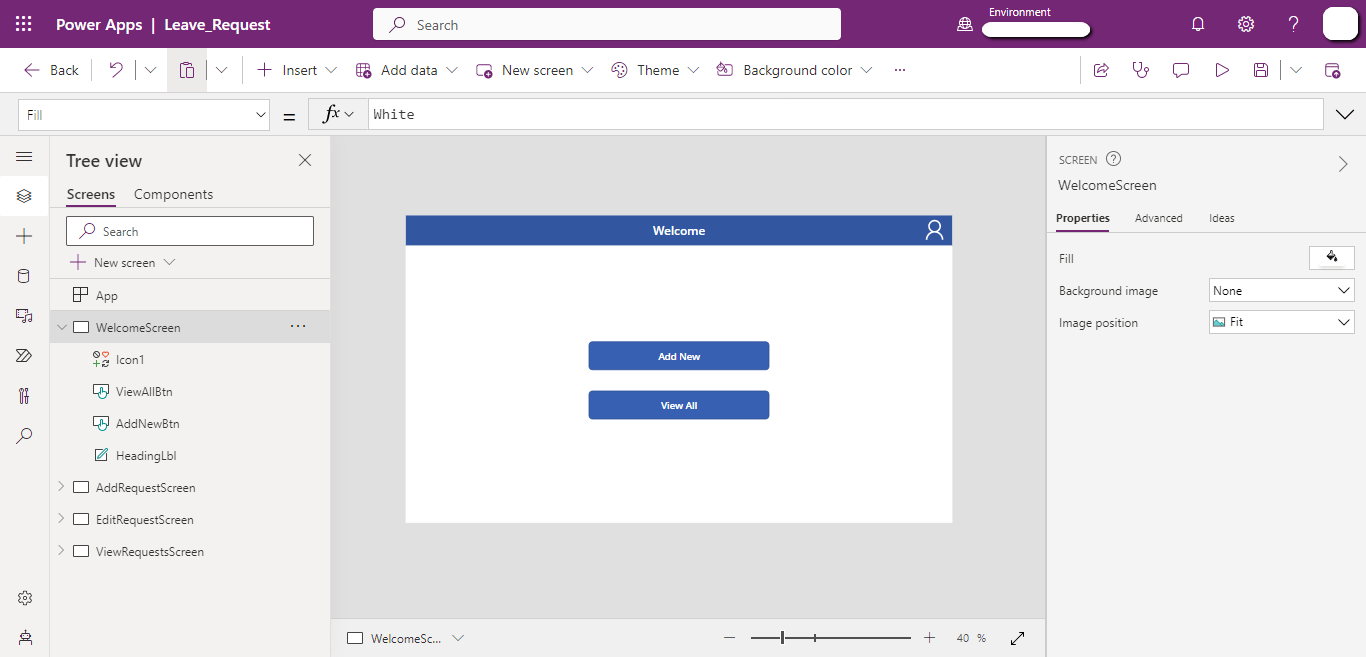
4.2 Welcome Screen
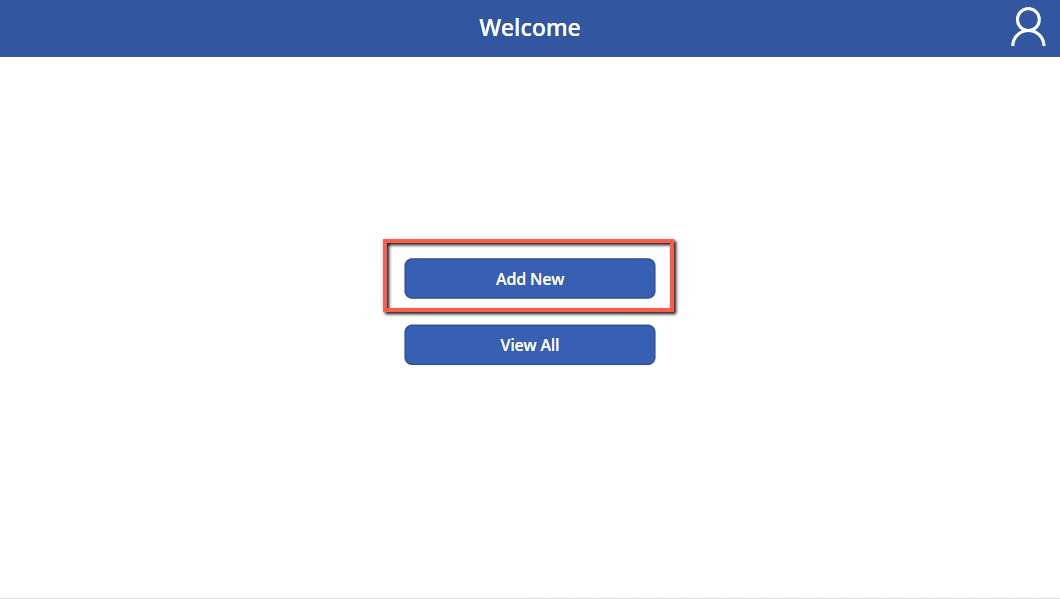
Create a basic dashboard screen from where the user can navigate to different screens.
4.3 Add Request Screen
On this screen, add a “Form” and set its default “DisplayMode” mode to “New” and connect the “Requests” table with it.

Add a button to “Submit” the form and write the following code on the “OnSelect” property of the button.
Code:
SubmitForm(SubmitRequestForm);
Navigate(ViewRequestsScreen);
Notify(
“Successfully submitted”,
NotificationType.Success
);
ResetForm(SubmitRequestForm)

When the user submits the leave request, the user will be navigated to the “ViewRequestsScreen”.
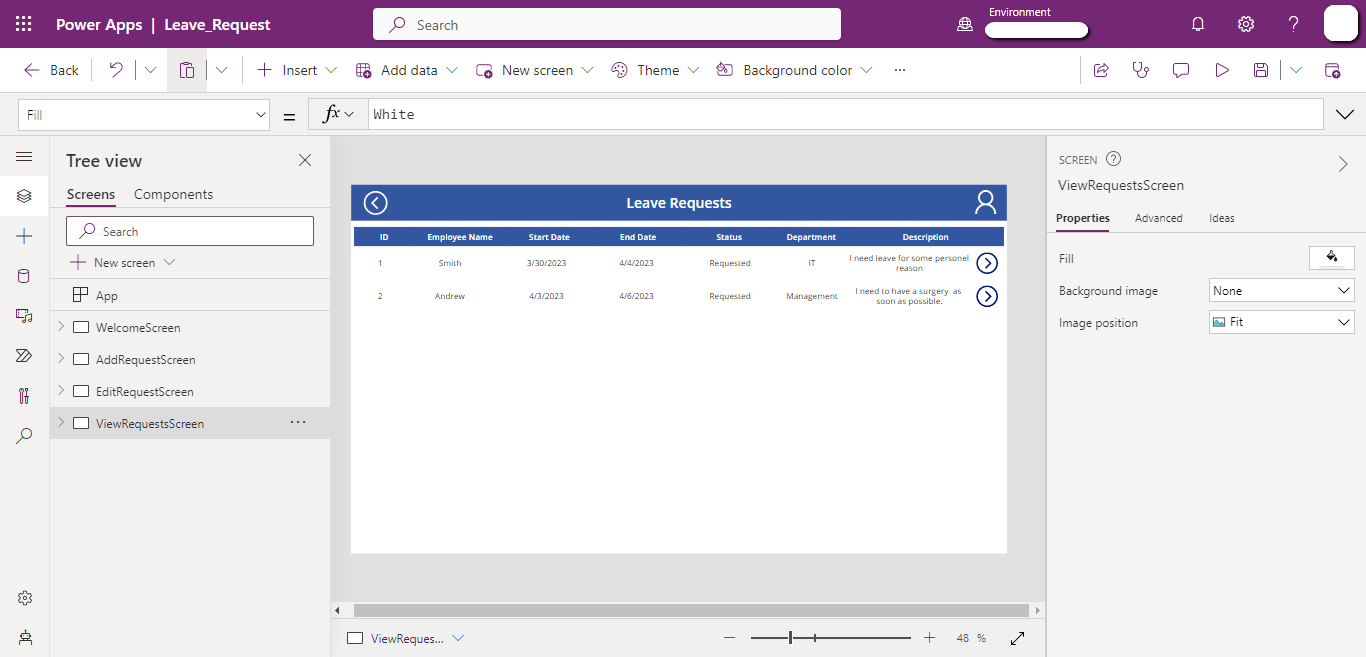
4.4 View Request Screen
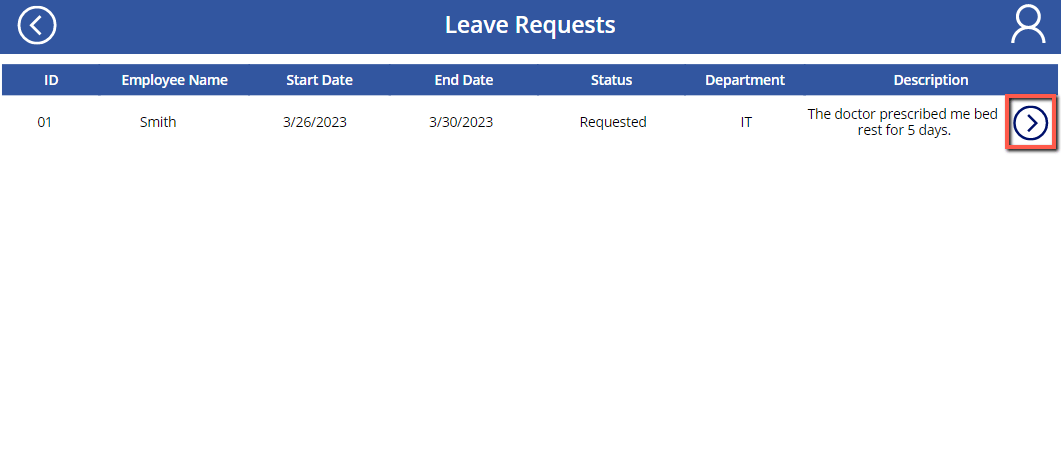
On this screen, add a “Blank Vertical Gallery”, connect the “Requests” table as the data source of the gallery, and add a “Next” icon to select the record and navigate to the “EditRequestScreen”.
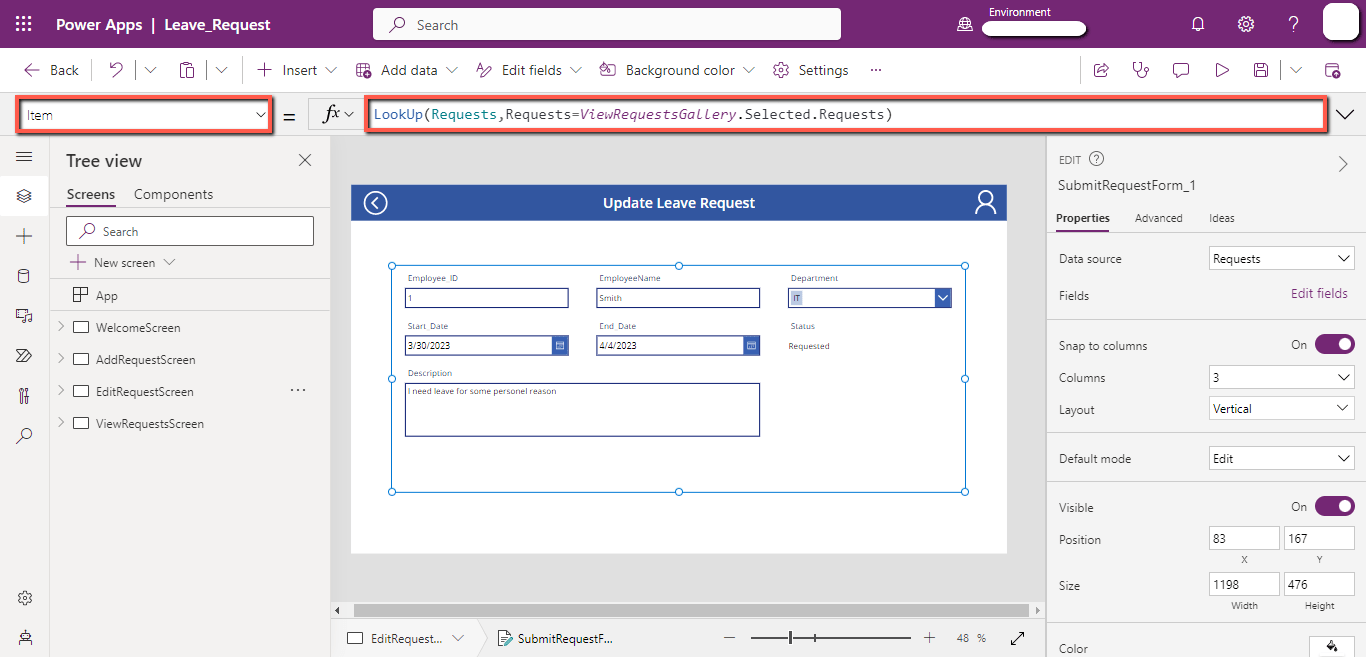
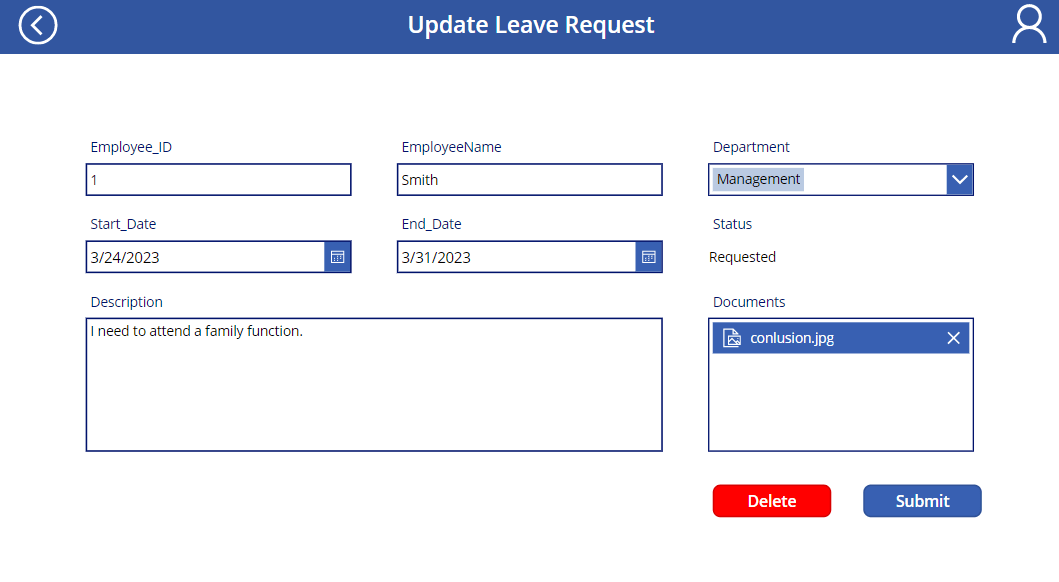
4.5 Edit Request Screen
On this screen, add a “Form” and set its default “DisplayMode” mode to “Edit” and connect the “Requests” table with it.
On the “Items” property of the “EditForm”, write the following code.
Code:
LookUp(
Requests,
Requests = ViewRequestsGallery.Selected.Requests
)
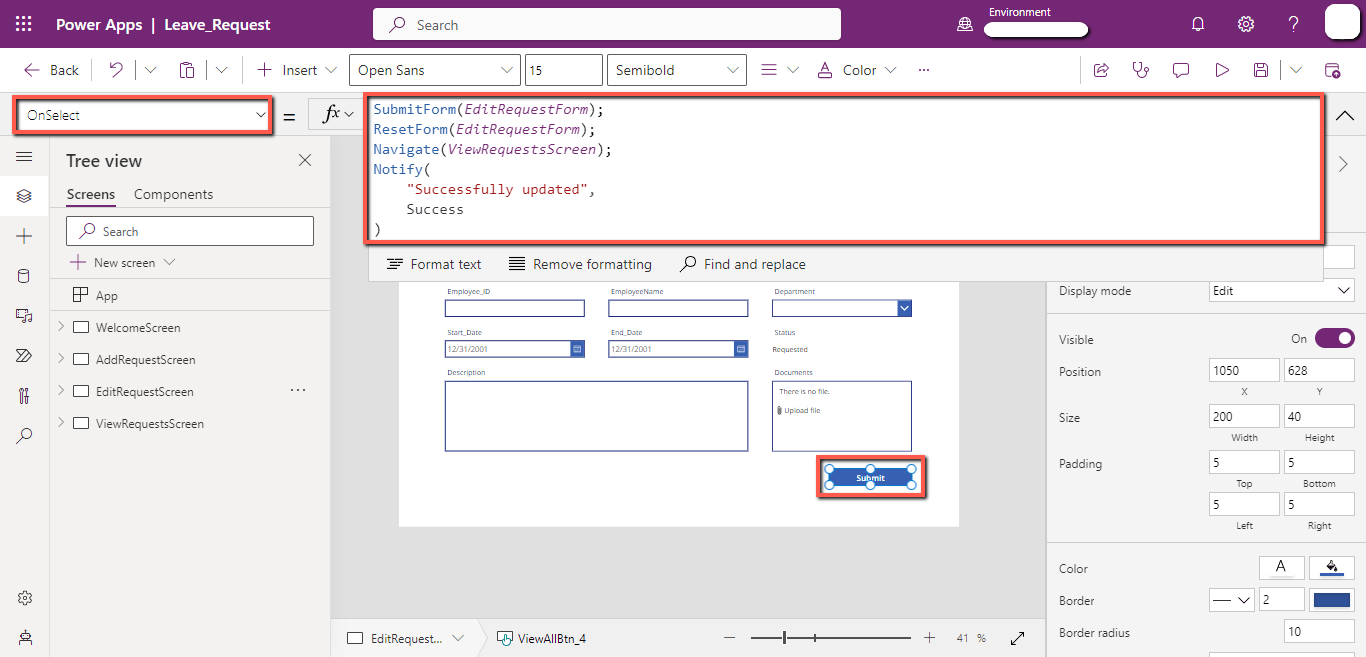
Add a button to “Submit” this form and write the following code on the “OnSelect” of the “Submit” button.
Code:
SubmitForm(EditRequestForm_1);
ResetForm(EditRequestForm_1);
Navigate(ViewRequestsScreen);
Notify(
“Successfully updated”,
NotificationType.Success
)
To delete a request, add another button and write the following code on the “OnSelect” property of the “Delete” button.
Code:
RemoveIf(
Requests,
Requests = ViewRequestsGallery.Selected.Requests
);
Navigate(ViewRequestsScreen);
Notify(
“Successfully deleted”,
NotificationType.Success
)

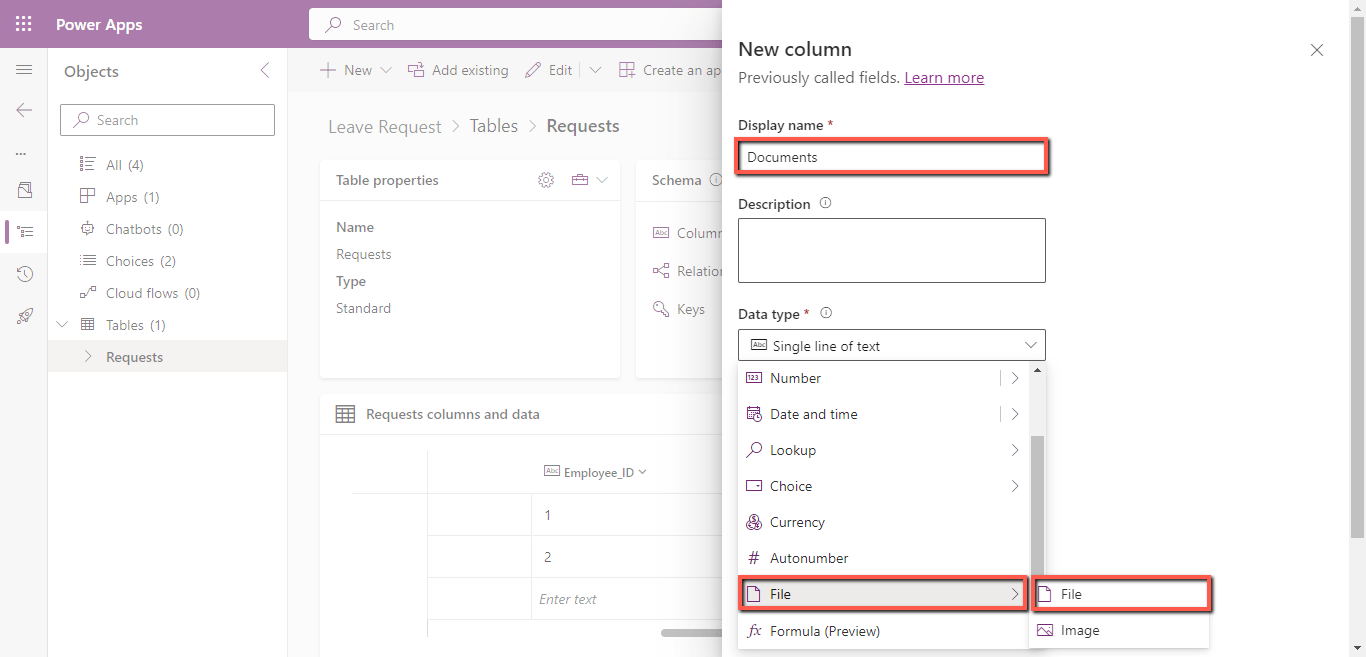
5. Attachment in Dataverse table
Unlike SharePoint, there is no default attachment column in Dataverse.
In Dataverse, we can create a “File” type column, but this column can store only one attachment file.
Open the “Requests” Dataverse table and add a “File” type column named “Documents”.
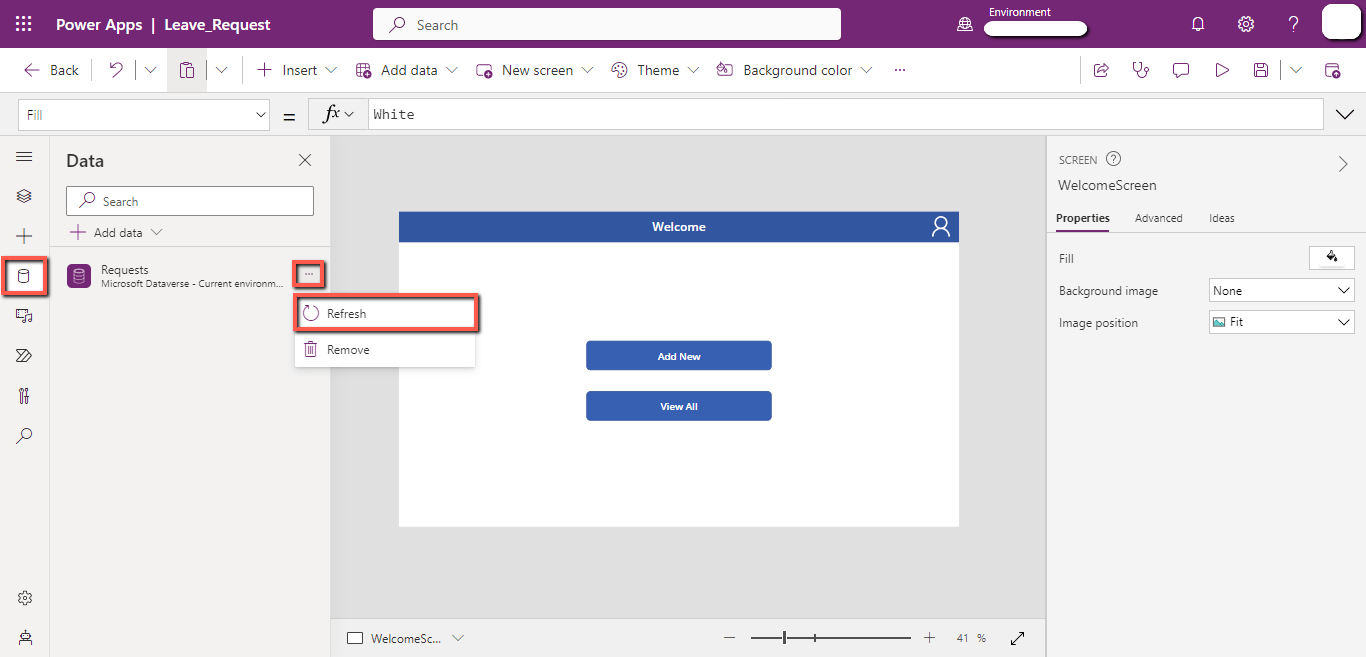
Open the PowerApps and refresh the “Requests” table.
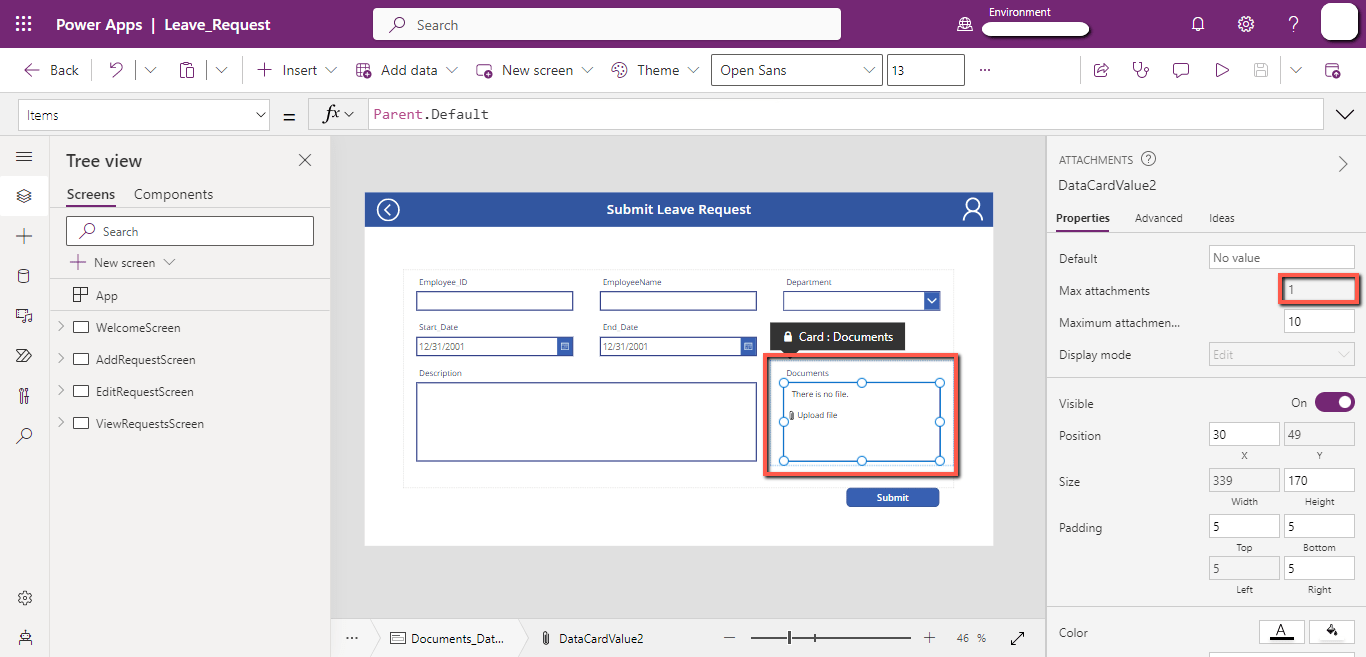
Select the “SubmitRequestForm”, click on the “Edit fields”, click on the “Add field”, select the “Documents” column, and click on the “Add” button.
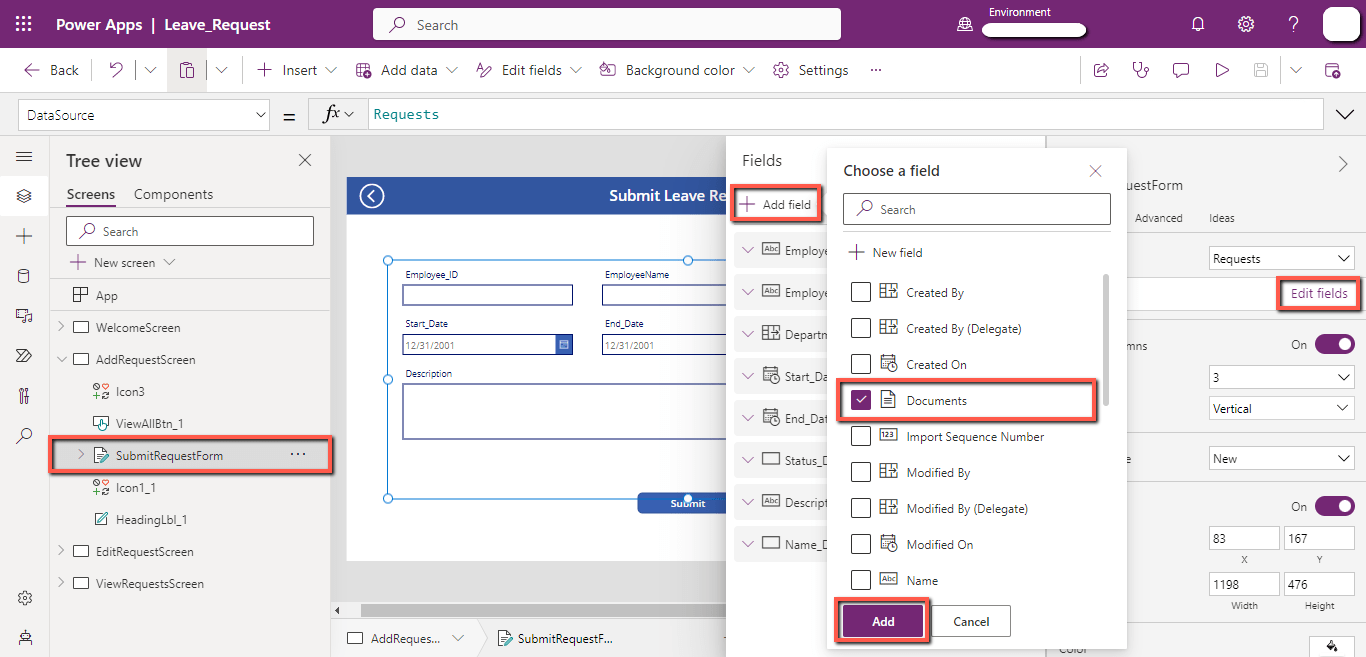
The “Documents” column is added, and it uses the attachment control to enable uploading of the file from the user.
You will notice that the “Max attachments” value is set to “1” because the only file can be attached in the “Documents” column.
Do the same process for the “EditRequestForm”.
6. Test the app
Now play the app and try to add, update, and delete the request.
Click on the “Add New” button.
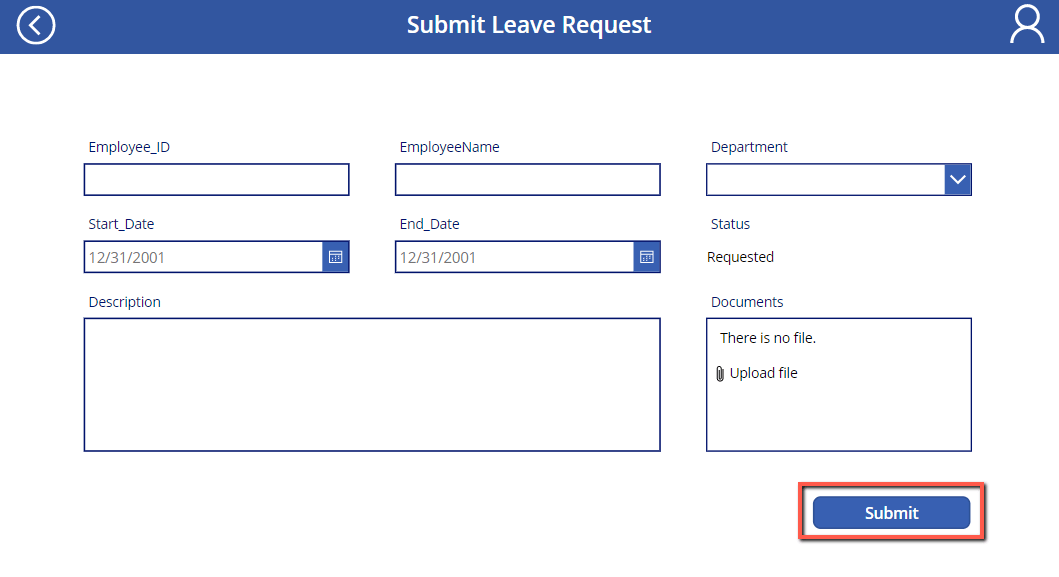
Fill out the form and click on the “Submit” button.
You will be navigated to the “View Requests Screen”.
Click on the “Next” icon.
You will be navigated to the “Edit Requests Screen”.
Here you will notice that you cannot add another attachment because of the “Max attachment” limit of “1”.
Conclusion
To create PowerApps with Dataverse tables, you should have Dataverse tables in your environment. You can use form control to perform create and update operations. Unlike SharePoint, Dataverse does not have a default attachment column. You can create a file type column but that has a maximum file limit of 1.