
Introduction
SharePoint Online PowerShell is a command-line interface for SharePoint Power Users. Using PowerShell we can add new users, grant users permissions, see SharePoint site structure and perform other core tasks.
Step1. Download and install
- Click here to download the setup file.
- After the download, open the “Setup file”.
- Click on the “Next” button.

- Check the “Accept terms and conditions” checkbox.
- Click on the “Install” button.

- Click on the “Finish” button.
Now PowerShell is successfully installed, we can connect it to SharePoint.
Step2. Connect PowerShell to SharePoint Online
- Open SharePoint PowerShell and run the following command.
Connect-SPOService -Url https://example-admin.sharepoint.com/ `
Note: Make sure to add the “URL” of your SharePoint Online admin center.
- When the popup appears, enter the username and the password.

Now SharePoint is successfully connected to the PowerShell.
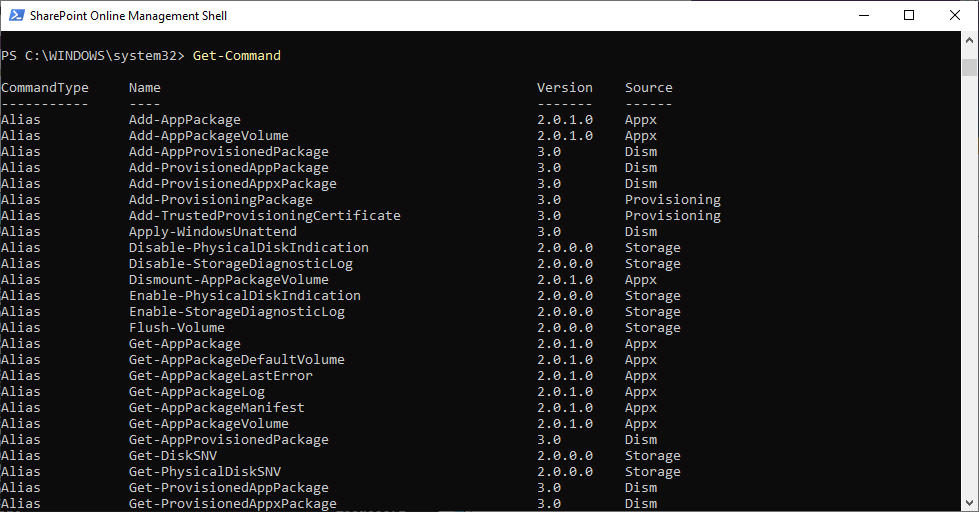
To get the list of all available commands, run the following command.
Get-Command
Step3. Disconnect PowerShell
After you have performed the required tasks, you can disconnect PowerShell by running the following command.
Disconnect-SPOService
Click here to learn how you can identify SharePoint site type using PowerShell.